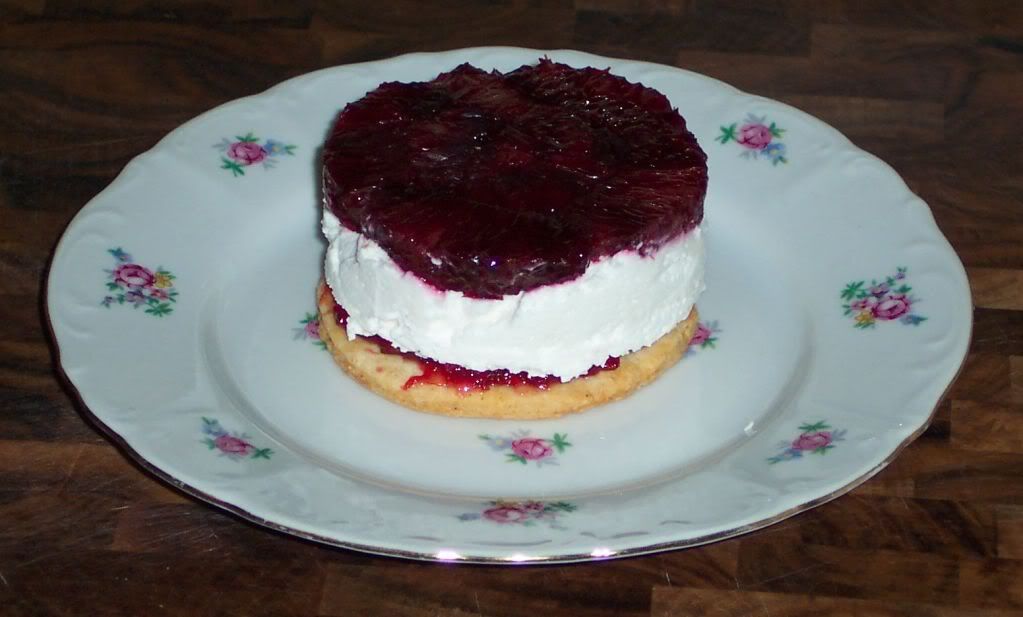
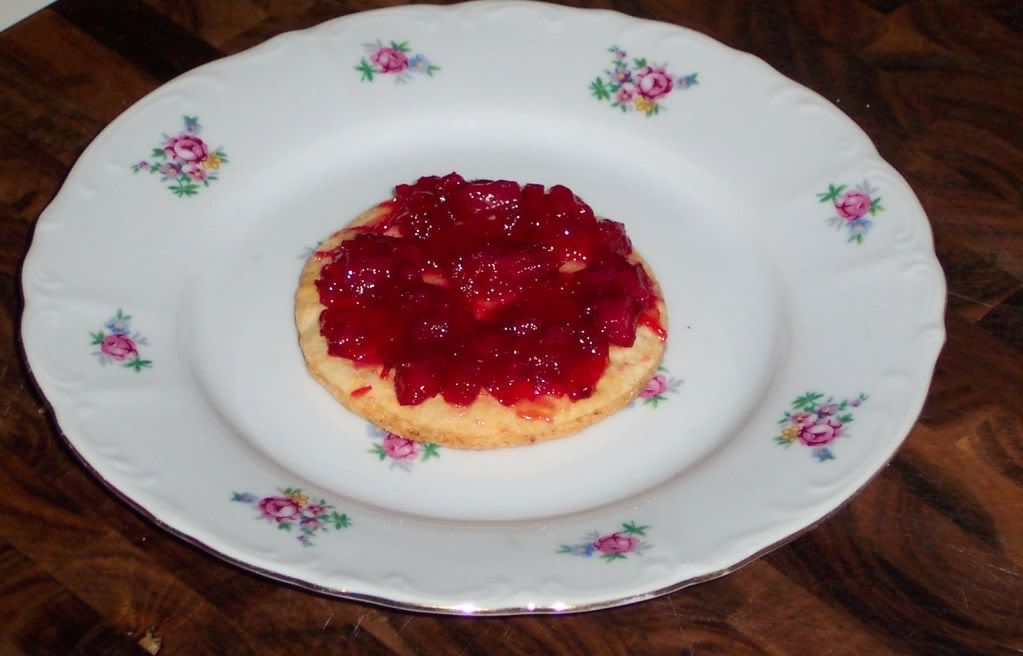
The 2010 March Daring Baker’s challenge was hosted by Jennifer of Chocolate Shavings. She chose Orange Tian as the challenge for this month, a dessert based on a recipe from Alain Ducasse’s Cooking School in Paris.
I made a Blood Orange and Pink Navel Tian. I included the recipe for the caramel; however my caramel did not come out. I made two batches and I was not satisfied with it's flavor or texture so I omitted it from this dessert. In the end the winner was the homemade blood orange pink navel marmalade. I am already planning other savory uses for this tasty treat. Overall this was a good challenge. However, I was disappointed in my caramel.
Pate Sablee:
- 2 medium-sized egg yolks at room temperature
- 6 Tbsp + 1 tsp granulated sugar
- ½ tsp vanilla extract
- ¼ cup + 3 tablespoons unsalted butter, ice cold
- 1/3 tsp salt
- 1 1/2 cup + 2 tablespoons flour
- 1 tsp baking powder
Put the flour, baking powder, ice cold cubed butter and salt in a flat bottom bowl and blend together with a pastry blender.
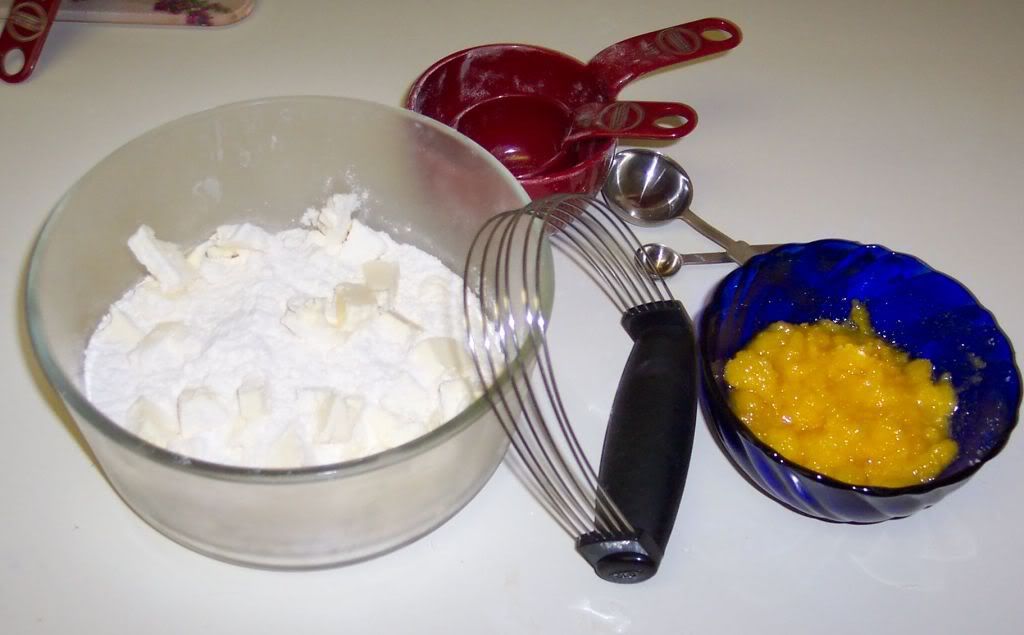
After it is well blended take bowl and stick it in the freezer for 5 minutes. In a separate bowl, add the eggs yolks, vanilla extract and sugar and beat with a whisk until the mixture is pale. Add to flour mixture and blend together with the pastry blender. If the dough does not come together add some water to it. Get the dough to form a loose ball and cover in plastic wrap and store in the refrigerator for an hour.
Preheat oven to 350 degrees.
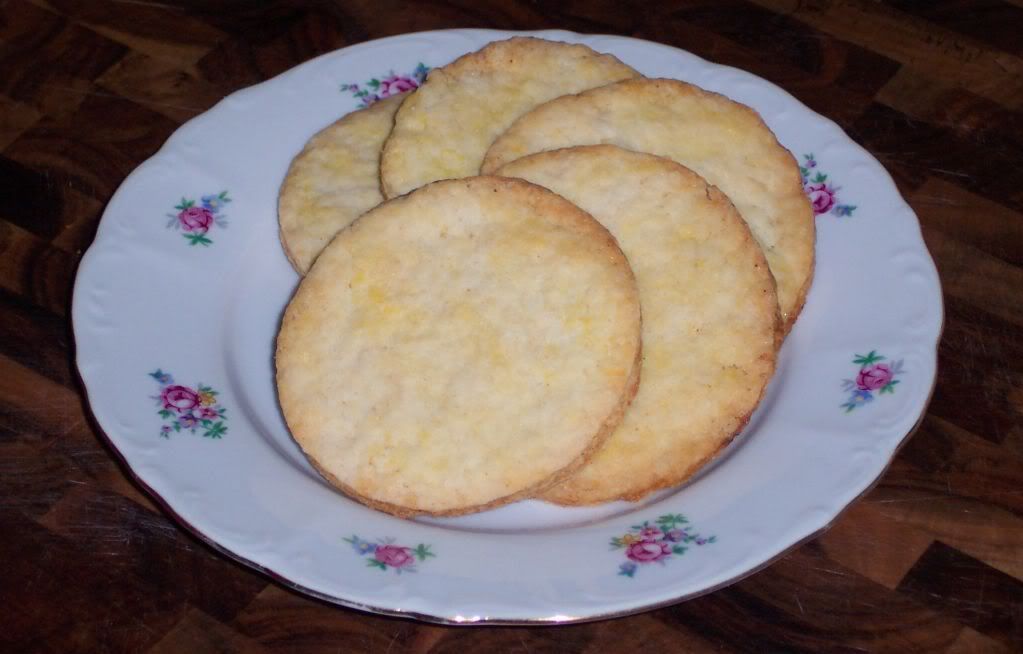
Roll out the dough onto a lightly floured surface until you obtain a ¼ inch thick circle. Using your cookie cutter, cut out circles of dough and place on a parchment (or silicone) lined baking sheet.

Bake for 20 minutes or until the circles of dough are just golden.
Marmalade:
- ¼ freshly pressed blood orange
- 1 small blood orange, sliced thinly
- 1 small pink navel orange, sliced thinly
- 5 grams pectin
- ½ cup sugar
Place the sliced oranges in a sauce pot and cover them with water. Bring water to a simmer and simmer for 10 minutes.
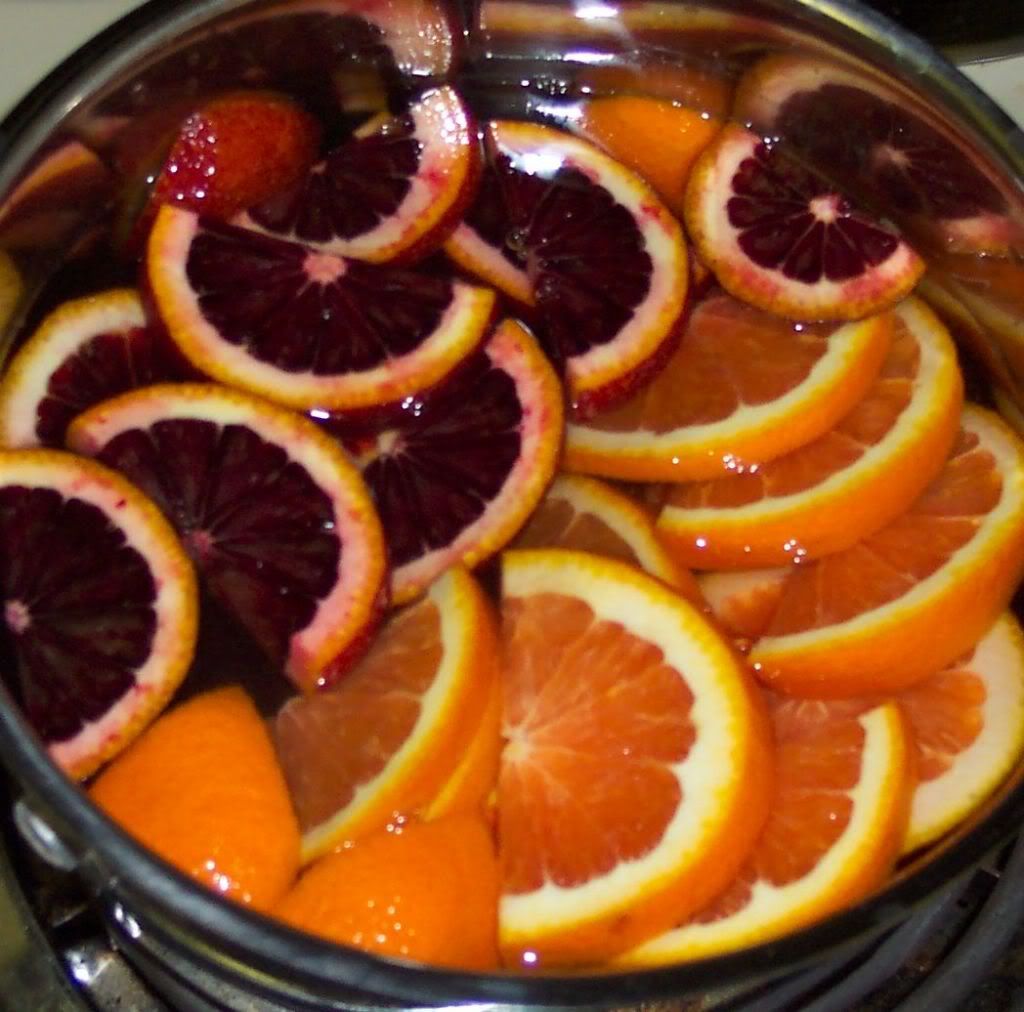
Drain the oranges and fill the pot back up with water. Simmer for another 10 minutes, and repeat this process one more time.
Drain and cool the orange slices. Once they are cool chop them up and put them in a pot with the blood orange juice, pectin, and sugar. Bring to a simmer and cook for 15 minutes then transfer to a storage container. Cool and then refrigerate.
Orange Segments:
For this step you will need 8 oranges. Cut the oranges into segments over a shallow bowl and make sure to keep the juice. Add the segments to the bowl with the juice.
Caramel:
- 1 Cup sugar
- 1 1/2 Cups + 2 Tbsp orange juice
Put sugar in a medium size sauce pan over a medium flame. Heat the sugar till it starts to bubble. Slowly add the orange juice and remove from the heat once the mixture boils. Poor half of the caramel mixture over the orange segments and reserve the other half for service. (please note I had trouble following this caramel recipe, and I did not use the caramel in my dessert)
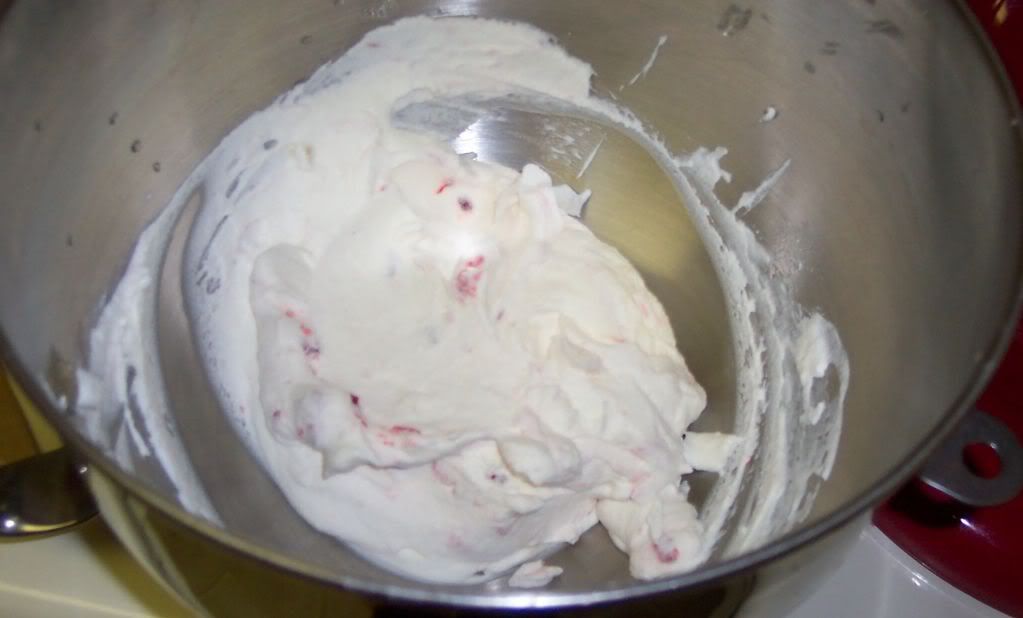
Whipped Cream:
- 1 Cup heavy whipping cream
- 3 tablespoons of hot water
- 1 tsp Gelatine
- 1 Tbsp confectioner's sugar
- orange marmalade (see recipe above) 1 Tbsp
In a small bowl, add the gelatine and hot water, stirring well until the gelatine dissolves. Let the gelatine cool to room temperature while you make the whipped cream. Combine the cream in a chilled mixing bowl. Whip the cream using a hand mixer on low speed until the cream starts to thicken for about one minute. Add the confectioner sugar. Increase the speed to medium-high. Whip the cream until the beaters leave visible (but not lasting) trails in the cream, then add the cooled gelatine slowly while beating continuously. Continue whipping until the cream is light and fluffy and forms soft peaks. Transfer the whipped cream to a bowl and fold in the orange marmalade.
Assembling the Dessert:
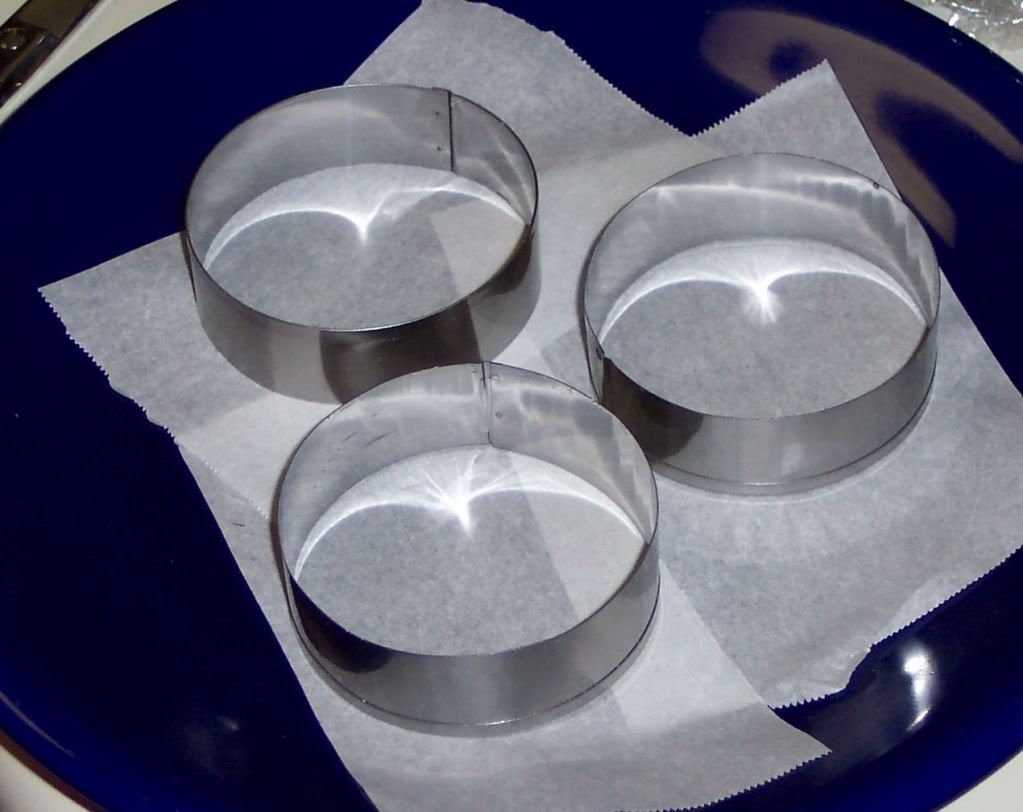
Make sure you have some room in your freezer. Ideally, you should be able to fit a small baking sheet or tray of desserts to set in the freezer. Line a small tray or baking sheet with parchment paper or a silicone sheet. Lay out 6 cookie cutters onto the parchment paper/silicone.
Drain the orange segments on a kitchen towel. Have the marmalade, whipped cream and baked circles of dough ready to use.
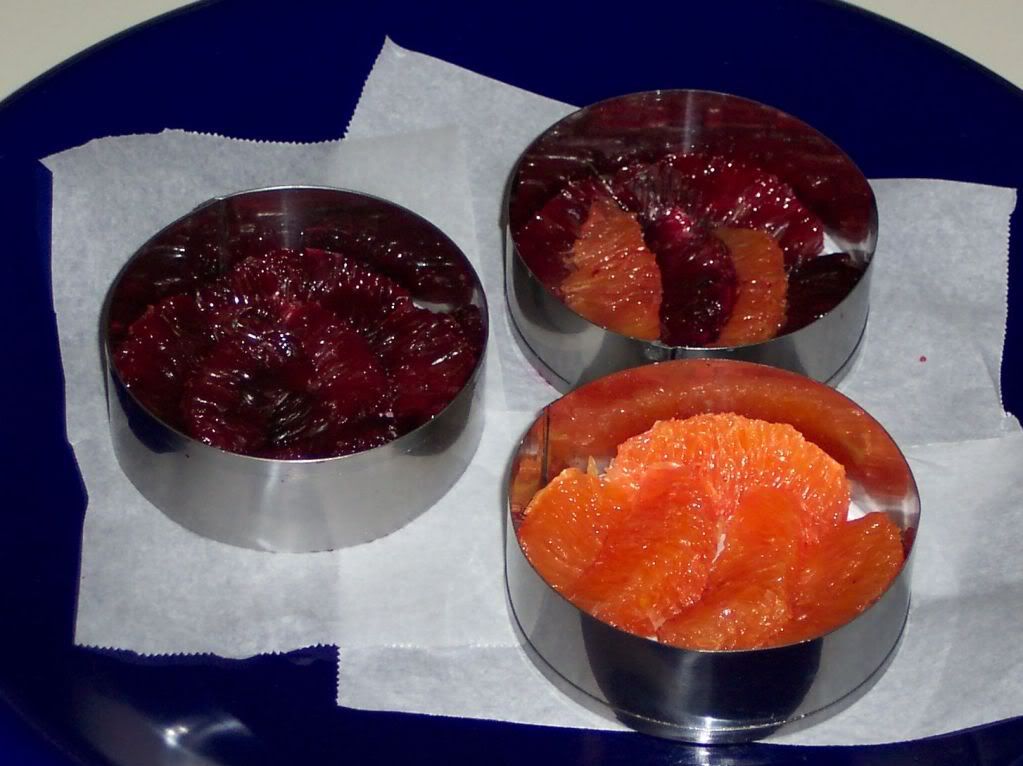
Arrange the orange segments at the bottom of each cookie cutter. Make sure the segments all touch either and that there are no gaps. Make sure they fit snuggly and look pretty as they will end up being the top of the dessert. Arrange them as you would sliced apples when making an apple tart.
Once you have neatly arranged one layer of orange segments at the bottom of each cookie cutter, add a couple spoonfuls of whipped cream and gently spread it so that it fills the cookie cutter in an even layer.
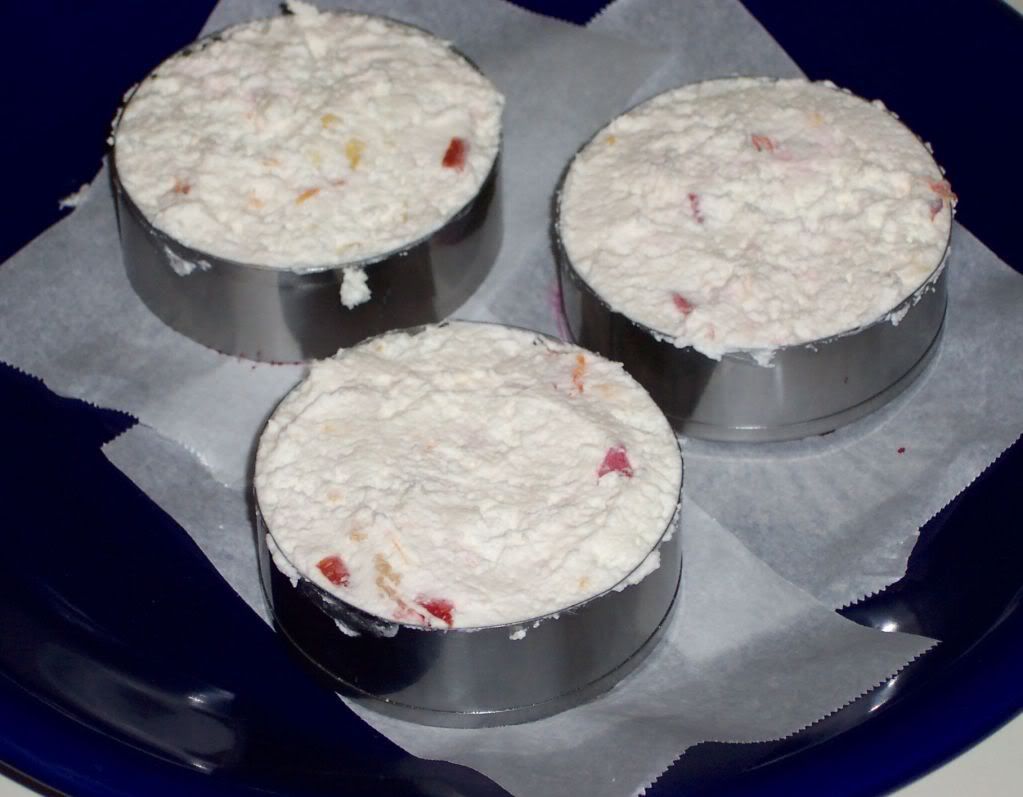
Using a butter knife or small spoon, spread a small even layer of orange marmalade on each circle of dough. Carefully place a circle of dough over each ring (the side of dough covered in marmalade should be the side touching the whipping cream). Gently press on the circle of dough to make sure the dessert is compact. Place the desserts to set in the freezer to set for 10 minutes.
Using a small knife, gently go around the edges of the cookie cutter to make sure the dessert will be easy to unmold. Gently place your serving plate on top of a dessert (on top of the circle of dough) and turn the plate over. Gently remove the cookie cutter, add a spoonful of caramel sauce and serve immediately. (please note I did not use the caramel in my Orange Tian.