My blog has moved!

You should be automatically redirected in 6 seconds. If not, visit
http://www.racerhino.com
and update your bookmarks.

2/27/10

The February 2010 Daring Bakers’ challenge: Tiramisu


The February 2010 Daring Bakers’ challenge was hosted by Aparna of My Diverse Kitchen and Deeba of Passionate About Baking. They chose Tiramisu as the challenge for the month. Their challenge recipe is based on recipes from The Washington Post, Cordon Bleu at Home and Baking Obsession.

So, for the February Darling Bakers' challenge was to make Tiramisu.  Let me clear this up from the start, I just did not make Tiramisu, I made everything from scratch.  The challenge was to make Mascarpone cheese, Salvoiardi biscuits (ladyfingers), and Zabagline.  At first the part that scared me the most about this challenge was making the cheese.  I had never made cheese before, and the unknown is scary I suppose.  So this blog post is going to take you though my journey.  My ups and downs of my first Tiramisu.  First I will explain the Mascarpone, then biscuits, then Zabaglione and finally how to assemble the darn thing.  Please keep in mind that this is a three to four day process.  I would recommend making the cheese and the biscuits on the first day.  The next day make the pastry cream and the Zabaglione.  Assemble it the following day, and eat on the fourth day.

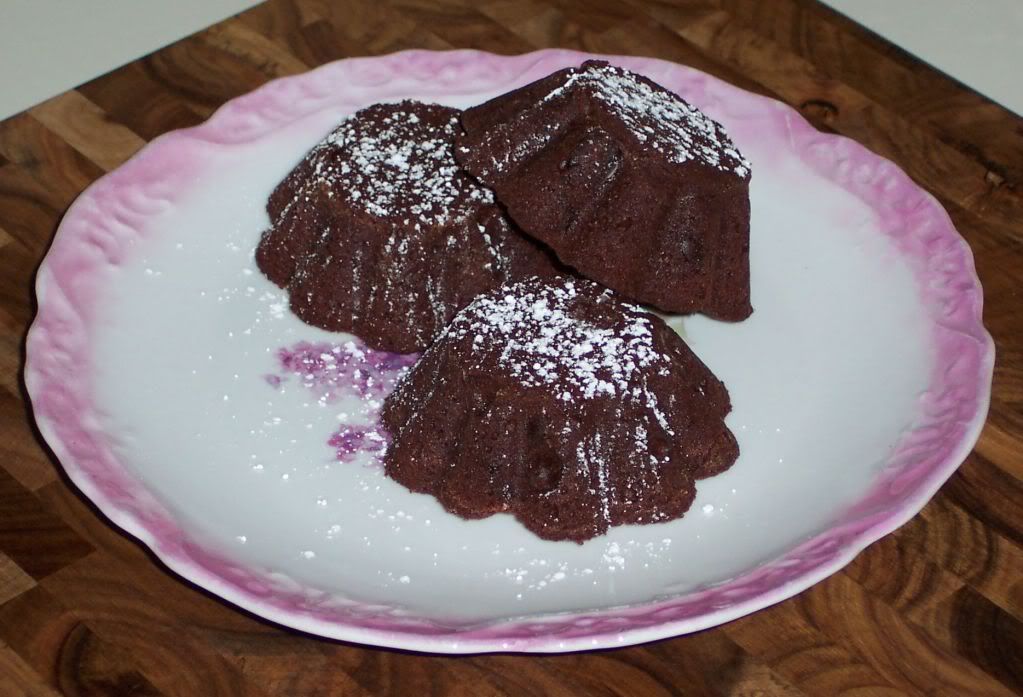
In the end my Tiramisu did not set up like I would of liked it too.  I let it sit in the refrigerator for over 24 hours, but I was not able to get it to cut clean.  I'm not sure if this is an error in my pastry cream or the Zabaglione.  Either way I served this dish at my parents house and everyone loved it.  My mom said it was the best she had, but she is my mom.. she has to say that.  *wink

Ingredients:


Mascarpone:
  • 474ml (approx. 500ml)/ 2 cups whipping (36 %) pasteurized (not ultra-pasteurized), preferably organic cream (between 25% to 36% cream will do)
  • 1 Tbs fresh lemon juice
Salvoiardi biscuits (ladyfingers)
  • 3 eggs, separated
  • 6 Tbsp sugar
  • 3/4 cupcake flour, sifted
  • 6 Tbsp confectioner's sugar
Zabaglione:
  • 2 large egg yolks
  • 3 Tbsp sugar
  • 1/4 cup Sweet Marsala wine
  • 1/4 tsp vanilla extract
  • 1/2 tsp finely grated lemon zest
Vanilla pastry cream:
  • 1/4 cup sugar
  • 1 Tbsp all purpose flour
  • 1/2 tsp finely grated lemon zest
  • 1/2 tsp vanilla extract
  • 1 large egg yolk
  • 3/4 cup whole milk
Whipped cream:
  • 1 cup chilled heavy cream
  • 1/4 cup sugar
  • 1/2 tsp vanilla extract
To assemble the Tiramisu:
  • 2 cups brewed espresso, warmed
  • 1 tsp rum extract (optional)
  • 1/2 cup sugar
  • 1/3 cup Mascarpone cheese
  • 36 Savoiardi/ladyfinger biscuits (you may use less)
  • 2 Tbsp unsweetened cocoa powder
Recipe Sources:
Mascarpone Cheese – Vera’s Recipe (Baking Obsession) for Homemade Mascarpone Cheese.
Savoiardi/ Ladyfinger Biscuits – Recipe from Cordon Bleu At Home
Tiramisu – Carminantonio's Tiramisu from The Washington Post, July 11 2007

Mascarpone Method:

To make mascarpone cheese you must have a double broiler.  If you normally use a glass bowl as part of your double broiler that will not work for this recipe.  Many of the Daring Bakers' found out that the glass works as an insulator and it will not allow the cream to reach the all important 190 degrees.  So basically you need to use a stainless steel bowl, or double broiler... right?  Wrong. 

I own a double broiler, it's a Calphalon stainless steel.  I could not get my cream past 185 degrees.  It sat at 185 for close to 45 minutes before I decided to bravely poor the cream into another sauce pan and put it directly over the heat.  In less than two minutes my cream hit 190 degrees, and I was very pleased.  Mixed in my lemon and I watched it thicken.  It does not curdle like cottage cheese it just gets think.

Okay so this is what you do.  Bring one inch of water to boil in your double broiler, reduce heat to medium and pour cream into the top of your double broiler.  Heat the cream till it reaches the magical 190 degree mark, you will see small bubbles pushing to the surface.  The bubbles are like little cheerleaders, cheering you on, letting you know that you did it right.  After looking for these bubbles for close to 45 minutes I started hallucinating.   It “should” take about 15 minutes to reach 190 degrees.  Just be patient with it, keep stirring it and wait it out.  If it comes to the point where you have to put it on the heat directly, do so with caution.  Don't burn it <3.

After your cream is 190 degrees and you see your cheerleaders mix in the fresh lime juice and wait for it to thicken.


After it thickens remove from the heat and cool it.  I put mine in an ice bath.  Not sure why I did that, but I did.


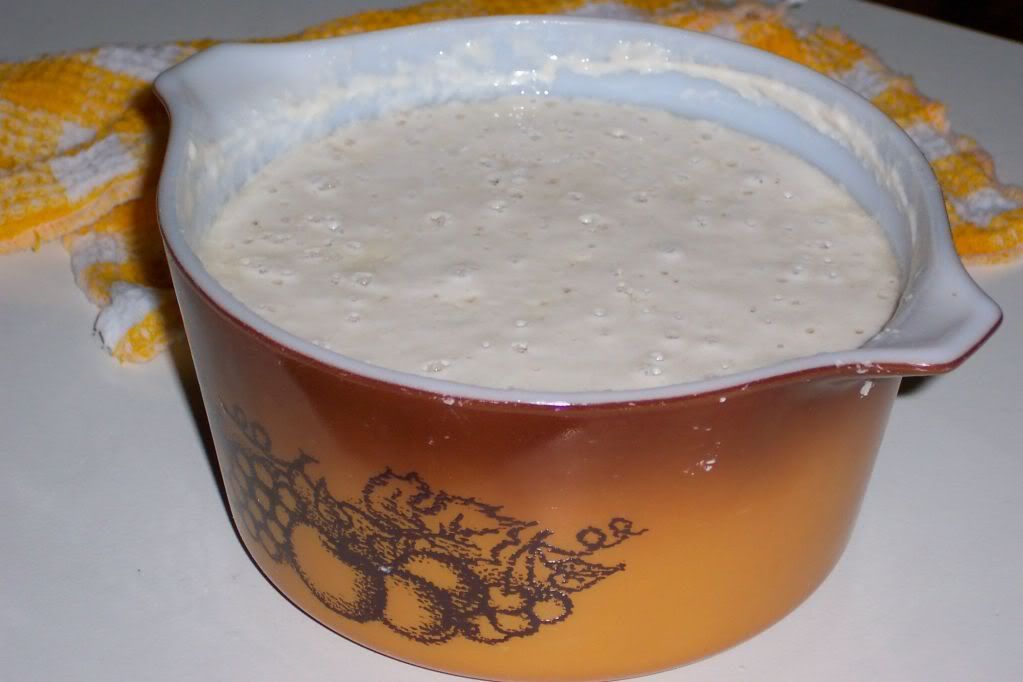
After the the cheese has cooled to room temperature line a sieve with some fine damp cheesecloth or even a clean dish rag will do.  Poor cheese into the cheesecloth, do not press on it.  After it is completely cooled cover with some plastic wrap and put in the refrigerator for 24 hours.

Don't fuss with it, it will turn into Mascarpone cheese over night if you got it up to 190.  It was like Christmas morning the next day.  I ran to the refrigerator and found my sieve packed full of the most beautiful Mascarpone cheese I had ever seen, or tasted for that matter.  This recipe is such a keeper.  Thank you!


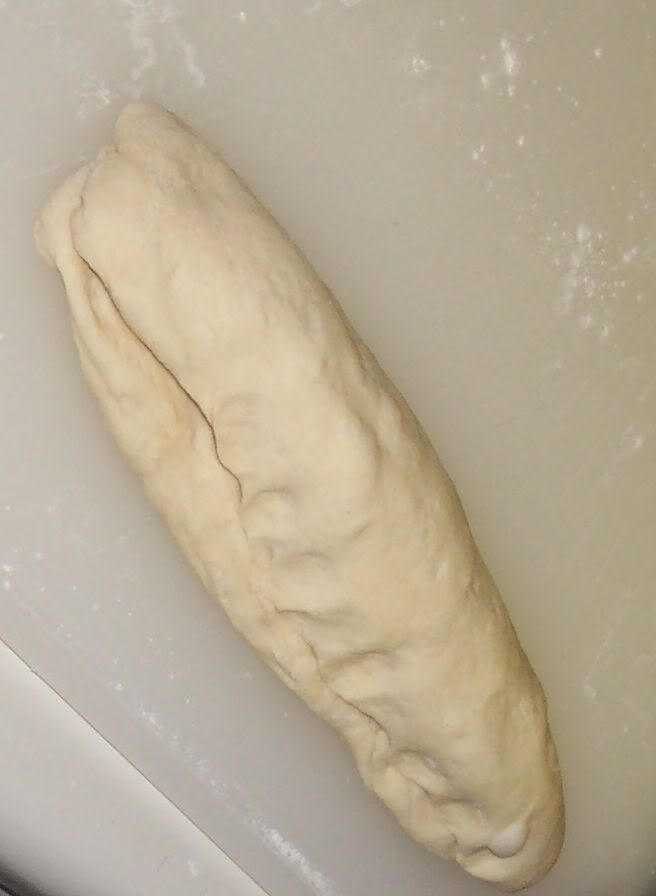
Salvoiardi biscuits, ladyfingers (hobbit toes) Method:


Preheat oven to 350 degrees, then lightly brush 2 baking sheets with oil or softened butter and line with parchment paper.

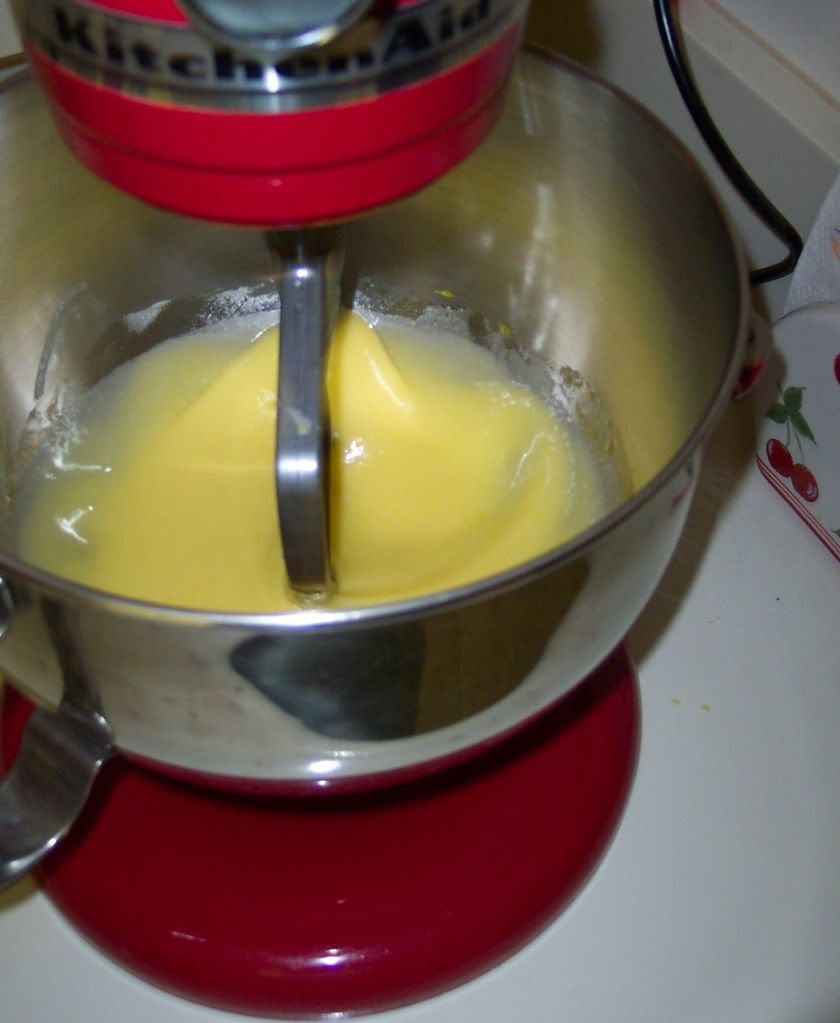
Beat the egg whites using a hand held electric mixer or a standing mixer until stiff peaks form. Gradually add granulate sugar and continue beating until the egg whites become stiff again, glossy and smooth.

In a small bowl, beat the egg yolks lightly with a fork and fold them into the meringue, using a wooden spoon. Sift the flour over this mixture and fold gently until just mixed. It is important to fold very gently and not overdo the folding. Otherwise the batter would deflate and lose volume resulting in ladyfingers which are flat and not spongy.

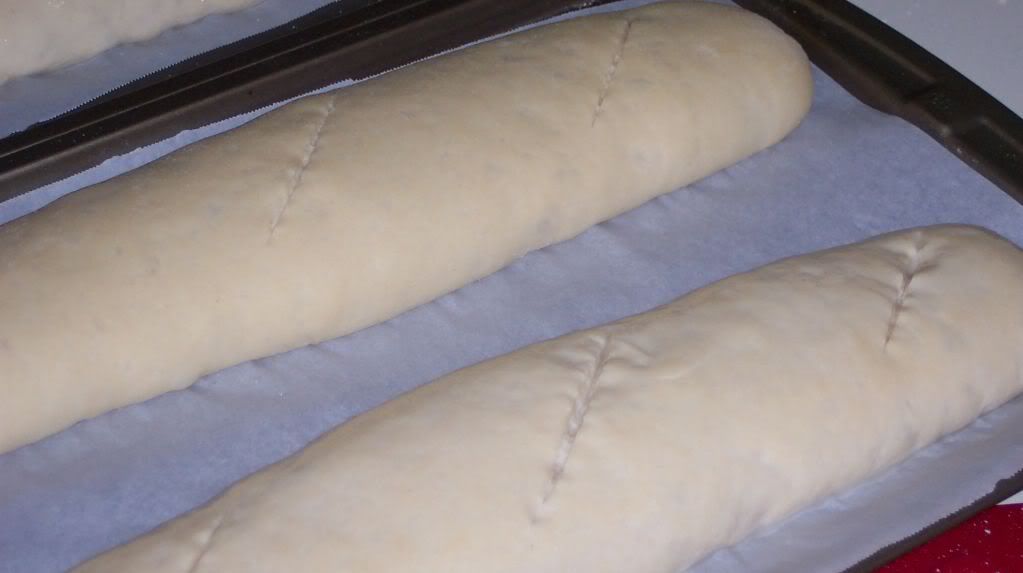
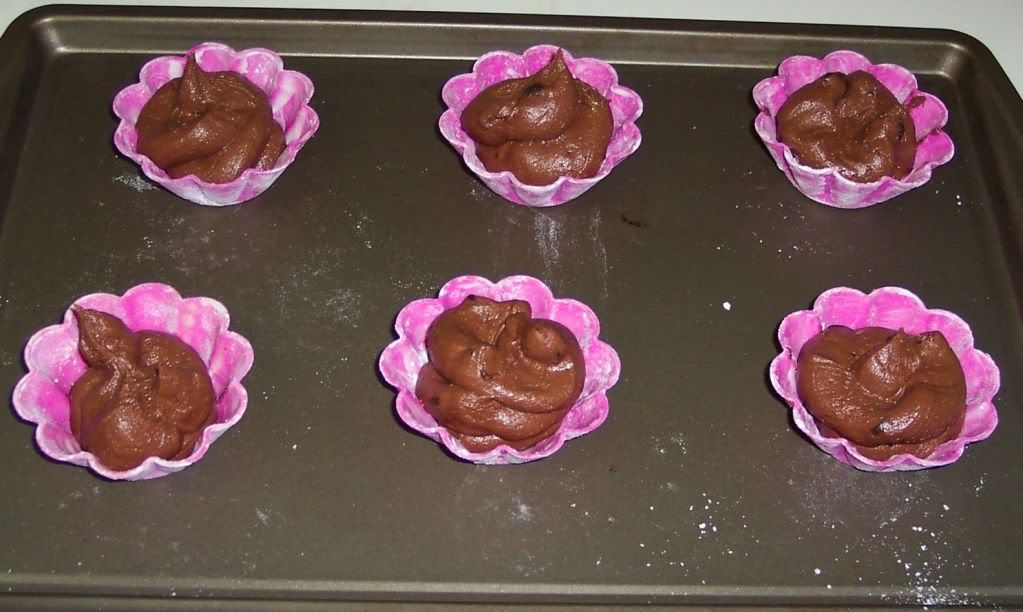
Fit a pastry bag with a plain tip (or just snip the end off; you could also use a Ziploc bag) and fill with the batter. Pipe the batter into 5" long and 3/4" wide strips leaving about 1" space in between the strips.
Sprinkle half the confectioner's sugar over the ladyfingers and wait for 5 minutes. The sugar will pearl or look wet and glisten. Now sprinkle the remaining sugar. This helps to give the ladyfingers their characteristic crispness.

Hold the parchment paper in place with your thumb and lift one side of the baking sheet and gently tap it on the work surface to remove excess sprinkled sugar.

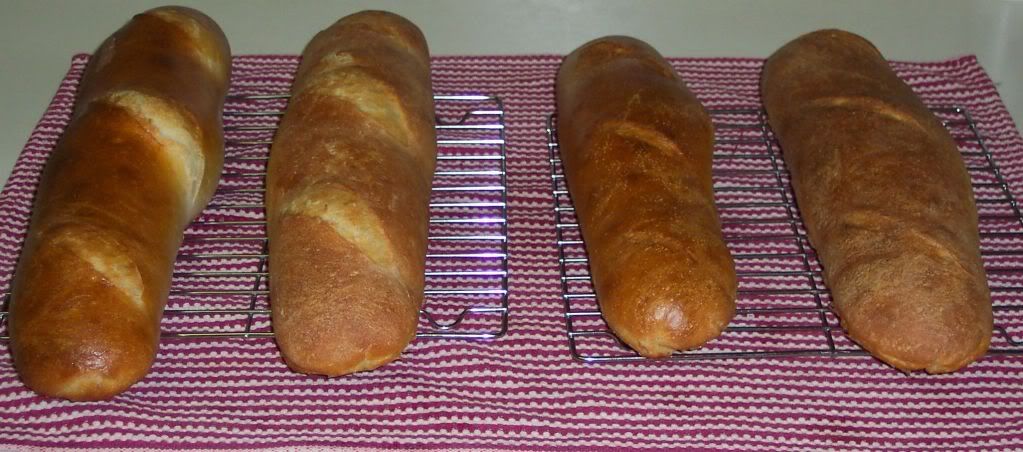
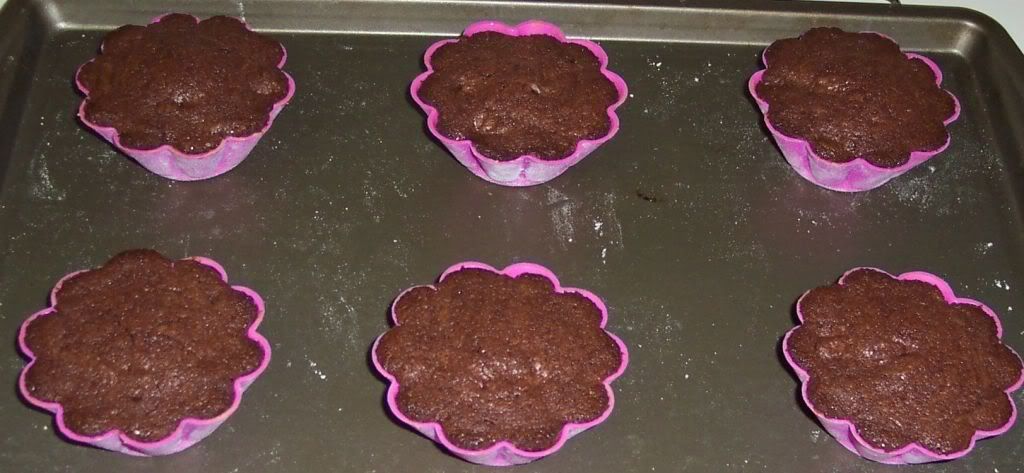
Bake the ladyfingers for 10 minutes, then rotate the sheets and bake for another 5 minutes or so until the puff up, turn lightly golden brown and are still soft.

Allow them to cool slightly on the sheets for about 5 minutes and then remove the ladyfingers from the baking sheet with a metal spatula while still hot, and cool on a rack.

Store them in an airtight container till required. They should keep for 2 to 3 weeks.

Zabaglione Method:


Heat water in a double broiler.  In the top of the double broiler mix egg yolks, sugar, Marsala wine, vanilla extract and lemon zest.  Mix together till the mixture looks smooth.  Transfer mixture to the top of the double broiler, cook mixture over low heat for 8 minutes.


It will bubble a bit as it reaches the right consistency.  It should look like a think custard when it is done.  Run custard through a fine mesh strainer to catch any clumps that may have formed up.  Let custard cool completely and then cover with plastic wrap and store in the refrigerator until you are ready to assemble Tiramisu.

Pastry Cream Method:

In a medium sauce pan mix together sugar, flour, lemon zest, and vanilla extract.  Add the egg yolk and half of the milk.  Heat the sauce pan over low heat and mix constantly.  Add the rest of the milk, a little bit at a time.


Cook for about 12 minutes, the mixture should be thick.  Take the cream off the heat and push through a fine mesh strainer and transfer to a bowl.  Let the pastry cream get to room temperature and then cover it with plastic wrap and store it in refrigerator until you are ready to assemble the Tiramisu.

Whipped Cream Method:

Using a hand held mixer or a standing mixer, beat cream, sugar, and vanilla extract.  Beat it till it forms soft peaks.  Don't make this whipping cream until you are ready to assemble the Tiramisu.

Assemble the Tiramisu:

Have ready a rectangular serving dish (about 8" by 8" should do) or one of your choice.
Mix together the warm espresso, rum extract and sugar in a shallow dish, whisking to mix well. Set aside to cool.

In a large bowl, beat the Mascarpone cheese with a spoon to break down the lumps and make it smooth. This will make it easier to fold.


Add the prepared and chilled Zabaglione and pastry cream, blending until just combined. Gently fold in the whipped cream. Set this cream mixture aside.
Now to start assembling the Tiramisu.

Workings quickly, dip 12 of the ladyfingers in the sweetened espresso, about 1 second per side. They should be moist but not soggy. Immediately transfer each ladyfinger to the platter, placing them side by side in a single row. You may break a lady finger into two, if necessary, to ensure the base of your dish is completely covered.


Spoon one-third of the cream mixture on top of the ladyfingers, then use a rubber spatula or spreading knife to cover the top evenly, all the way to the edges.  I spooned about half of the mixture, not one third.  My Tiramisu only had two layers of hobbit toes, not three.

Repeat to create 1-2 more layers, using 12 ladyfingers and the cream mixture for each layer.


Clean any spilled cream mixture; cover carefully with plastic wrap and refrigerate the Tiramisu overnight.

To serve, carefully remove the plastic wrap and sprinkle the Tiramisu with cocoa powder using a fine-mesh strainer or decorate as you please. Cut into individual portions and serve.

2/22/10

Bow Ties With Mascarpone


This recipe was inspired from The Silver Spoon: Pasta cookbook.  You might read this recipe and think butter in red sauce?? Trust me its my new favorite trick.  It adds a velvet quality to the sauce that just rolls across your tongue.  Do yourself a favor, taste this tomato sauce before you blend it up, before you put in the mascarpone cheese.. you will be beyond shocked the flavor and the velvet quality this simple sauce has.  If you don't have mascarpone cheese, just blend the sauce up and serve it with the pasta and maybe some freshly broiled shrimp or chicken.  This is a great week night meal that is easy on your pantry and wallet.  

Ingredients:
  • 28 ounce can of whole plum tomatoes, no salt
  • 2 Tbsp unsalted butter
  • 2 Tbsp olive oil
  • 1 small onion, chopped
  • ½ cup mascarpone cheese
  • 1 lb bow tie pasta
  • kosher salt
  • freshly grated Parmesan cheese, to serve


Method:
Plop tomatoes (with the sauce in can), butter, oil, onion and a pinch of salt in a pan and cook over low to medium heat stirring occasionally for about a half hour.  You want the sauce to start to glug and pop.


Boil a large pot of water for cooking the pasta.

Remove from heat and transfer sauce to a blender or a food processor.  I used a blender because my food processor is so small and I did not want to deal with it.  Puree the mixture; return it to the pan over very low heat, and add the marscarpone cheese.


Mix in the cheese till the sauce is well blended.  Salt the pasta cooking water, and add pasta.  Cook pasta till it is al dente, drain pasta and toss it into the sauce pot.  Mix the pasta with the mascarpone pasta sauce and serve, garnish with Parmesan cheese.  Enjoy!

2/17/10

Pork Chops with Mustard Sauce


This recipe was inspired from Gourmet Magazine.   I often hear the following complaints: week nights are hard to find the time and energy to cook up a fabulous meal, and the most common complaint is recipe X has too many ingredients that I don't have in my pantry.  I think this recipe is good for a causal cook because most of the items are things all cooks should have in the kitchen.  The only thing I may not have on hand all the time is the cream, but more often then not I have a little jug of it in my frig.  I have scaled this recipe down to serve two people; you could easily double this recipe to feed four.  This recipe is also kid friendly in my opinion.  You could easily cook five pork chops, make the sauce for two and serve the kids chops with apple sauce. 

I'm not sure why or when simple whole food got replaced with processed food.  Processed food usually still has to be heated or doctored in some way or another, and always costs more then whole food.  I'm sure you could buy some processed pork chops for more than double the price of what you would pay to make this meal, and save like 15 minutes time.  Just being a little more organized with your menu planning will save you money and the time won't be an issue.  And don't forget the biggest bonus; you will be eating delicious healthy food vs what you get from the deli counter.

Ingredients:

  • 2 pork chops
  • ¼ tsp kosher salt
  • ¼ tsp black pepper
  • 1 Tbsp olive oil
  • 1 shallot, chopped
  • ½ cup crimini or button mushrooms, sliced
  • 1 Tbsp unsalted butter
  • 1/3 reduced-sodium chicken broth
  • 2 Tbsp Dijon mustard
  • 1 Tbsp heavy cream
  • 1 tsp fresh lemon juice


Method:

Preheat oven to 325 degrees, and position rack in the middle.

Heat a stainless steel sauce pan over medium heat until it is hot.  Pat dry pork chops with a paper towel and sprinkle both sides with salt and pepper.  Add oil to skillet; and the pork chops and brown them.  They should cook for about 5 minutes each side.


Transfer pork chops to a baking dish, save the skillet and bake uncovered until thoroughly cooked about 7-10 minutes depending on chops thickness.  After they are thoroughly cooked loosely cover them with foil and let them stand for 5 minutes.

In the interim, pour off the fat from the skillet.  Cook the shallot and mushrooms over medium heat till they are soft; about 5 minutes.


Add broth to shallot and mushrooms and bring to a boil; make sure you scrape all the browned bits in the pan.


After sauce has boiled for 2 minutes add the mustard and cream, return sauce to a boil add the lemon juice and simmer the sauce till it thickens, about 3 minutes.  Right before serving stir in butter.


Plate pork chops and smother each chop with the mustard sauce.  Remember it does not take godly amounts of time to cook a homemade meal, it just takes some planning.  Enjoy!

2/14/10

Daring Cooks Challenge February 2010: Mezze Table!


The 2010 February Daring Cooks challenge was hosted by Michele of Veggie Num Nums. Michele chose to challenge everyone to make mezze based on various recipes from Claudia Roden, Jeffrey Alford and Naomi Dugid.

This months challenge allowed for lots of creativity.  The two mandatory items were the Pita Breads and the Hummus.  Even though the hummus recipe was mandatory we were allowed to flavor our hummus; I choose to add fire roasted red bell peppers.  The fresh hummus was just delicious with the hand made pita bread.  I added a bowl of green olives and raw almonds to my Mezze table along with a balsamic vinegar couscous salad.

I used dried chick peas to make the hummus and I would recommend using them over canned.  They bring so much more flavor and almost a different texture than canned.  Using dried beans is always cheaper to boot. 

Hummus Ingredients:
  • 1 ½ cups dried chick peas, soaked in water overnight
  • 2 lemons, juiced
  • 2 garlic cloves, pealed and crushed
  • 1 tsp salt
  • 3 Tbsp unsalted creamy peanut butter
  • 1 ½ tsp sesame oil
  • ¼ cup fire roasted red bell peppers, packed in water- drained

Method:

Drain the chick peas; put them in a pot, and cover them with water.  Boil them for about an hour and a half; once then are tender drain them and reserve about a cup of the cooking liquid.

Puree the chick peas in a food processor fitted with a steal blade.  Add the cooking liquid as needed till it develops into a smooth paste.  Add the lemon juice, garlic, salt, peanut butter, sesame oil, and red peppers to the food processor.  Blend till well combined.  Taste and adjust seasons as you see fit.

I had to work in batches, due to the size of my itty bitty food processor.


Pita Bread Ingredients:
  • 2 tsp of dry yeast
  • 2 ½ cups lukewarm water
  • 5-6 cups all purpose flour
  • 1 Tbsp kosher salt
  • 2 Tbsp olive oil
Method:

Add warm water to a large bread bowl; sprinkle yeast over water and wait for it to become active.  Stir in 3 cups of flour; add one at a time.  Stir mixture with a wooden spoon for one minute.  Let mixture sit for about ten minutes, or as long as two hours.

Add salt and olive oil to mixture, and start to add the flour mixing one cup in at a time.


I used about 5 ½ cups of flour to get the right dough texture.  Turn dough out on a floured work surface and kneed for ten minutes, the dough should be smooth and elastic.  Rinse out the bread bowl and dry it out.  Add some oil and flop dough into the bowl, make sure you spin it around the entire surface is covered in oil.  Cover bowl with a clean towel and place bowl in a warm draft free area to rise.  Takes about an hour and half to double in size.

After the dough has doubled in size take a cooking sheet or a baking stone and place it on the bottom rack in oven.  Preheat oven to 450 degrees.

Punch the dough down, and divide it in half.  Put one half back in the bread bowl and cover it up.  Section the other have into 8 equal size pieces.


Roll each piece out to about 8-9 inches; don't stack them and keep them covered.


Place 2 breads on cooking sheet and bake for about 3 minutes, wait for the pita to balloon up.  Store pita in a bread basket covered with a towel to keep them warm.  Continue to cook the rest of the pitas and serve.

Balsamic Vinegar Couscous Salad Ingredients:

  • 4 ½ cups couscous
  • 2 cups water
  • 1 shallot, finally chopped
  • 1/3 cup raisins
  • ¼ cup kalamata olives, pitted and quartered
  • ¼ tsp kosher salt
  • 7 Tbsp olive oil
  • 2 Tbsp balsamic vinegar
  • ¼ cup hot house cucumber, chopped
  • ¼ cup tomato, chopped
  • Fresh mint for garnish
Method:

In a small bowl combine shallot, 6 Tbsp olive oil and 2 Tbsp balsamic vinegar; mix well and set aside.

Bring water to boil in a medium sauce pan; add one Tbsp of olive oil, and ¼ tsp kosher salt.  Add couscous and raisins to water; remove pot from heat and cover pan.

After about 5 minutes take the lid off the couscous and fluff it up with a spoon.


Add the balsamic vinaigrette, and olives.  Mix well and store in the refrigerator till you are ready to serve.  Garnish serving dish with tomato, cucumber and freshly torn mint leaves.

2/6/10

Sourdough Bread


For sometime now I have been very disappointed with the sourdough bread that I can purchase locally.  I live in the Bay Area and for crying out loud sourdough bread should be easy to get.  There are a few places I know that are not very close to my apartment so I decided to make my own sourdough starter and give this a try.

My idea was to make sourdough baguettes to serve at Brenda and Tom's Superbowl party.  The only problem I ran into was the size of my baking pans.  The sheets were a little to small to fit a nice long baguette.  In the end they came out like cute little chubby baguettes. The taste will make up for the larger size bruschetta I plan on serving.

This recipe has been adapted from Alaska Cookbook: Inside Passage.  Years ago my Parents went on a trip to Alaska and brought back this cute little cookbook/pamphlet.  I remember the trip fondly as I house sat for them.  Ah that was a fun summer.  Sorry about your car Mom, love you.


Ingredients:

  • 1 cup sourdough starter
  • ¼ ounce dry active yeast- after your sourdough starter has been around for a few weeks, you will not need to add the extra yeast to the recipe.
  • 2 cups warm water
  • 7 cups white bread flour
  • 1 Tbsp kosher salt
  • 1 egg
  • 2 Tbsp water
  • 4 tsp cornmeal

Method:

Combine the warm water and yeast in mixer.  Wait for yeast to become active; stir in salt, sourdough starter and mix in 1 cup of flour.  Using a low speed on your mixer combine one cup of flour at a time; do not dump all the four in at once.  If the dough seems to wet after you mix in all the flour, add some more flour.  If the dough seems to dry, add some more water.

After dough comes together take it out of the mixer and kneed it on a floured board.


Grease a large glass or metal bowl and place dough into it.  Make sure you flip the dough around so all of the dough is covered in the oil.  Cover dough with a towel and let sit till it is doubled in size.  This should take about an hour.

After the dough has risen take it out of the bowl and punch it down on a floured surface.


Section the dough into four pieces.  Take one of the pieces and form it into a rectangle shape.  Roll the rectangle up forming a loaf of bread.  When you get to the end pinch it together with your fingers to seal, and place.


Work the shape of the loaf with your hands, seal should always be the bottom side of the loaf.  Line a baking sheet with parchment paper, and sprinkle area with some cornmeal.  Place complete loaf on the sprinkled corn meal. 

Make four loafs, cover them with a large towel and let the rise for about 40 minutes till they are double in size.


I made two smaller loafs and two larger loafs, tried to get two them to come out more baguette shape.  Preheat oven to 450 degrees.

After the loafs have risen take a razor blade and score each loaf three times over.


This was a test for me so I decided two use egg wash with water on two of my loafs and just plain water on the other two.  When I make this again, I will use the water only method.  If you would like to use egg wash; mix one egg with 2 Tbsp water and brush it over the loafs.  For the water method liberally brush water over the loafs.

Bake in a 450 degree oven for 15 minutes.  After 15 minutes switch the backing sheets location from top to bottom, and bottom to top.  Decrease the temperature of the oven to 400 degrees, and bake for another 25 minutes.  If you are worried it is cooking to fast you can always take its temperature with a probe themometer.  The bread is done when it reaches 200 degrees.   Cool the bread on wire racks before serving.  Enjoy!


The first and the third loaf I used the egg was on, the second and 4th loaf I used water only.

Sourdough Starter


This starter is a combination of my Alaska Cookbook: Inside Passage, and my gaming buddy Thomas Bonetati.  A good starter can last for years if you feed it properly.  Yes you feed it!!

Ingredients:


  • 2 ½ cups warm water
  • 2 cups all purpose flour
  • 1 clean wash cloth
  • 1 glass dish, with glass lid

Method:

Stir together water and flour in a glass dish, or a crockery style bowl.  Run wash cloth under water till it is damp, cover starter dish with damp cloth.  The cloth is what helps the the natural yeast in the environment pass through into starter, and that is how the fermentation process starts.  Leave the mixture on your counter for 1-2 days.  Make sure the wash cloth stays moist, run it back under water if it starts to dry out.  Mix the starter daily.  Once you see small bubbles coming to the surface of the starter remove the wash cloth, and cover glass dish with a glass lid that does not seal perfectly.  You want to allow the starter to breath.  Place the starter in the refrigerator and feed it flour twice a week, about a ½ cup.  You can leave the starter on your counter; however you will have to feed it more often.

I made my starter 5 days before I needed to use it.  On day 3 it developed a clear liquid over the top.  I read up on this, and found that it is Hooch!  Most sites said that it wont hurt your starter just to stir it back into the mixture and feed it some more flour. 

Bottom line sourdough starter is pretty easy to make and keep alive in your refrigerator by feeding it.  Thanks so much for your help Thomas!

2/4/10

Chocolate Bouchons


For Christmas Aaron got me a few cooking books.  Thomas Keller's Bouchon finally showed up last week.  So far I am just loving it.  I made some beef broth last week from prime rib bones, his method worked wonders.  I will have to post my Minestrone soup later.

Any way back to the Chocolate!  This recipe has been adapted from Thomas Keller's book.  The main changes I made were the baking time, and baking them in brioche molds instead of timbale molds.  The average cook has a cupcake pan that will work fine with this recipe.  The brioche molds I used are the same size as a medium cupcake pan.

Ingredients:

  • butter and flour for the cup cake pan, or molds
  • ¾ cup flour
  • 1 cup unsweetened coco powder
  • 1 tsp kosher salt
  • 3 large eggs, room temperature
  • 1 ½ cups plus 3 Tbsp granulated sugar
  • ½ tsp pure vanilla extract
  • 6 ounces semisweet chocolate, chopped
  • 12 ounces of unsalted butter, soft and slightly warm
  • confectioners sugar for serving

Method:

Preheat oven to 350; butter and flour 20 molds, or cupcake pans.

Sift the flour, salt, and unsweetened coco powder together; set aside.  Please do not skip this step; it is the small simple things you do that make your dishes go from good to fabulous.

Fit mixer with paddle attachment and mix together eggs and sugar for 5 minutes on medium speed; when the color of the mixture turns pale yellow it is ready.


Mix in the vanilla.  On low speed start to add the butter and flour mixture; add 1/3 of each to the mixer, and combine well, repeat 2 more times till all the flour and butter has been combined.  Remove paddle and mix in chopped chocolate by hand.  Put batter into a large zip lock back and cut the tip of it off; pipe batter into each mold about two-thirds full.


Bake at 350 for 15 minutes.


Place molds/cupcake pan on a cooling rack for two minutes.  Take another cooling rack and set it on top of the molds/cupcake pan and flip the molds/cupcake pan over.  The cakes will fall out of the molds on there own.  Once they fall out remove the molds/pan and let them cool.


Serve with powder sugar and ice cream, enjoy!

Serves 20 small appetites, or 10 large.