My blog has moved!

You should be automatically redirected in 6 seconds. If not, visit
http://www.racerhino.com
and update your bookmarks.

Showing posts with label Main Course. Show all posts

6/2/10

Scallop and Shrimp Spaghetti


Let’s just take a moment to appreciate the photo.  Gosh she is pretty.  Some of my dishes photo really well; and then there is this pasta.  This dish steals all the thunder of any of my other posts (well maybe bacon looks better, but you get the point).  Rarely do I get a photo that demonstrates how truly wonderful my food taste, well that up in till now.  This is one of those moments, let’s just stop and take in the beauty of this pasta.  The colors and textures are so vivid; I bet you could almost smell it. . .  Can’t you?

This recipe does not need to be made with both scallops and shrimp, it does not need to be made with jumbo sized shrimp and large scallops.  The cooking time just needs to be adjusted depending on the size of the seafood you choose.  So if all you have is shrimp, use shrimp.  Use what you have.

A few key things to keep in mind, if you choose to use scallops, make sure they are dried completely before putting them in the pan.  The same goes for the shrimp, but I am more diligent about it when it comes to scallops.  Wet scallops will equal no crust.  Every loves crust right?  Something else to keep in mind is you really need to have everything prepped before you start cooking.  You totally need to get your Mes en plas on.  This dish cooks fast, so basically it takes 8 minutes for the pasta too cook.  This dish takes about 10 minute’s grand total to make.  So make sure the pasta water is boiling before you start the seafood.

Ingredients:
  • 2 small yellow onions, finely chopped
  • 2 cloves of garlic, finely chopped
  • 3 Roma tomatoes, seeded, and diced
  • 4 fresh basil leaves, chiffonade at the last minute right before serving
  • ¼ lemon, juiced
  • 3/4 cup white wine
  • 11 ounces spaghetti noodles
  • ½ lb large shrimp, cleaned, tail on
  • 2-3 scallops per person
  • kosher salt
  • freshly grated black pepper
  • olive oil


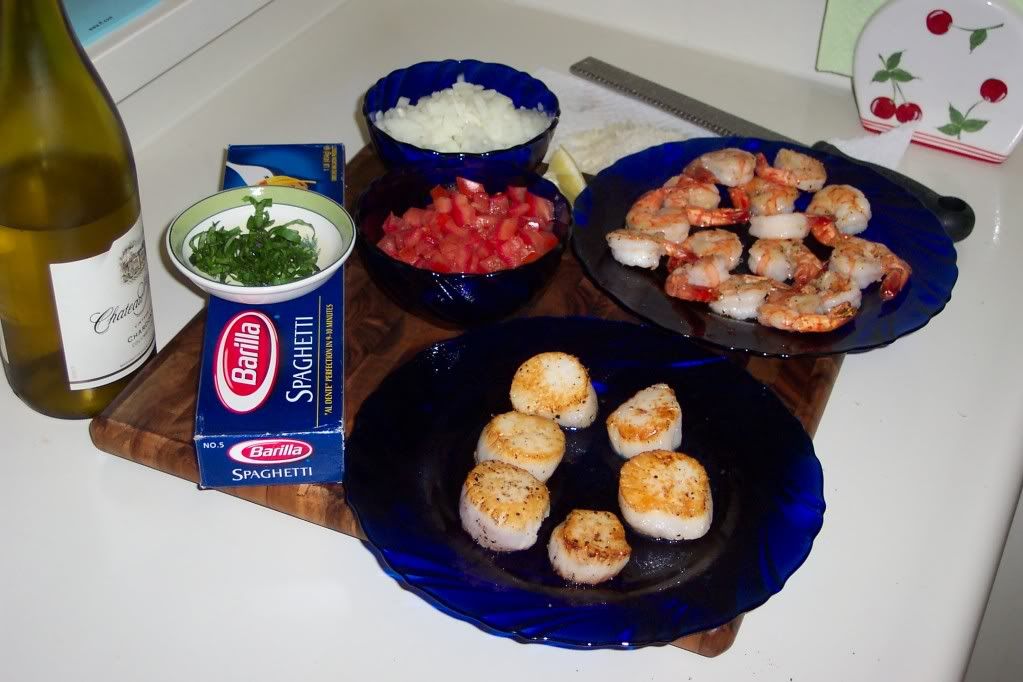
Please note photo was taken after I seared the scallops and shrimp.

Method:

Bring a large pot of water to boil to cook the pasta.  Wait for the water to boil, heat a large sauce pan over medium high heat.  You need to make sure that sauce pan is hot before you start searing the scallops.  

Add 1-2 Tbsp of olive oil in the sauce pan.  Sprinkle the tops of the dried scallops with kosher salt and pepper.  Place the scallops’ salt and pepper side down in the sauce pan.  Sprinkle salt and pepper over the other side of the scallops.  The trick to scallops is not to overcook them.  I did mine just under 2 minutes per side.   So after about a minute and a half use a nice spatula and flip the scallops.  Try not to lose the pretty crust that has built up on the scallop.  That’s the tasty part!  Right after you flip the scallops add the spaghetti to the boiling water and set your timer.  After the scallops are done remove them from the sauce pan, loosely tent them.

Keep the sauce pan on, add more olive oil if it is needed and do the same process with the shrimp.  They need to be dried, salt and peppered and cooked for about a minute a side.  After they are done place them on a plate and tent.

Working quickly add a splash of olive oil to the pan and sauté the onions and garlic for a few minutes.   Sprinkle them with a little kosher salt to help them cook down faster.  Once there is less than 4 minutes left on the spaghetti add the diced tomatoes to the pan.  Add the wine and reduce down by half.  At this point the spaghetti should be done, drain it and toss it in the tomato sauce.  Squeeze the fresh lemon juice over the pasta, and add two basil leaves that have been cut chiffonade style.

Plate the pasta and then add the scallops and shrimp on top and garnish with the fresh basil.  Sit back and enjoy with some wine. . . trust me you will love this recipe. 

Serves 4

5/14/10

Daring Cooks Challenge May 2010: Enchilada Stack


Our hosts this month, Barbara of Barbara Bakes and Bunnee of Anna+Food have chosen a delicious Stacked Green Chile & Grilled Chicken Enchilada recipe in celebration of Cinco de Mayo! The recipe, featuring a homemade enchilada sauce was found on www.finecooking.com and written by Robb Walsh.

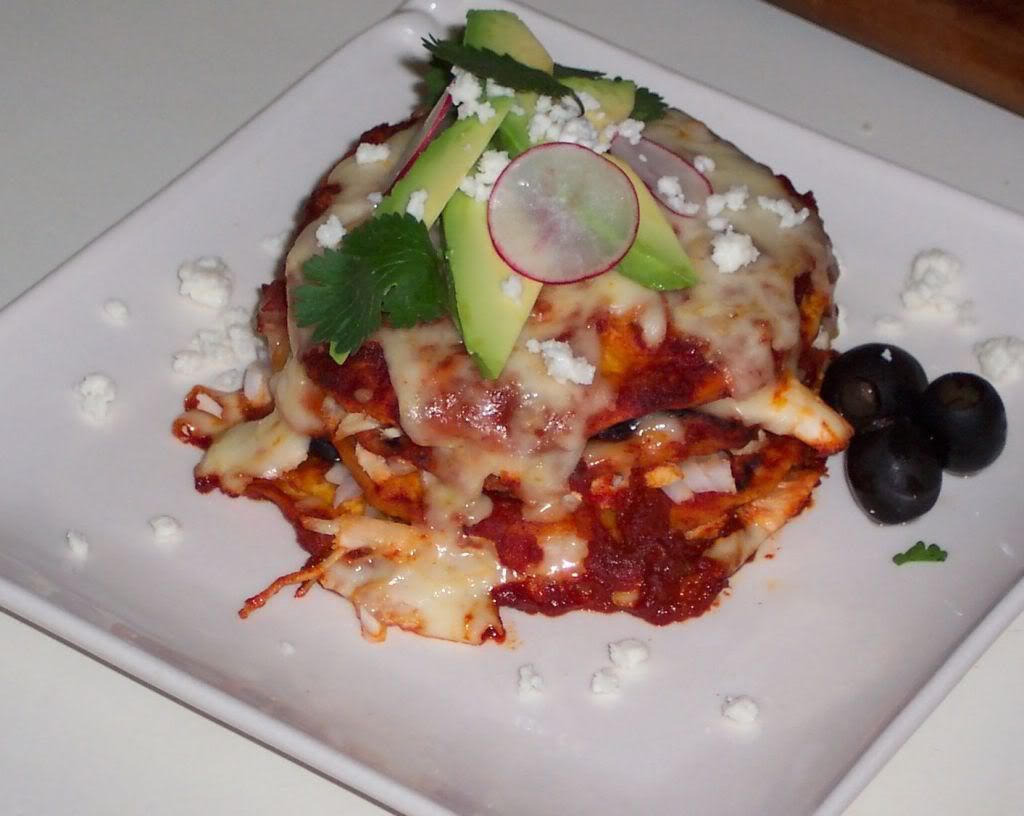
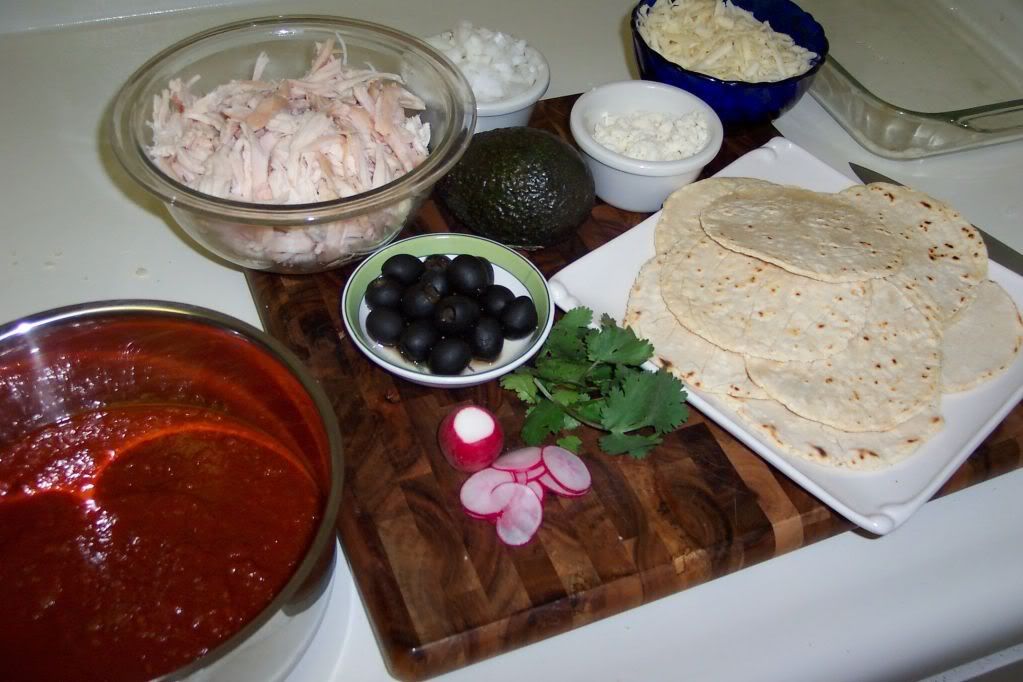
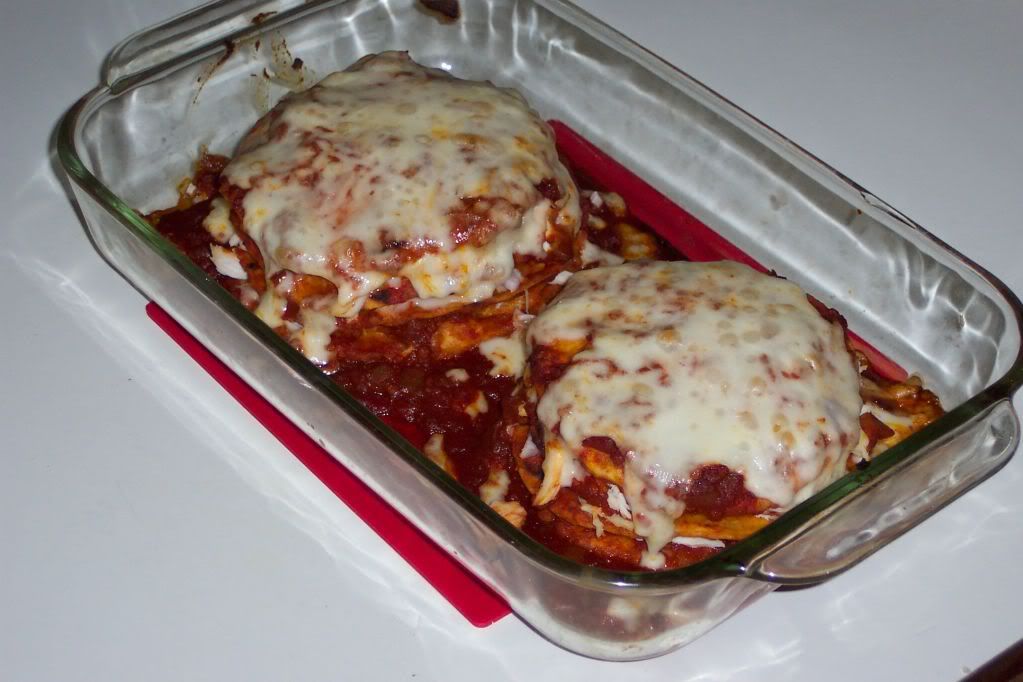
As you can see my Enchilada Stack is not green.  Last month I worked on making some Chile Verde and felt that I would give making a red sauce a try instead.  I made homemade corn tortillas and stacked the enchiladas with olives as an ode to my Mother's enchilada influence.

Please note that I made a large amount of enchilada sauce to freeze and use again on another day.
 

Enchilada Sauce:
  • 3 Guajillo chiles, stemmed and seeded
  • 3 Ancho chiles, stemmed and seeded
  • 3 cups of hot water
  • 1 large, or two small yellow onions, chopped
  • 2 garlic cloves, chopped
  • 1 Tbsp ground cumin
  • ½ tsp ground oregano
  • 1 Tbsp vegetable oil
  • 2 ½ pounds fresh tomato
  • 1-2 serrano chiles, halved and seeded
Corn Tortilla:
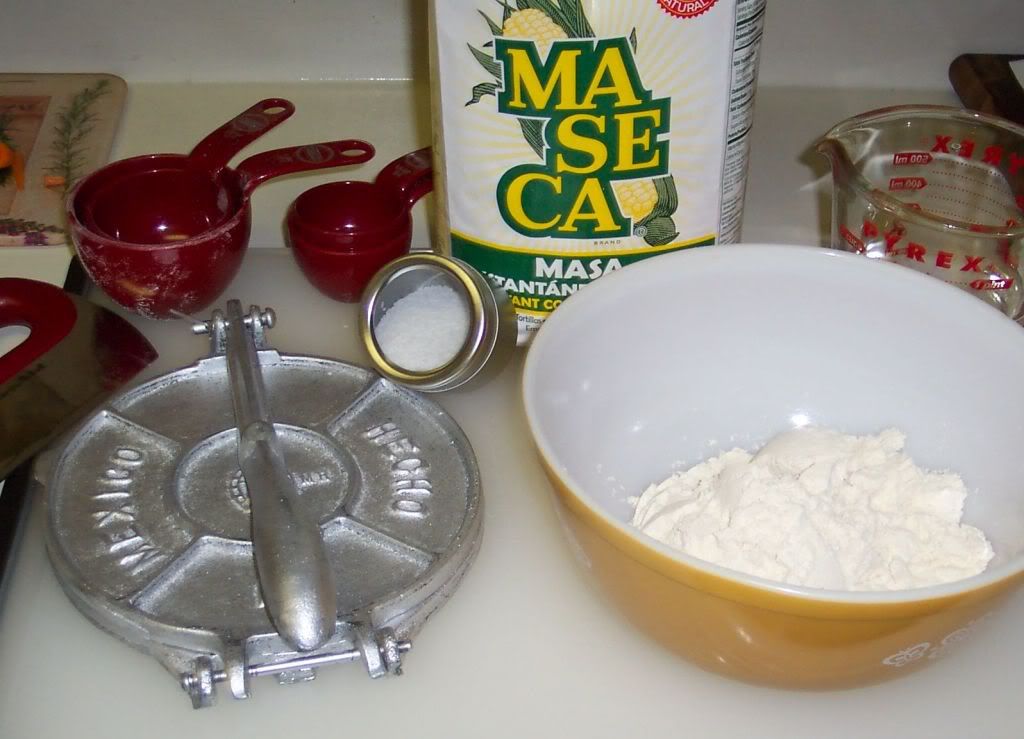
  • 1 ½ cup masa flour
  • 1 cup warm water
  • ¼ tsp kosher salt
  • tortilla press
Enchilada Stack:
  • Roasted chicken meat, shredded (white, dark, or both)
  • white onion, chopped
  • jack cheese, grated
  • black olives, chopped for the inside, some whole for the garnish
  • Queso fresco cheese, garnish
  • cilantro leaves, garnish
  • radishes, thinly sliced, garnish
  • avocado, sliced, garnish

Enchilada Sauce Method:


Preheat oven to 400 degrees

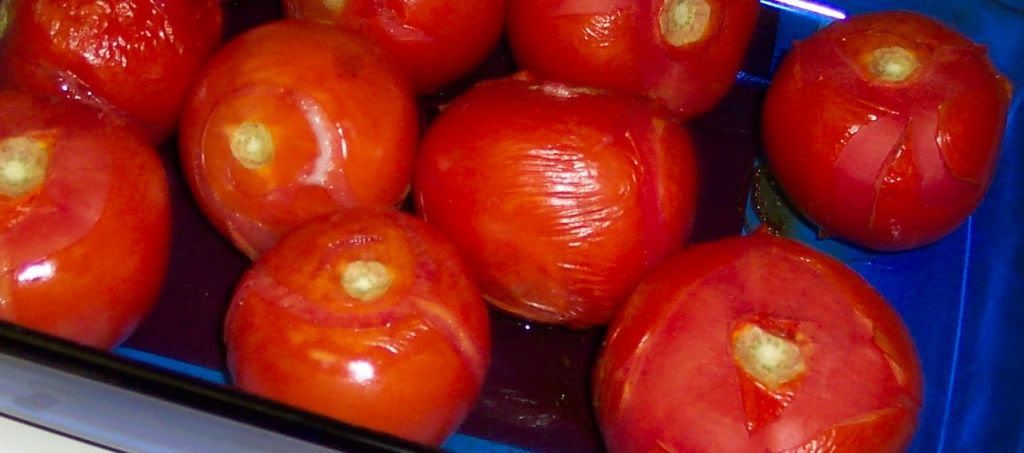
Place clean tomatoes in a large glass heat proof dish.  Roast the tomatoes for 45 minutes to an hour, turning once.  The skin should start to shrivel up and fall off.


After the tomatoes have cooled down remove the skin and discard.

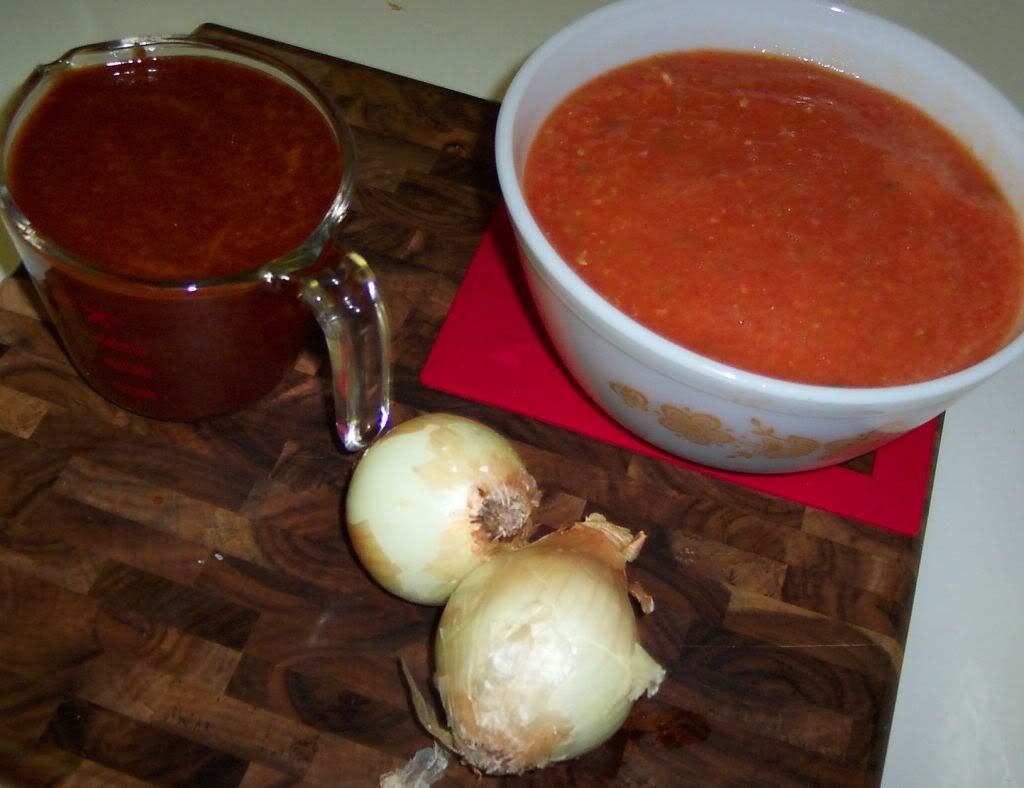
Add the garlic and serrano chiles to the blender and then put the peeled tomatoes on top along with the cumin and oregano.  Puree for about 20 seconds, you don't want to bust up the tomato seeds themselves because then the sauce will become bitter.  Pour the sauce into a glass bowl and set aside.  I try to always use nonreactive cook items when cooking with tomatoes.

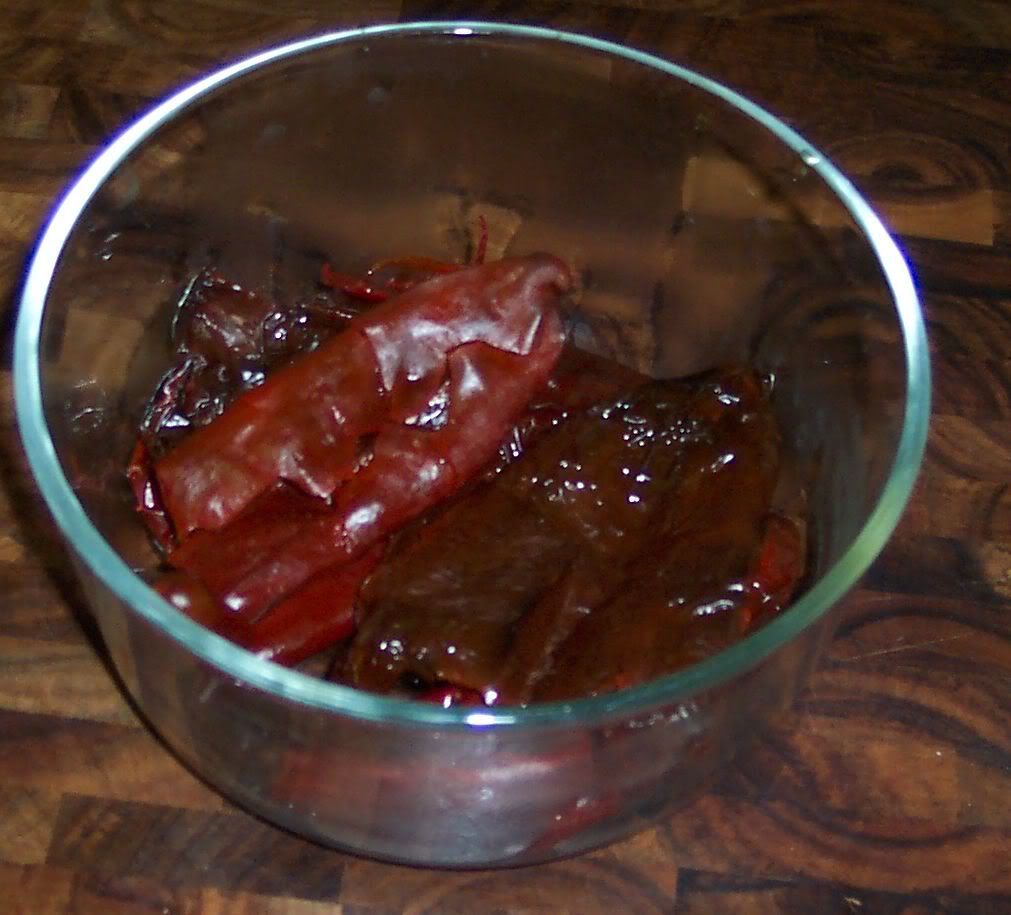
Place the stemmed, and seeded  Guajillo and Ancho chiles in a small sauce pan.  Cover them with water and bring the water to a boil.  Once the water boils turn the water off and let the chiles steep till them are plump and hydrated.


Remove the chiles from the water and place them in a blender.  Taste the water the chiles stewed in if it tastes bitter discard.  If it does not taste bitter add one cup chile water plus one cup tap water to the blender.  Puree the chiles till the are completely blended.  Run the chile sauce through a fine mesh strainer.


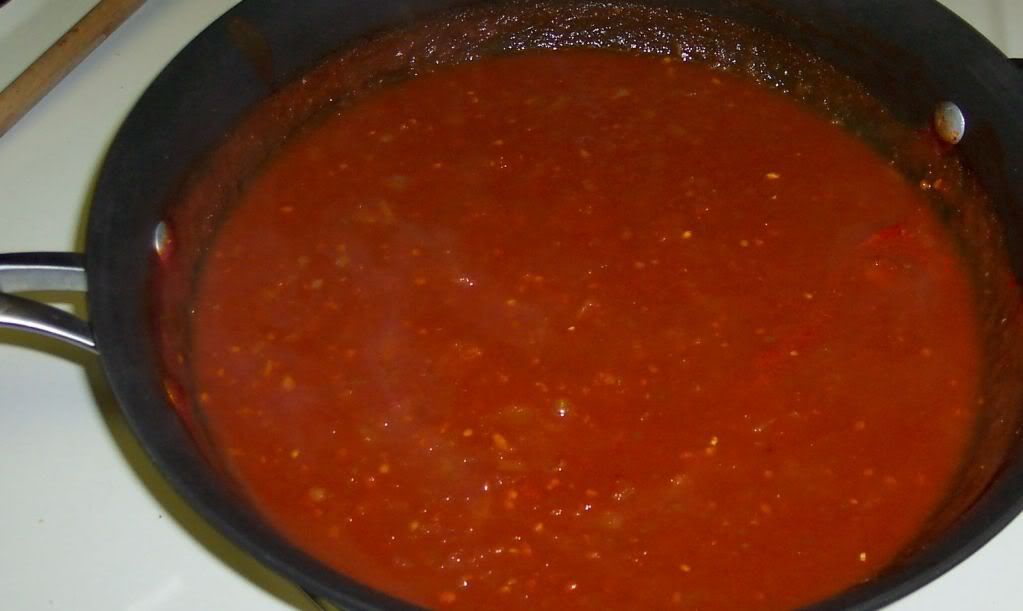
Heat a large sauce pan over medium heat and saute the onions in vegetable oil till they are translucent.  Add the pureed tomato and chili mixture.  Simmer for about 20 minutes.  Taste for flavor.  You might need to add salt or even sugar to the sauce depending on the ripeness of your tomatoes.


Corn Tortilla Method:


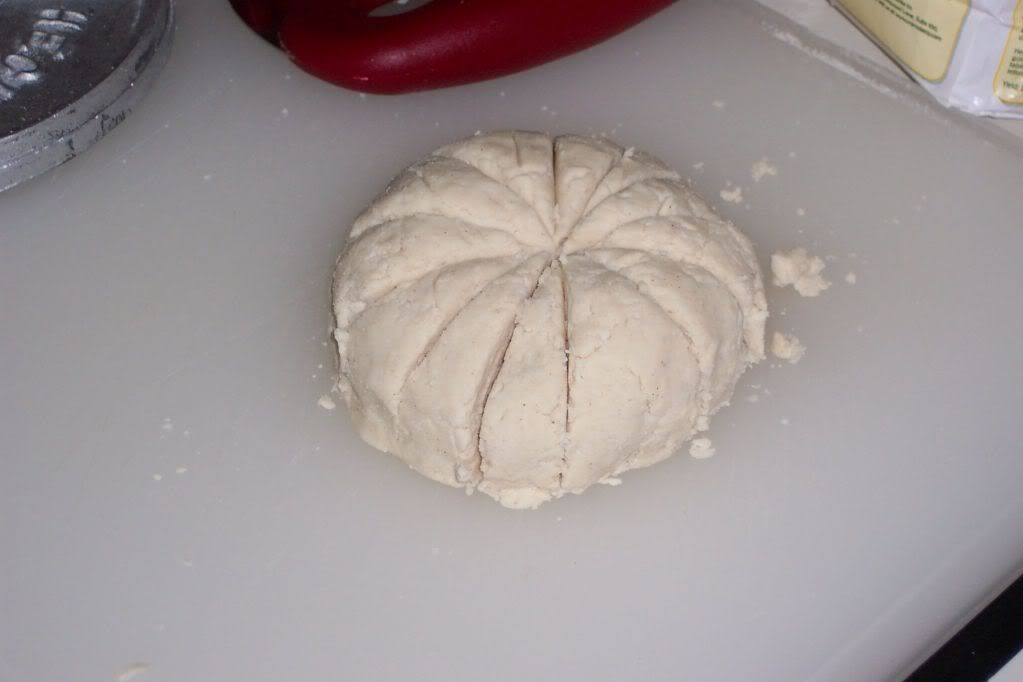
Mix mesa with salt, and cover it with warm water.  Stir it till it is loosely combined and then cover it for 20 minutes.  Come back and form it into a large ball, you may need to add more water to help it come together; add 1 Tbsp at a time.  Section the dough into 12 triangles.


As you can see mine are not all the same size.  Whoopsie!

Roll them into little balls and press them out in the tortilla press.


Store them between sheets of parchment paper before and after you cook them.  Heat a large skillet, preferably cast iron over medium high heat.  Cook each tortilla for about 30-40 seconds a side.  Serve them right away or store them in a plastic bag in the refrigerator.

Tortilla Stack Method:

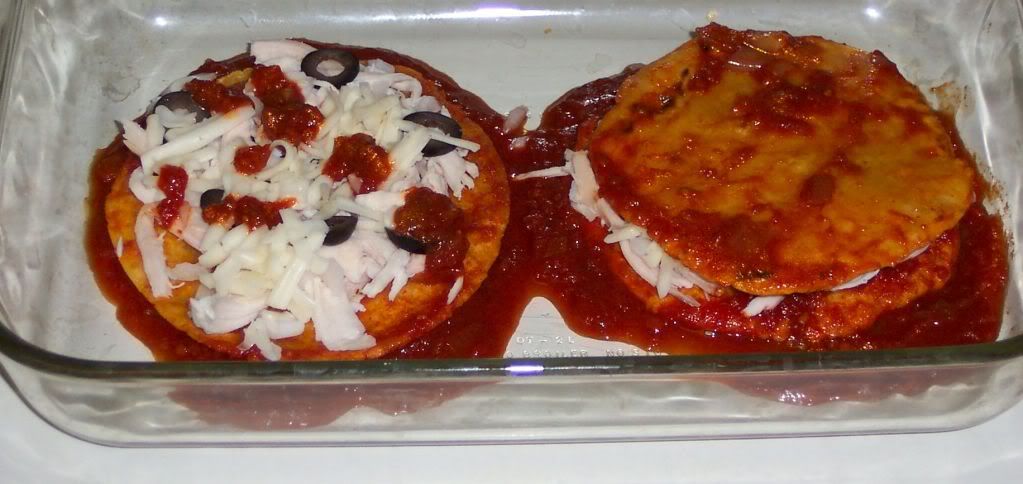
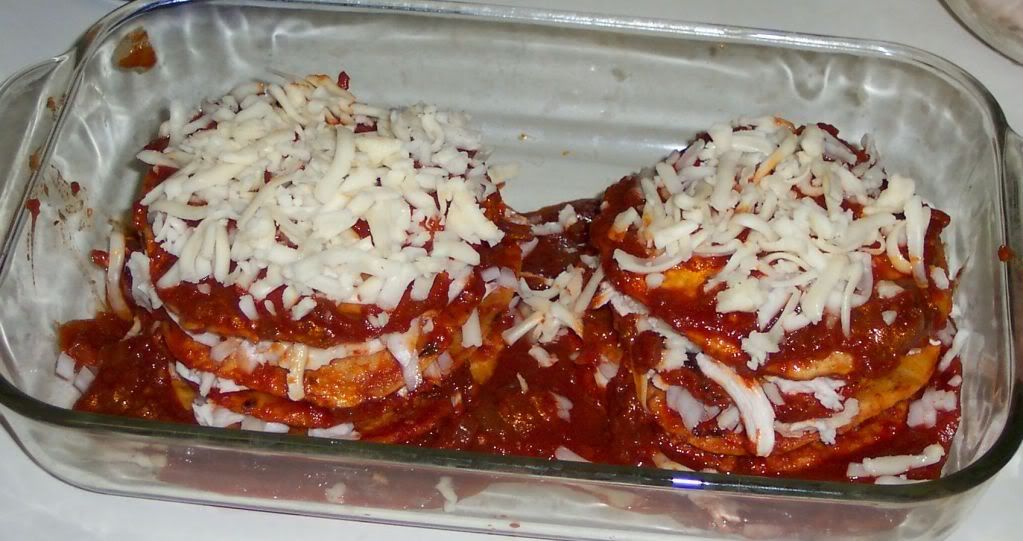
Basically I heated a small amount of peanut oil in a skillet.  Toasted each tortilla and then dipped it into the heated enchilada sauce.  I stacked mine with layers of chicken, white onion, jack cheese, and sliced olives.  I baked them for about 20 minutes at 350 just till the cheese started melted.  I plated them and garnished with whole olives, fresh avocado slices, sliced radishes, cilantro, and Queso fresco cheese.


Great challenge, and a great way to spend Cinco de Mayo

5/7/10

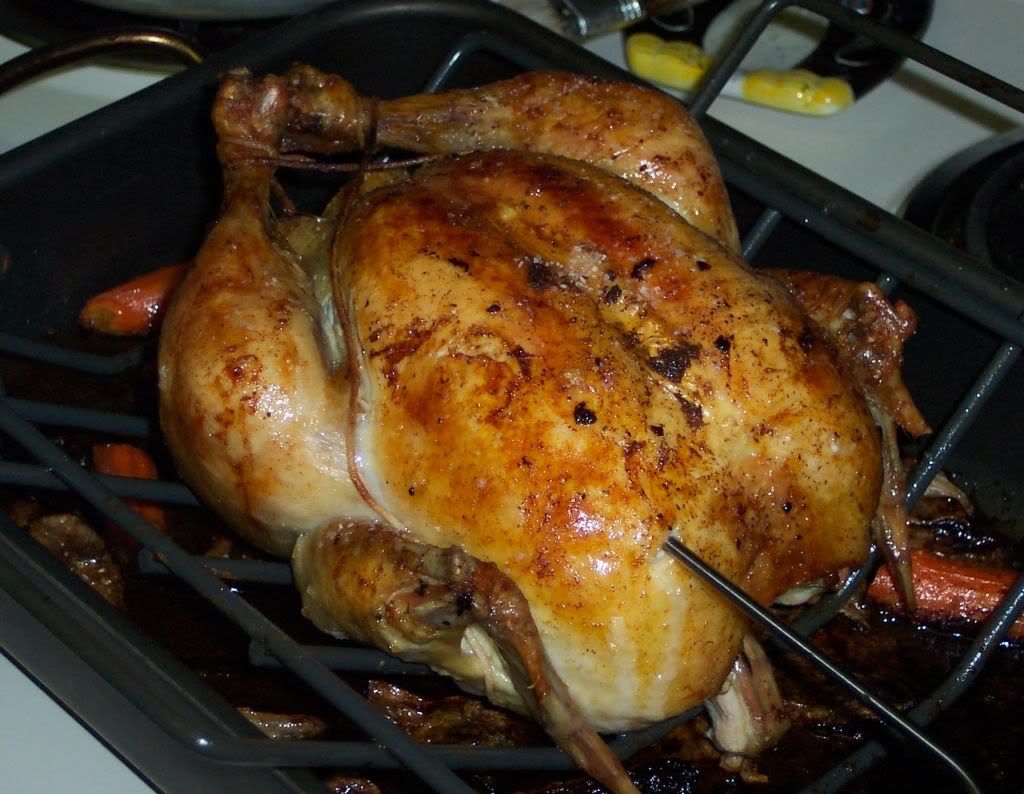
Julia's Roast Chicken - Poulet Rôti


This recipe cracks me up, mostly because Julia try to help you create a spit roasted chicken without the use of a spit.  The basic technique for cooking whole poultry is common in most cookbooks, first cook the bird at a high temperature and then lower the temperature to complete the roast.  I do the same thing when I cook turkeys.

In Julia's cookbook Mastering the Art of French Cooking she states you can always judge the quality of a cook or a restaurant by roasted chicken.  I believe that, I love that.  Julia goes on to explain what makes a good roasted chicken, juicy meat, browned crispy skin, buttery flavor.  She explains that to master cooking a bird you need to learn to listen to it crackle and pop in the oven, and most importantly make sure it continually gets basted. 

Trader Joe's has some really nice roasting chickens and I would recommend them for this recipe.

Ingredients:

  • 4-6 lb roasting chicken
  • ¼ tsp kosher salt
  • 2 Tbsp unsalted butter, softened
  • 1 carrot, cut into thirds
  • 1 yellow onion, quartered
  • 3 feet of kitchen twine
for basting: a small sauce pan containing 2 Tbsp unsalted butter, 1Tbsp olive oil, and a basting brush.


Method:

Estimated roasting time for a 5 pound bird is 1 ½ hours

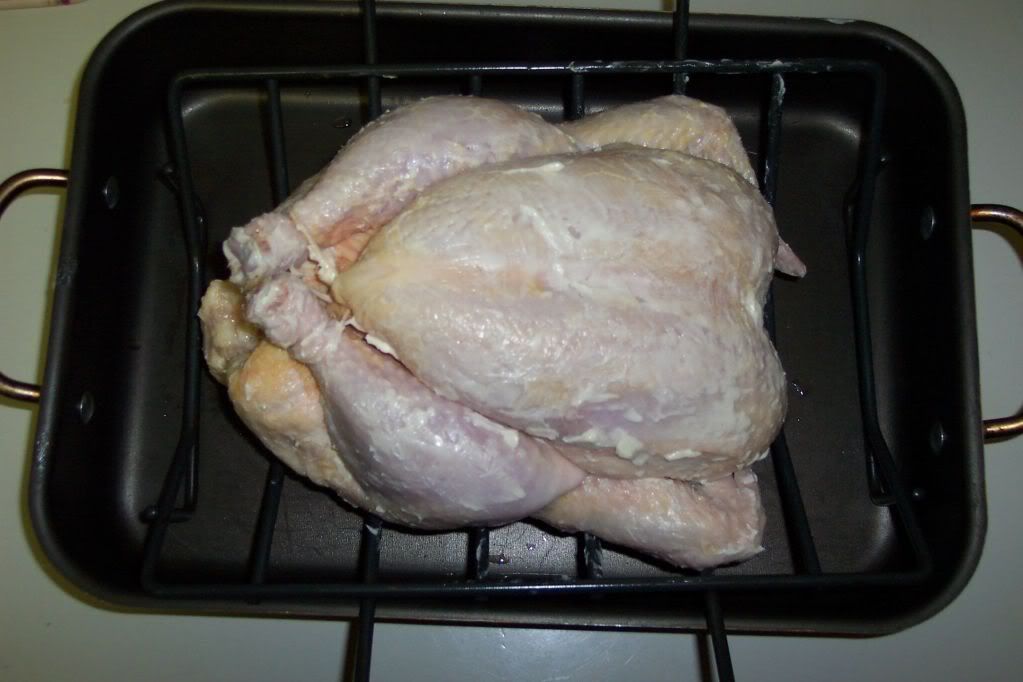
Preheat oven to 425 degrees.  Sprinkle the inside of the chicken with salt and 1 Tbsp butter.

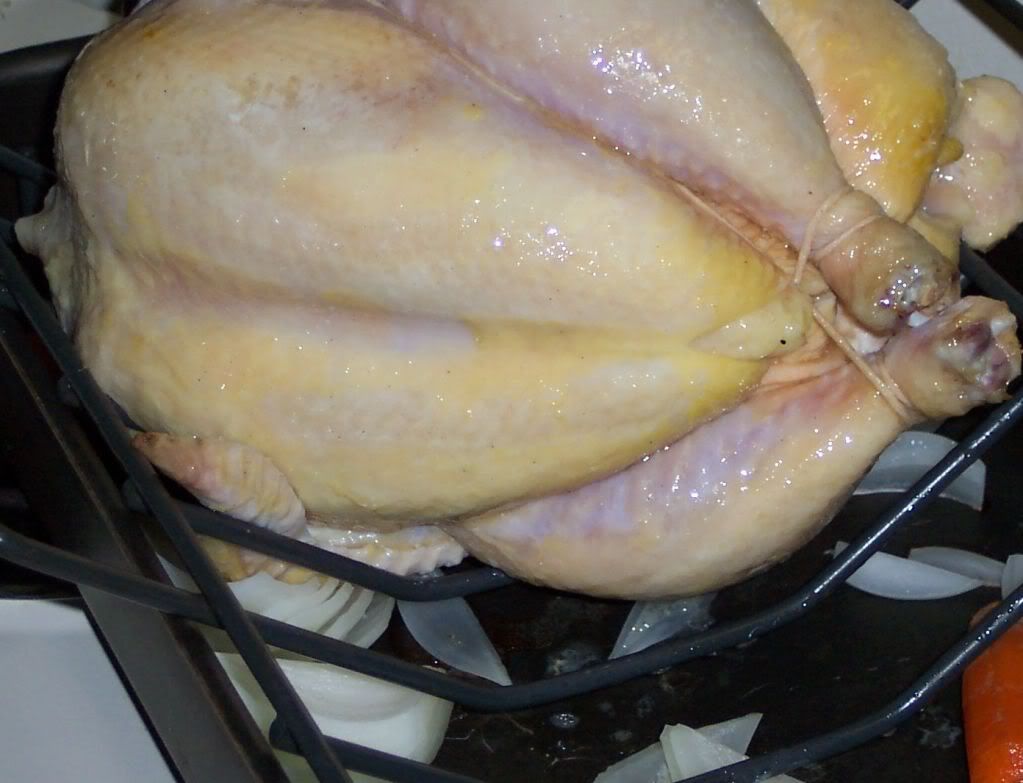
Truss the chicken, for this I used Thomas Kellers method instead of Julia's.  I did this because I did not have access to a trussing  needle.  Place the chicken on a large plate or tray with the legs pointing toward you.  Wrap the string under the birds neck, pulling the strings over the breast line.  Make a knot under he breasts to plump them up (you can see in the later pictures that I did not knot it there and it popped up).  Then cross the strings and wrap them around the opposite drumstick twice and then bring the drumsticks together and knot them to finish.  Keller normally also tucks the wings under, I started my bird with the wings tucked under but then found with Julia's method of rotating the bird while it cooked would not allow the wings to stay in the tucked position.

Place the chicken breast side up on a roasting rack in a shallow roasting pan.  Strew the carrot and  onion around in the roasting pan. Rub the rest of the butter all over the top of the chicken.


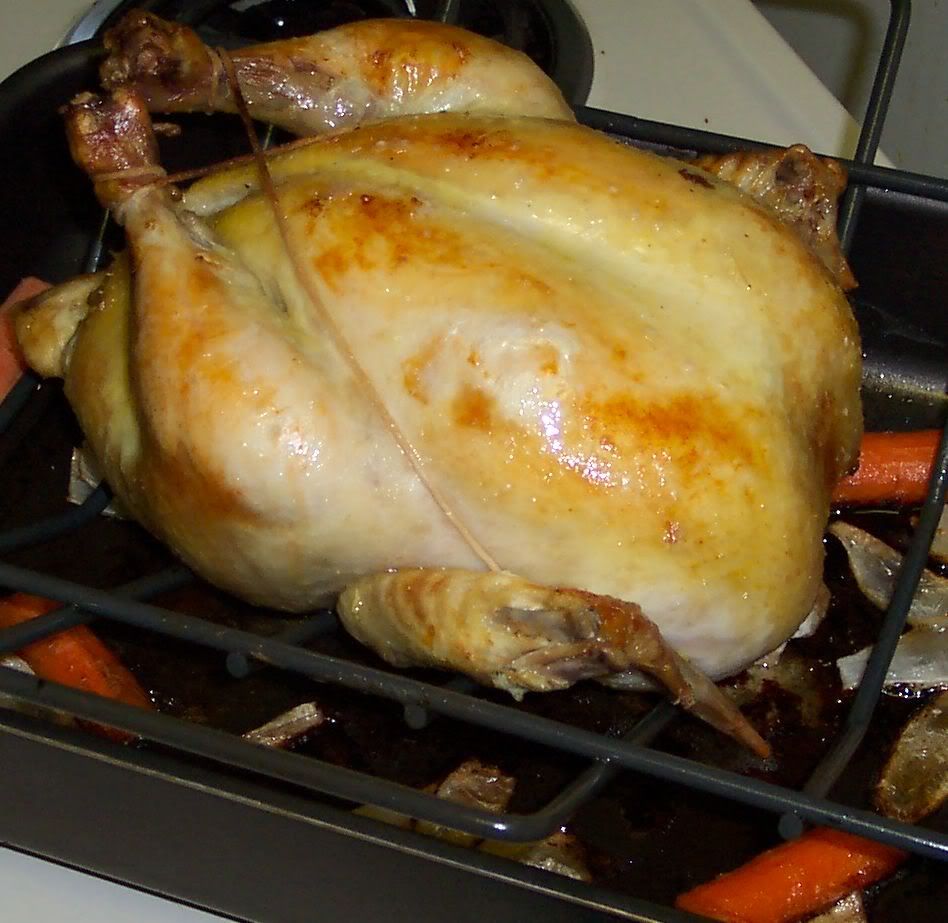
Now this is the tricky part.  Julia's instructions are to brown the chicken at 425 for 15 minutes turning it every 5 minutes.  My oven is an apartment oven and it does not hold heat well.  Her instructions say to open the oven after 5 minutes baste and turn the chicken over on left side, let it cook for 5 more minutes and turn it on the right side.  Basically breast side up for 5, left drumstick up for 5, and then left drum up for 5.  Basting it while you do the flips.  I did this every 10 minutes instead of the instructed 5 minutes.  Mostly because I don't think my oven was holding the temperature properly.


So after you finish flipping the bird around for 15 minutes or a half hour if you have a crappy oven; turn the oven down to 350 degrees- leave the chicken on it's side and baste every 8-10 minutes.  Halfway through the roasting time turn the chicken on it's other side, and salt it with a ¼ tsp of kosher salt.  15 minutes before the estimated roasting time is up turn the chicken breast side up and salt it again with ¼ tsp kosher salt; continue basting.

The chicken is done when a it reaches 165 degrees, or as Julia says you might see a sudden rain of splutters in the oven, a swelling of the breast and slight puff of the skin, the drumstick is tender when pressed and can be moved in its sockets.

Place the done chicken on a carving board and remove the trussing string.  Let the chicken sit for 5 minutes before carving. 

If you care to make a pan sauce remove all but 2 tablespoons of the fat from the roasting pan.  Place roasting pan over a burner and heat over medium heat.  Stir in 1 minced shallot and cook for 1 minute.  Add 1 cup chicken stock and boil rapidly over high heat scraping all the bits from the roasting pan.  Transfer the sauce to a sauce pan if you wish or keep it in the roasting pan.  After the sauce has reduced by half and 1 Tbsp of butter and serve immediately.

5/2/10

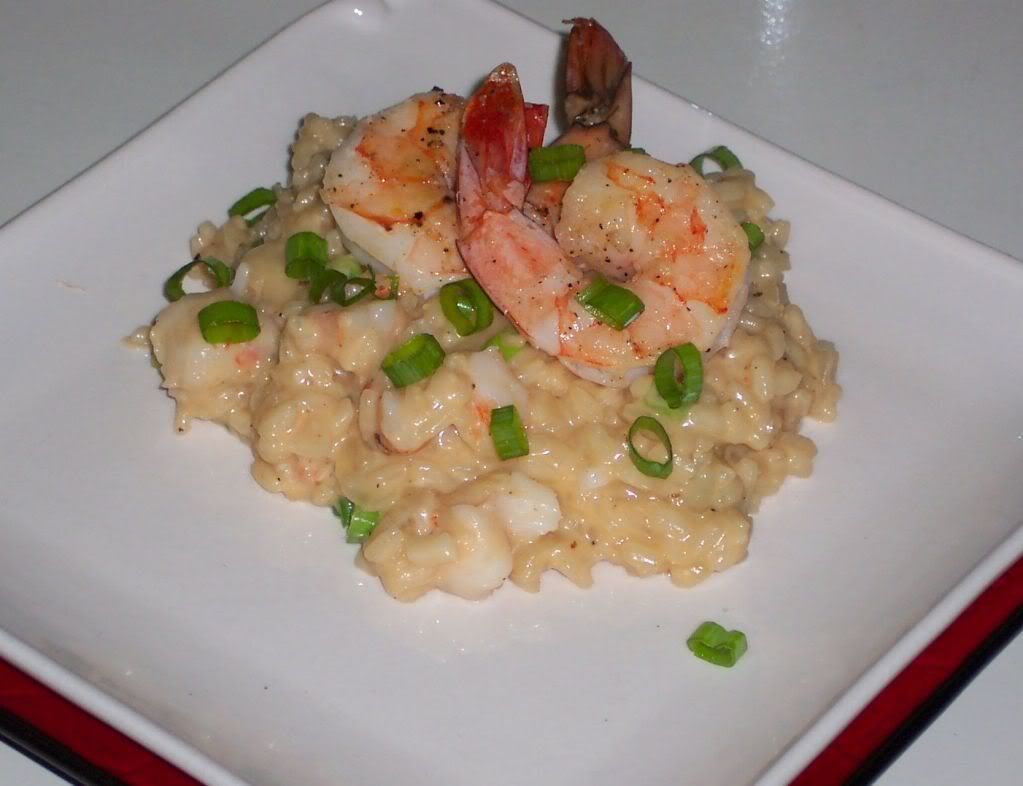
Shrimp Risotto


Before I started making Risotto I assumed it was a fancy dish that required time and fancy ingredients to make.  I find myself making Risotto often with left over items.  Cheese that is almost past its prime, last weeks leftover veggies all are good things to experiment with when making Risotto.  I always have homemade stock in my freezer so all I really need is a few items to whip up a tasty dinner. 

Ingredients:
  • ½ to 1 lb raw shrimp, size does not matter.. ./giggle
  • 1 tbsp olive oil
  • Kosher salt
  • freshly grated pepper
  • ½ cup Chardonnay
  • 2 small onions, chopped
  • 3 cloves of garlic, chopped
  • 1 cup arborio (risotto) rice
  • 4-5 cups shellfish stock, heated
  • ¼ cup cream, heated
  • ¼ cup Parmesan cheese
  • ¼ smoked Gouda
  • 3 green onions, chopped
Method:

After you have cleaned the shrimp heat a large sauce pan over medium heat.  Dry the shrimp, if the shrimp you are using has shells leave them on and remove them after they are cooked.  Add the olive oil to the hot skillet.  Sprinkle one side of the dried shrimp with kosher salt and freshly grated pepper.  Place the shrimp into the skillet seasoned side down.  Season the other side of the shrimp with the salt and pepper.  Cook the shrimp about a minute and a half for each size, if you are using smaller shrimp adjust the cooking time accordingly. 

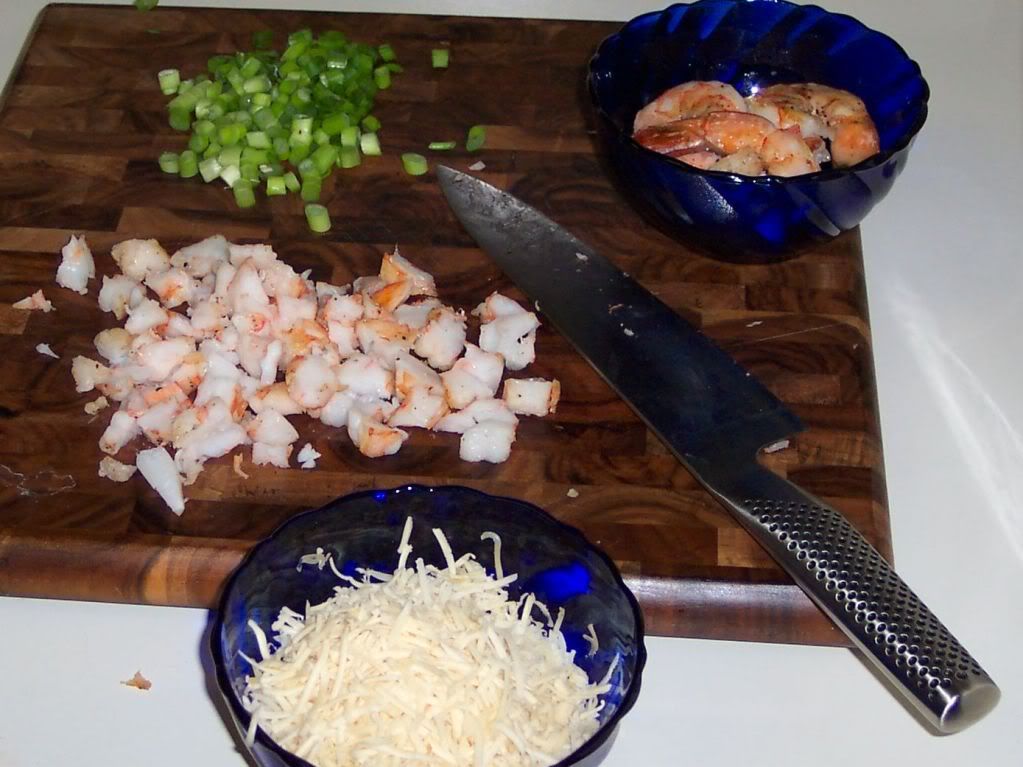
After the shrimp are done, remove them from the pan and set aside.  Once the shrimp are cool enough to handle take the shells off all of them and leave the tails on 8 of the shrimp for garnish, chop the rest of the shrimp up into bite size pieces.  If you prefer you can chop all the shrimp up, I just think leaving a few shrimp whole to garnish the top of each plate makes a nice presentation.


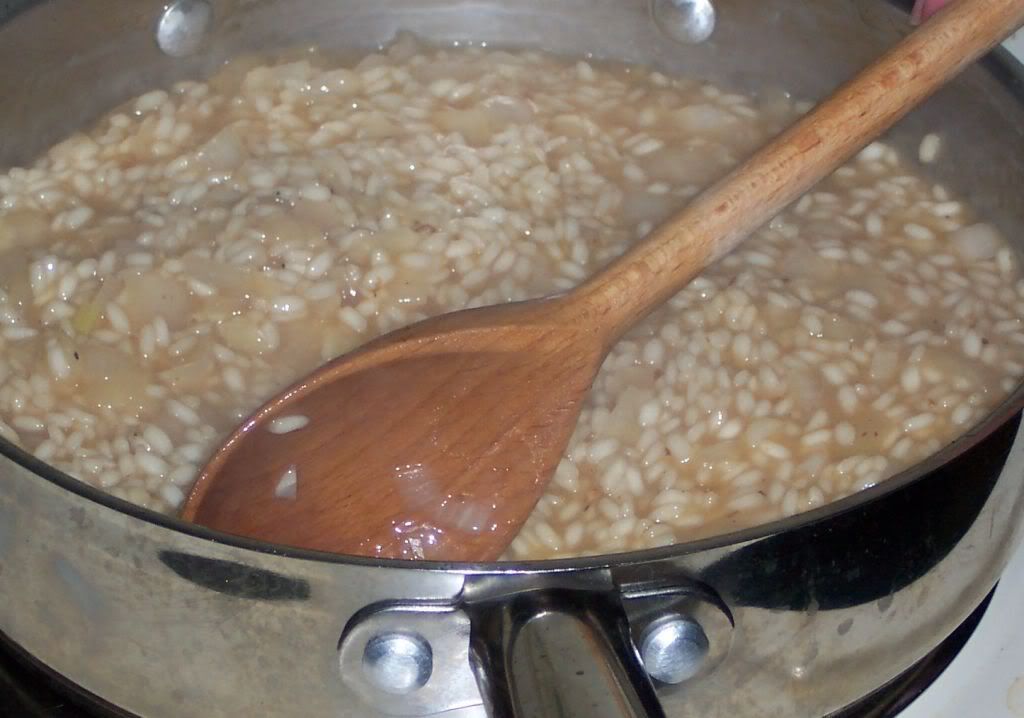
Keep the heat on the pan and cook the onions and garlic for 4 minutes, or till they are tender.  Add the risotto rice to the pan, and saute it for a few minutes.  Deglaze the pan with the chardonnay, after the wine completely reduces start to add the shellfish stock.  Add a half a cup at a time. 


Let the rice absorb all the liquid before adding more, and stir the risotto constantly.  This process should take about a half hour. 

Test the rice after a half hour and if it is soft and feels done, stop adding stock.

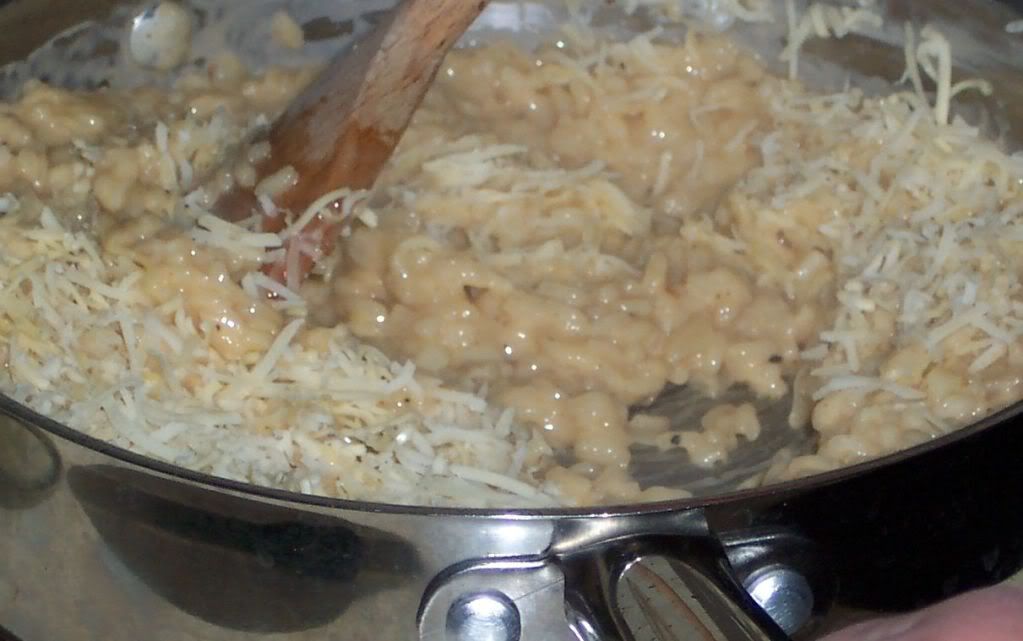
Once the risotto is soft add the warm cream.  Let the cream get absorbed into the rice and then add the cheese. 


After you mix in the cheese add the green onions (save some for garnish), and the chopped shrimp.


Plate with a few whole shrimp and some green onions.  Serve immediately.  Serves 4 for a main course, and 6-8 for a small appetizer.  

4/27/10

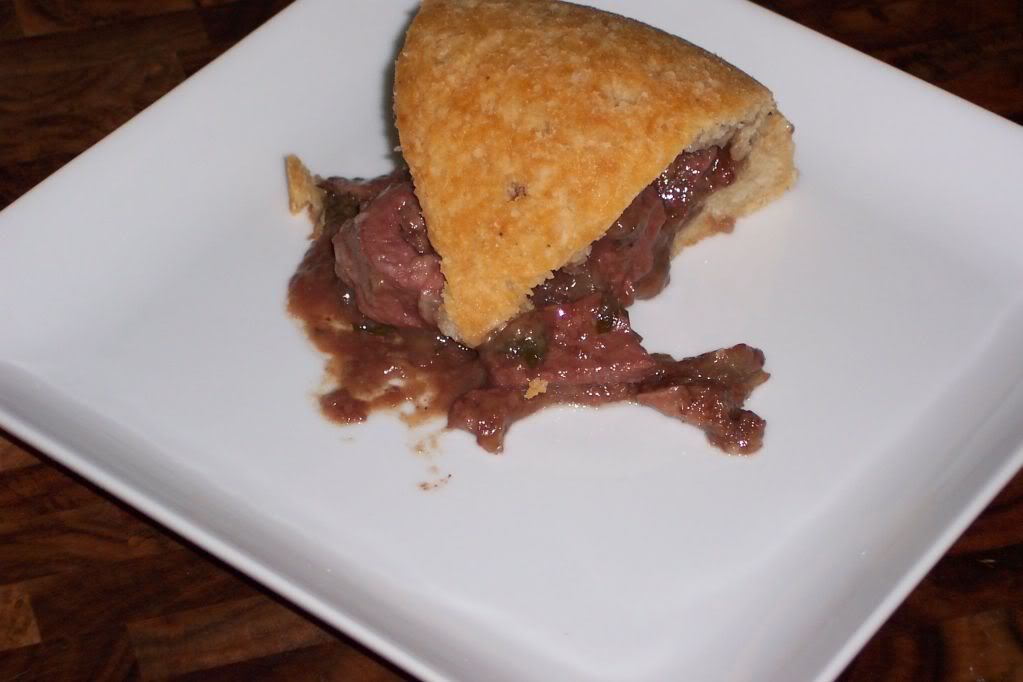
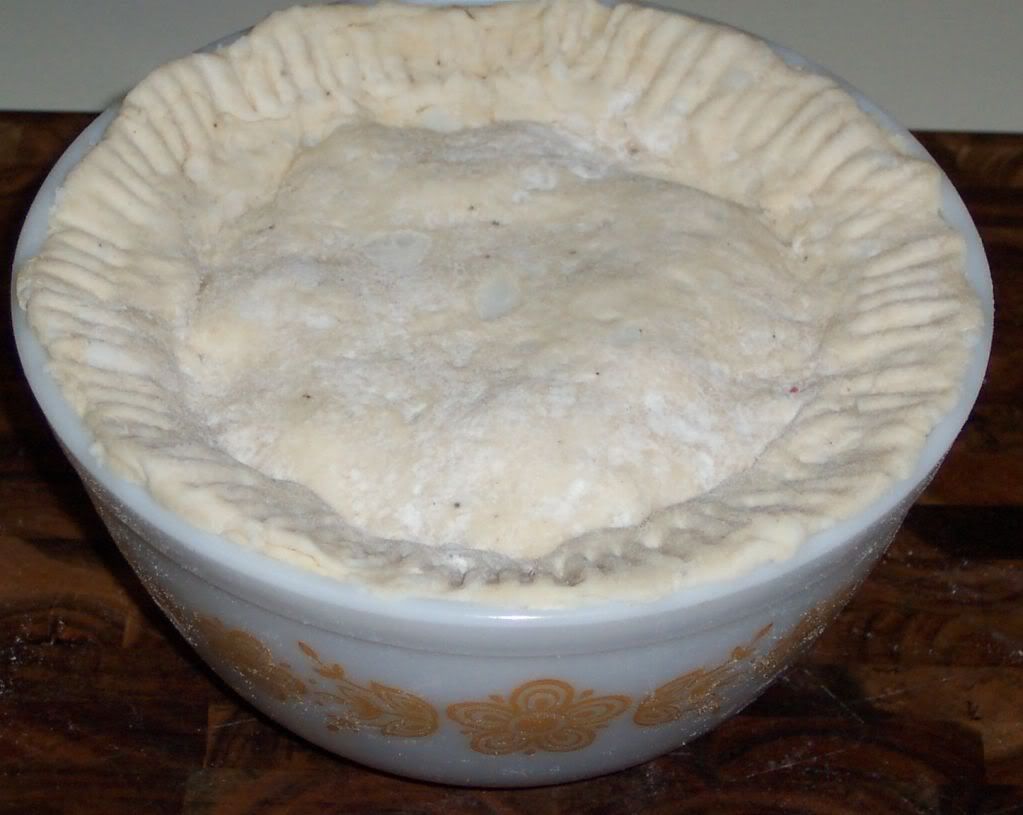
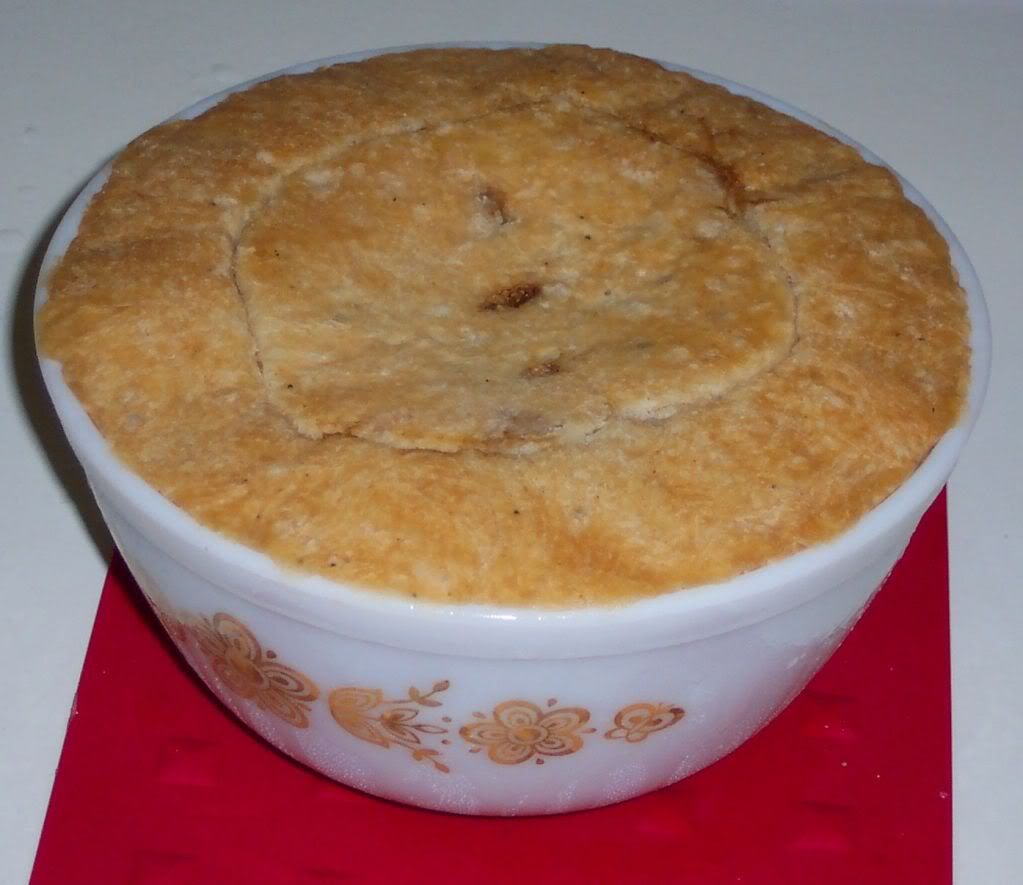
April 2010 Daring Bakers' Challenge: Steak and Kidney Pudding


The April 2010 Daring Bakers’ challenge was hosted by Esther of The Lilac Kitchen. She challenged everyone to make a traditional British pudding using, if possible, a very traditional British ingredient: suet.

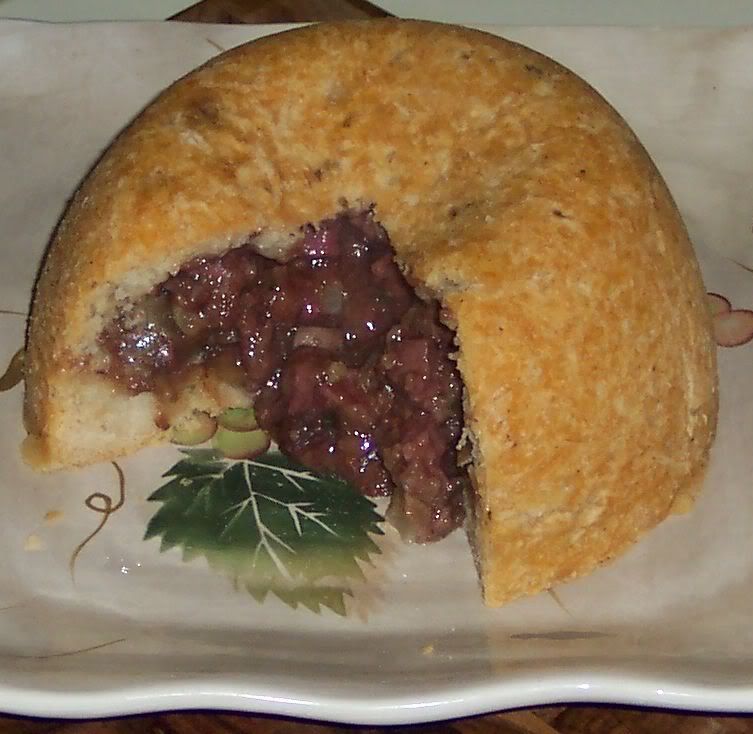
For this challenge I drew inspiration from  Esther, Audax and from this video.  I went whole hog in and found suet from a butcher shop in Los Gatos, Ca.  I had to render the fat down and turn it into a lard type substance, I did not post any of those photos because I don't think people really want to see that part.  If I make this again I will just use vegetable shorting or butter.  I am glad I had a chance to cook with suet; however, it is just not healthy, or a practical ingredient for me to use again.  I also chose to do a savory pudding instead of a sweet pudding.

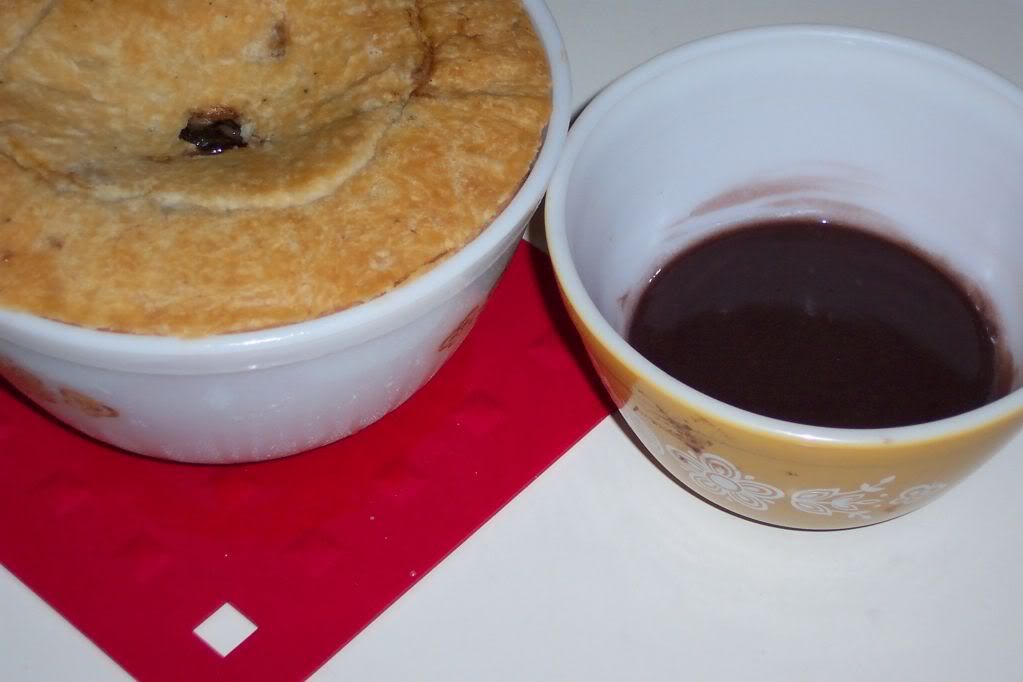
I made a gravy using Audax's instructions with the left over scraps of meat and kidney.  I tell you the winner was the gravy.. I could of eaten that with toast.  The pudding was good don't get me wrong, it's just not my cup of tea.  I would like to give cheers to everyone who did this challenge.  For me it was a learning experience, and I am really glad I participated in it, thank you Esther.

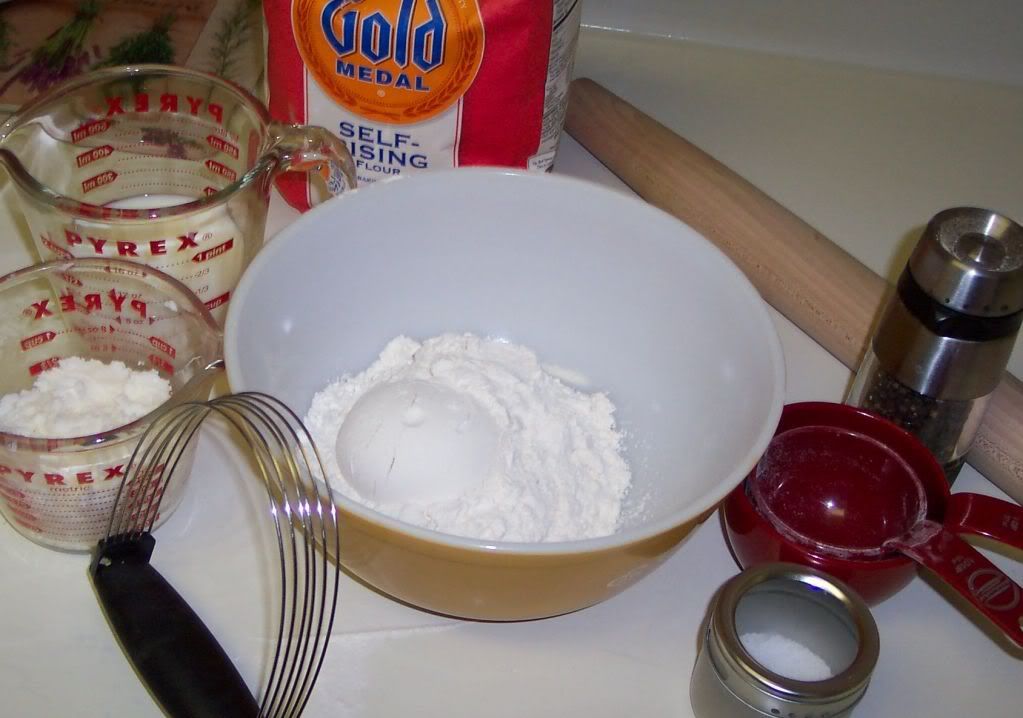
Pastry Ingredients:
  • 12 ounces self rising flour- wtb Andy's biscuit recipe for my left over flour!
  • 6 ounces shredded suit or substitute like Crisco, Lard, or Butter
  • ¼ tsp kosher salt
  • ¼ tsp freshly cracked pepper
  • ½ cup milk, 2% worked fine
  • ½ cup water


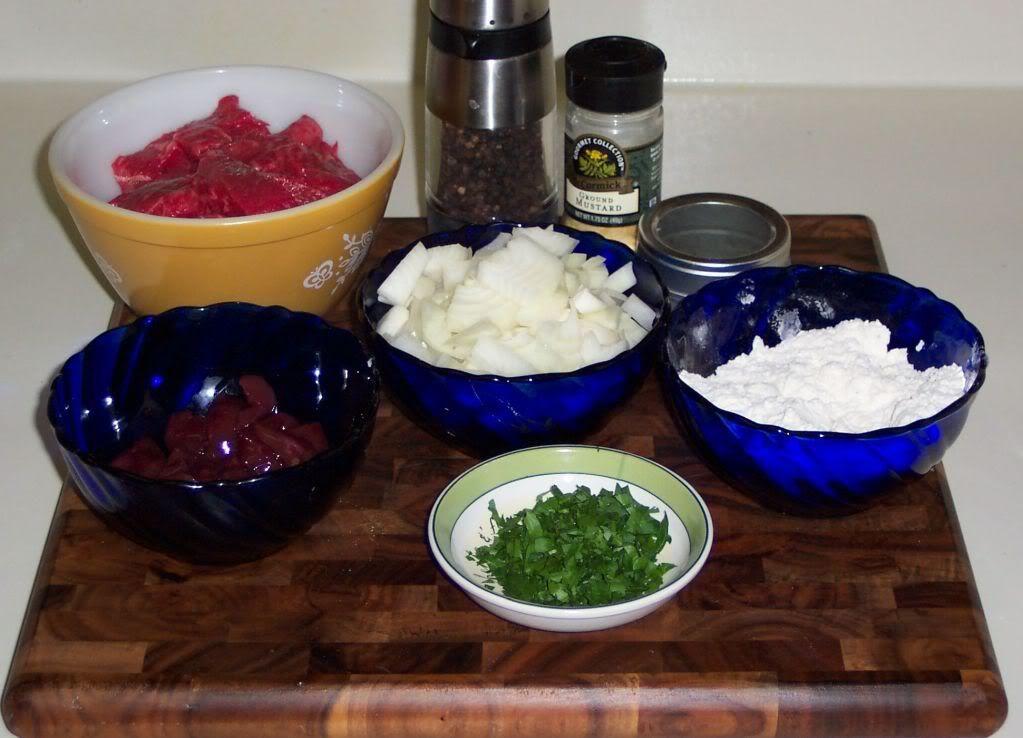
Filling Ingredients:
  • 1 lb of stewing beef, cubed
  • 2-3 lamb kidney's, chopped-make sure to toss out the white portion
  • 1 yellow onion, chopped
  • 3 Tbsp chopped parsley
  • 1 tsp ground mustard
  • 1 tsp kosher salt
  • 1 tsp freshly grated black pepper
  • 4 Tbsp chicken stock
  • 2 Tbsp Oyster sauce


Oyster sauce and Chicken stock to shy to be photoed 
 
Assembly:
  • 1 1/2 quart bowl oven safe bowl, like Pyrex.
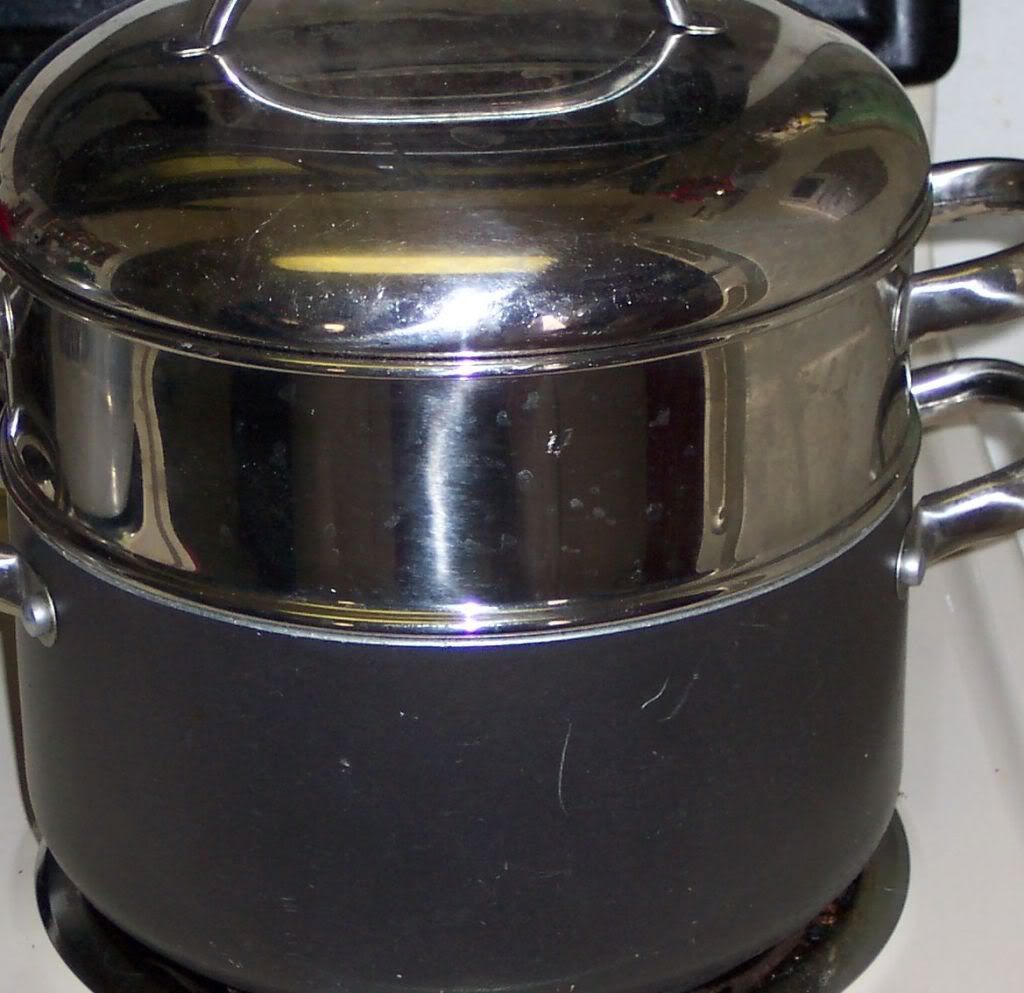
  • Large pot with a steamer and lid
  • rubber-band
  • kitchen twine
  • heavy duty foil


Gravy: (optional, sorry no photos)
  • left over steak and kidney scraps
  • 2 shallots, chopped
  • 1 Tbsp oyster sauce
  • 1 cup of Cabernet Sauvignon
  • 1 cup chicken stock
  • 2 Tbsp flour
Method:
First make the pastry by blending the flour and suet together with a pastry blender.  Add the salt and pepper to the flour and suet mixture.  Slowly add the water and milk, 1 Tbsp at a time.  The dough should form a nice ball and none of it should be stuck to the bowl.  Take the dough and place it on a floured work surface.


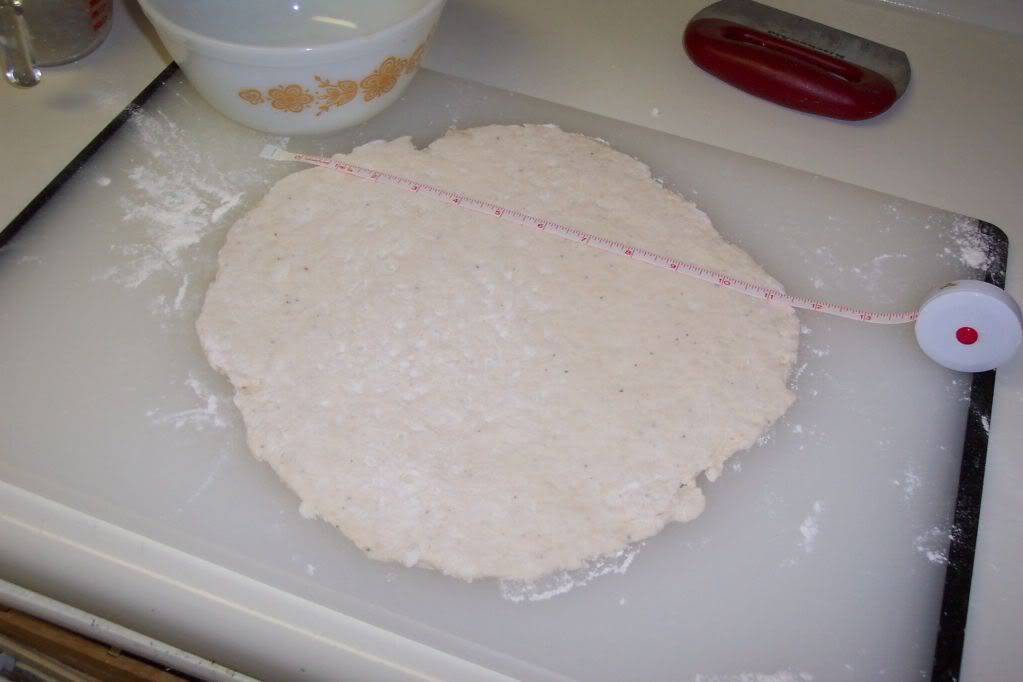
Cut ¼ of the dough out and reserve it for the pudding lid.  Use a measuring tape and roll the dough out to fit your pudding bowl.


Coat the pudding bowl with some butter or fat before placing the dough inside.  Roll out the lid, use a measuring tape to get the size right.  Set the lid aside.

Place water in your steamer and bring water to a boil.

In a small bowl mix the ½ cup flour, ground mustard, salt and pepper together.  Take one of the piece of beef and try to wrap it around a small piece of kidney, and then coat it the flour mixture.


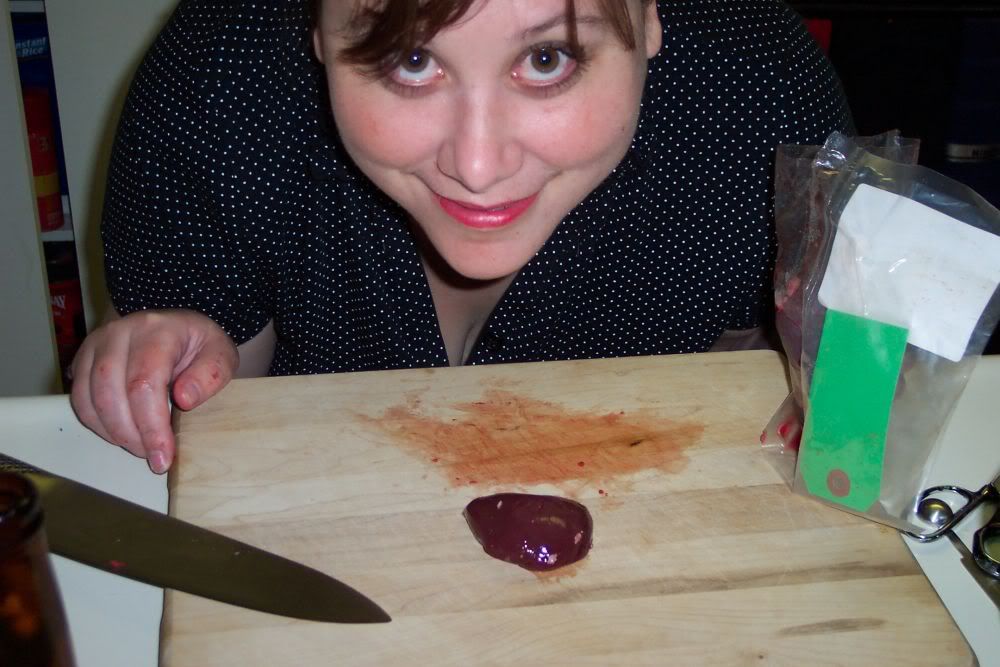
Me breaking down the lamb kidney, first time for me!
 
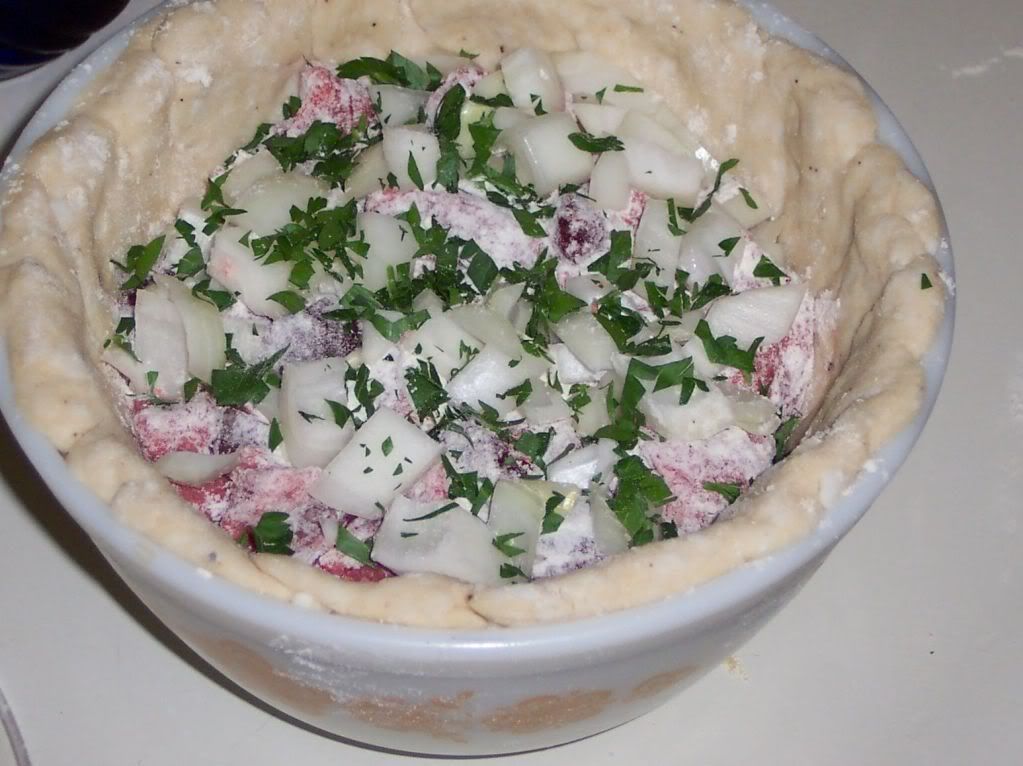
Place the piece in the pudding bowl.  Make one row of steak and kidney rolls and then cover them with a handful of sliced onions and chopped parsley.


Create another row of meat and cover it again with the onions and parsley.  Continue this process till you run out of meat or your pudding bowl is filled up.  I had under a pound of beef and that is why my pudding bowl is not filled all the way.  If you use a full pound you will get one more layer in.


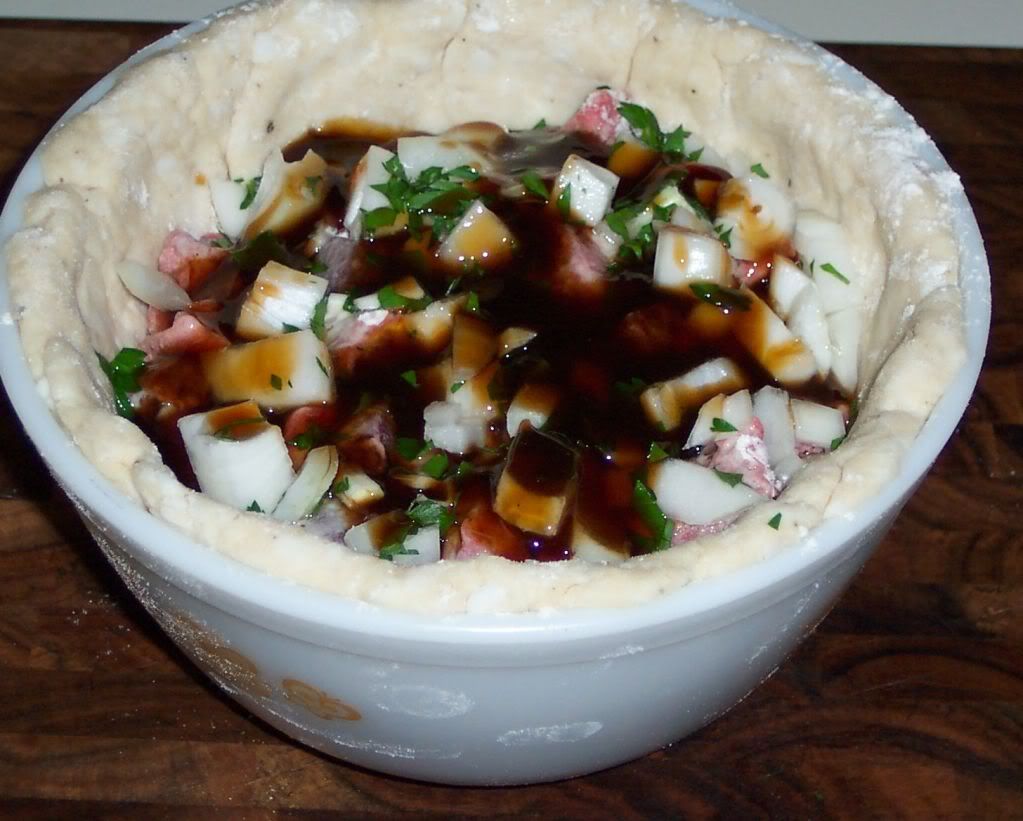
Add the chicken stock and oyster sauce over the top of the last layer and then seal the pudding with the pastry lid.


Make sure you get a good seal on it, you don't want any of it leaking out. 


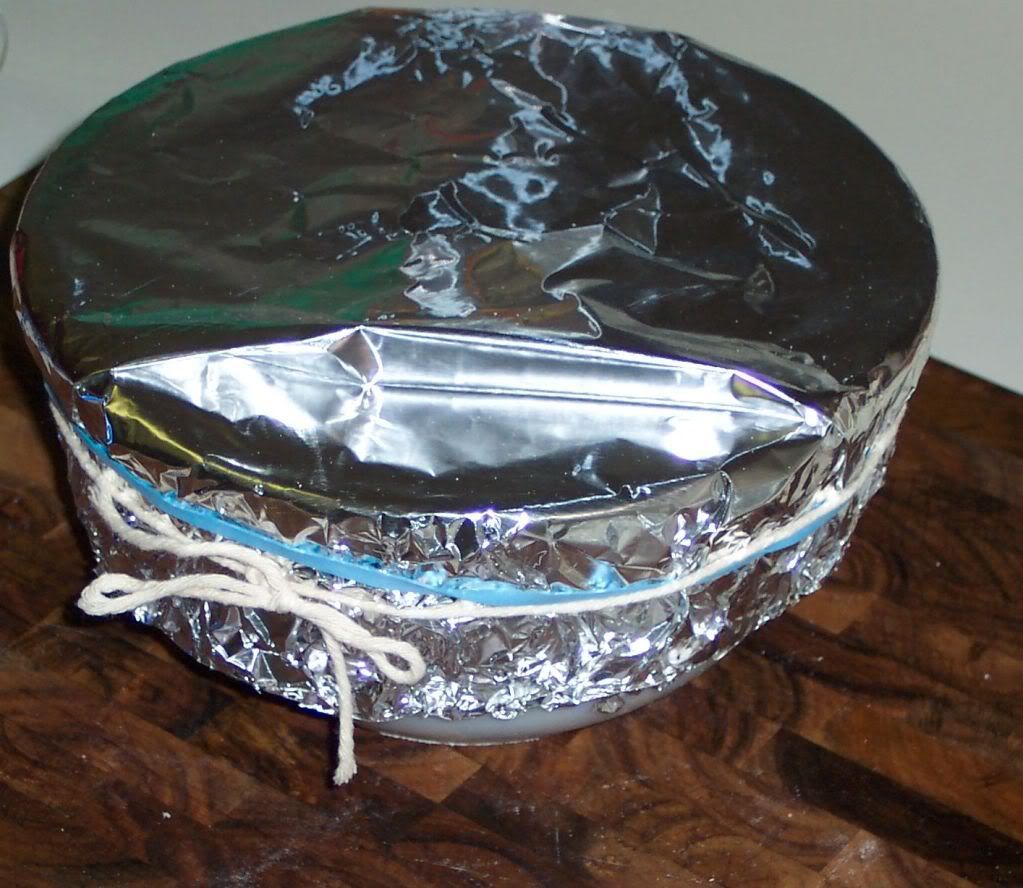
Then cover your pudding with heavy duty foil.  Secure the foil with a rubber-band and some kitchen twin.  Cut away any excess foil as it might get in the way later.


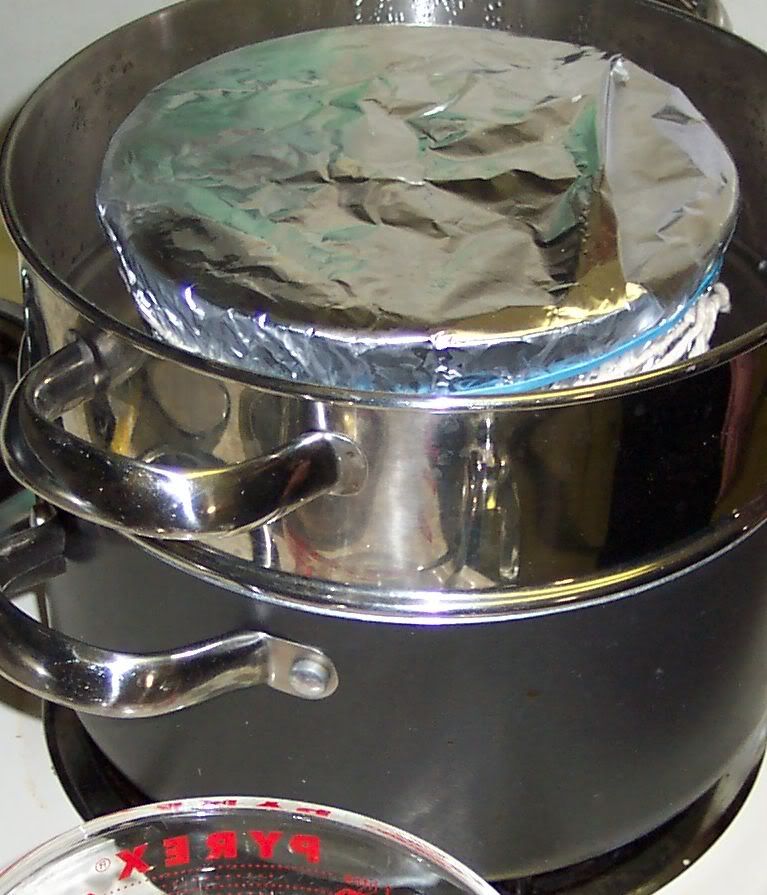
Remove the lid from the steamer and carefully place the pudding inside. 


The water should not touch the metal part of the steamer, fill it so it is just below that part.  Cover and turn heat to medium.  Steam for 3-5 hours.  I did mine for about 4.

If you want the make the gravy take a medium size sauce pot and turn it to medium heat.  Add one of the chopped shallots, beef and kidney scraps, wine, oyster sauce, and chicken stock.  Bring to a simmer, let it simmer for about a hour, or until it has reduced by half.  Strain the gravy and remove all the shallot, beef and kidney pieces.  In the same sauce pan saute the other chopped shallot and after it is soft add the 2 tablespoons of flour.  Mix together and cook for a minute and then return the strained gravy to the sauce pan.  Heat over medium heat till it thickens.

After the pudding has steamed for atleast 3 hours you can remove it.


Let it sit on your counter for about 15 minutes before attempting to flip it over.  If you made the gravy you can poke a small whole in the top of the pudding and fill it up with gravy.


Place a plate over the bowl and use pot holders to shimmieslide flip the pudding over.  The pudding should just plop out.


Cut the pudding like you would a pie and drizzle more gravy if you fancy.  Enjoy! 

4/23/10

Potato Leek Soup - Soupe de Poireaux et Pommes de Terre


After our wonderful trip to Napa I came home and was inspired to make Thomas Keller's Potato Leek Soup.  This soup recipe caught my eye because it required leeks, shallots, yellow onions, and chives.  I love onions, Aaron says I tend to onionize my food.  Yes I am the onionizer!! Watch out!

This soup has very simple ingredients, for me what makes this soup special is the stock.   I'm sure it tastes fine with store purchased stock, but making your own stock will take this from soup to a symphony in your mouth.  I keep my chicken stock in the freezer, I make large batches so that when I want to make soup or need to make a sauce I am good to go. 

The funny part is I used the last of my chicken stock on this recipe.  So I was out of stock Monday morning, and Monday night Aaron went in for emergency surgery.  He had an appendectomy at 6:30 pm.  He is doing much better now but we are both still out of sorts.  The surgery went well and I was able to bring him home from the hospital Tuesday afternoon.  I got him home and into bed, and of course I made more chicken stock to make him some chicken noodle soup.  Nothing says I'm taking care of you more than homemade soup.  Trust me.

Ingredients:

  • 2 lbs Leeks, about three
  • 4 Tbsp unsalted butter
  • ½ cup shallots, sliced
  • 1/3 cup onion, sliced
  • Kosher salt and freshly grated black pepper
  • ½ pound russet potato (about one large), peeled
  • 1 Tbsp minced garlic
  • 8 thyme sprigs
  • 2 Italian parsley sprigs
  • 2 bay leaves
  • ½ tsp pepper corns
  • cheese cloth
  • 5 ½ cups chicken stock
  • ¾ cup heavy cream, warmed
  • ½ cup minced chives
  • Extra virgin olive oil
Method:

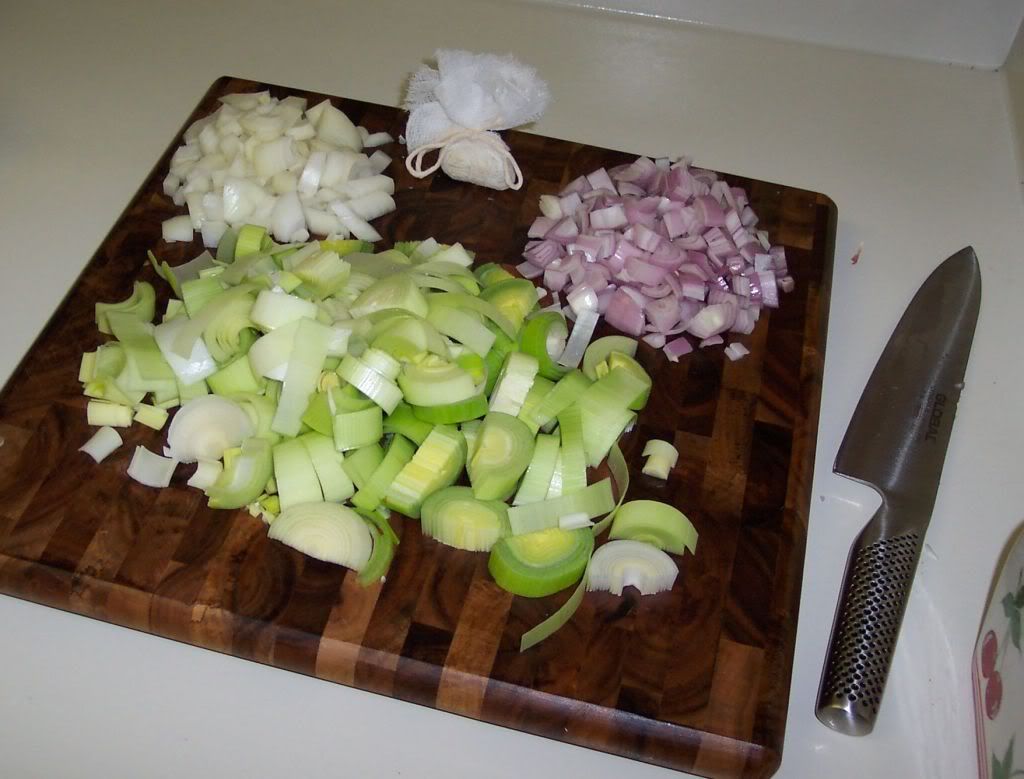
Make a Sachet with the cheese cloth, thyme, parsley, bay leaves, and pepper corn.  Set aside.


Prepare the leeks by cutting away the dark green portion, and the bottom root part.  Slice the leek in half and clean well under running water.  Place the leeks cut side down on the cutting board and chop them into ¼ inch slices.

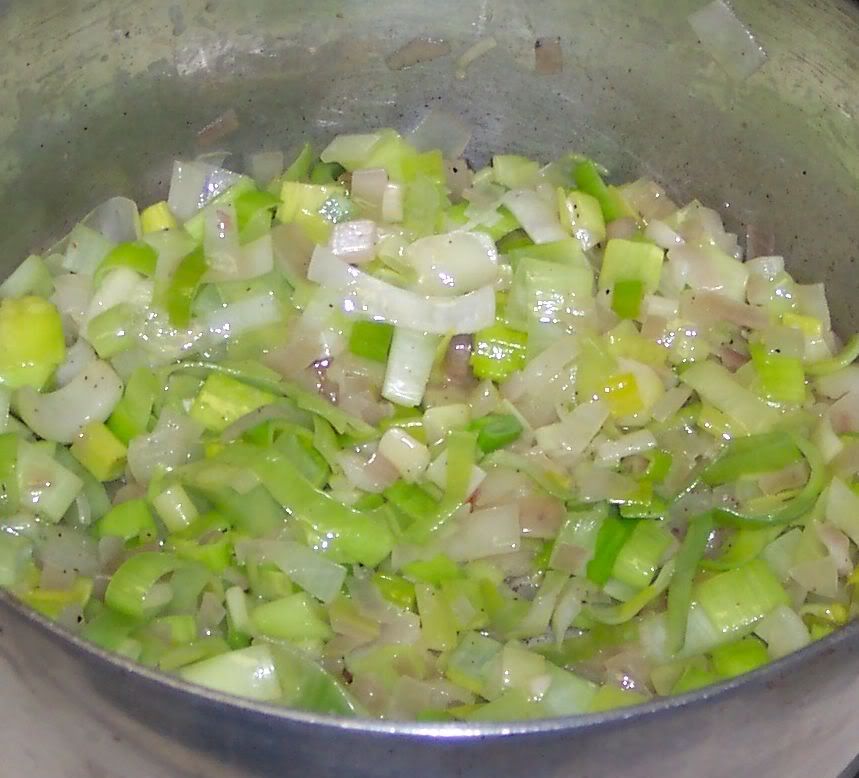
Melt butter in a stock pot over medium-low heat, add the leeks, shallots, onions, and season with salt and pepper.  Turn the heat to medium and sweat the vegetables, stirring every 3-5 minutes.  The vegetables will get soft, but should not brown.


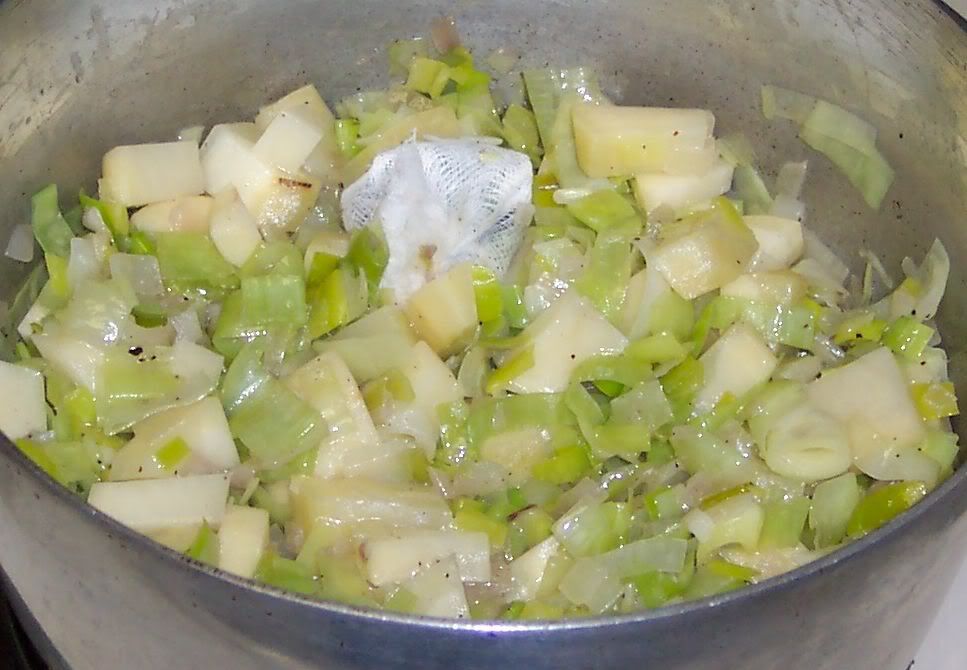
In the mean time chop the potato into ¼ inch think slices.  Add the garlic to the vegetables and cook for about a minute.  Add the sachet and potatoes and cook for 4 minutes.


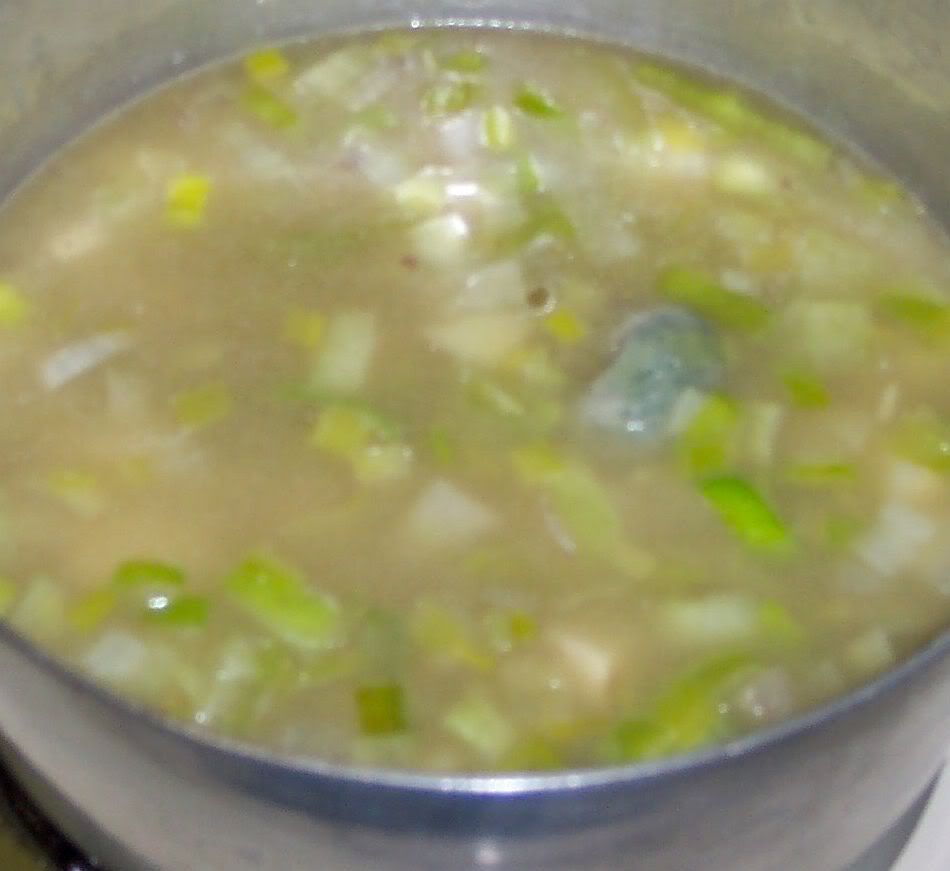
Add 5 ½ cups chicken stock and test for seasoning.


Bring to a simmer and then reduce the heat and simmer for 30 minutes or until the potatoes are tender.  Remove the soup from the heat and let cook for 15 minutes.

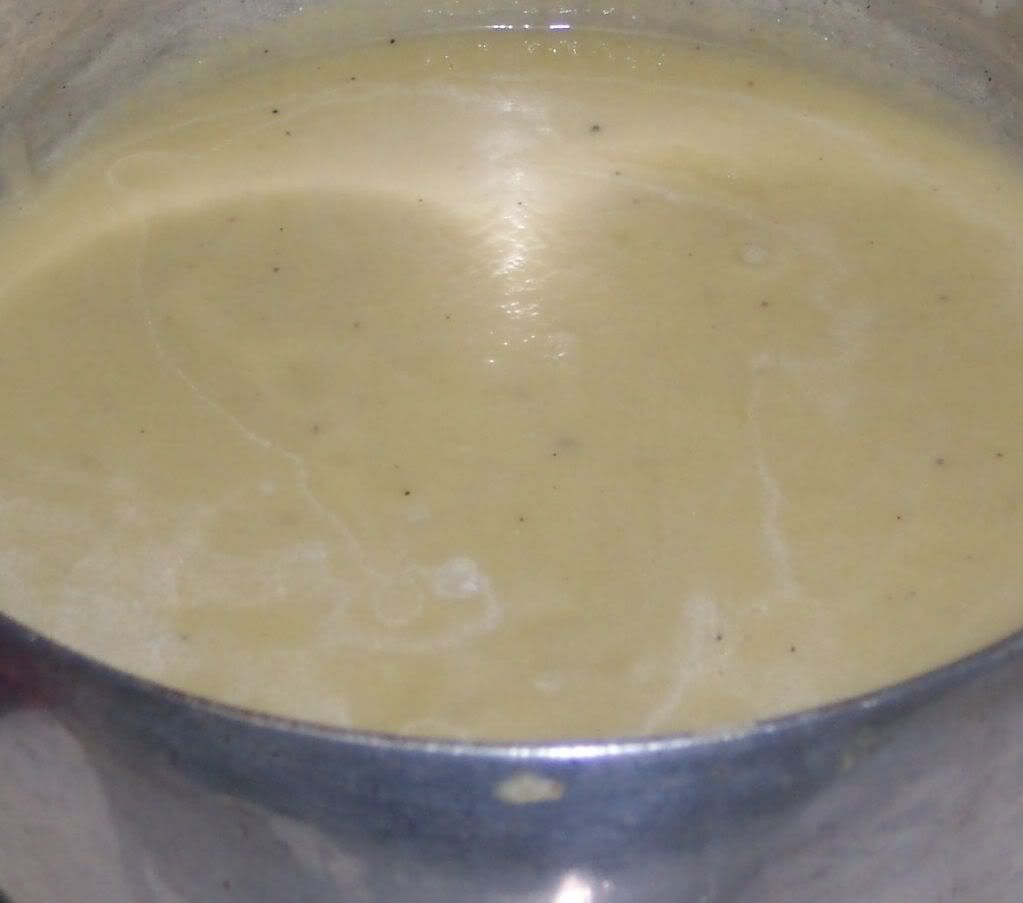
Transfer soup to blender and puree, start on a low speed to release the remaining heat in the soup.  For a refined soup strain the soup through a fine mesh strainer.


Rinse out the stock pot and return the soup and heat up over medium heat.  Bring the soup to a simmer and add the cream, simmer for 5 minutes.  To serve the soup, remove it from the burner and stir in the chives, save some for garnish.


Ladle the soup into the serving bowls and garnish them with extra virgin olive oil and chives.  Enjoy, serves 6-8