My blog has moved!

You should be automatically redirected in 6 seconds. If not, visit
http://www.racerhino.com
and update your bookmarks.

Showing posts with label Dessert. Show all posts

7/1/10

June 2010 Daring Bakers' Challenge: Chocolate Pavlovas with Chocolate Mascarpone Mousse


The June 2010 Daring Bakers’ challenge was hosted by Dawn of Doable and Delicious. Dawn challenged the Daring Bakers’ to make Chocolate Pavlovas and Chocolate Mascarpone Mousse. The challenge recipe is based on a recipe from the book Chocolate Epiphany by Francois Payard.

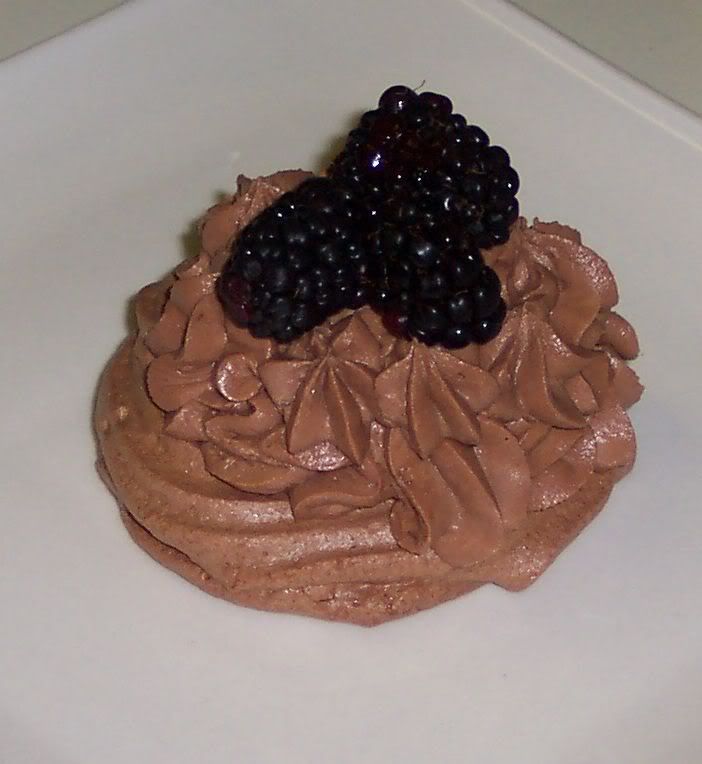
I'm a little late posting my challenge this month.  I had my Meringue done on time and I was pleased with how easy making meringue can be.  The second part of this challenge was to make Mascarpone cheese, I have made that before in past challenges so that was easy for me.  And lastly to make the Mousse was really simple and really tasty.

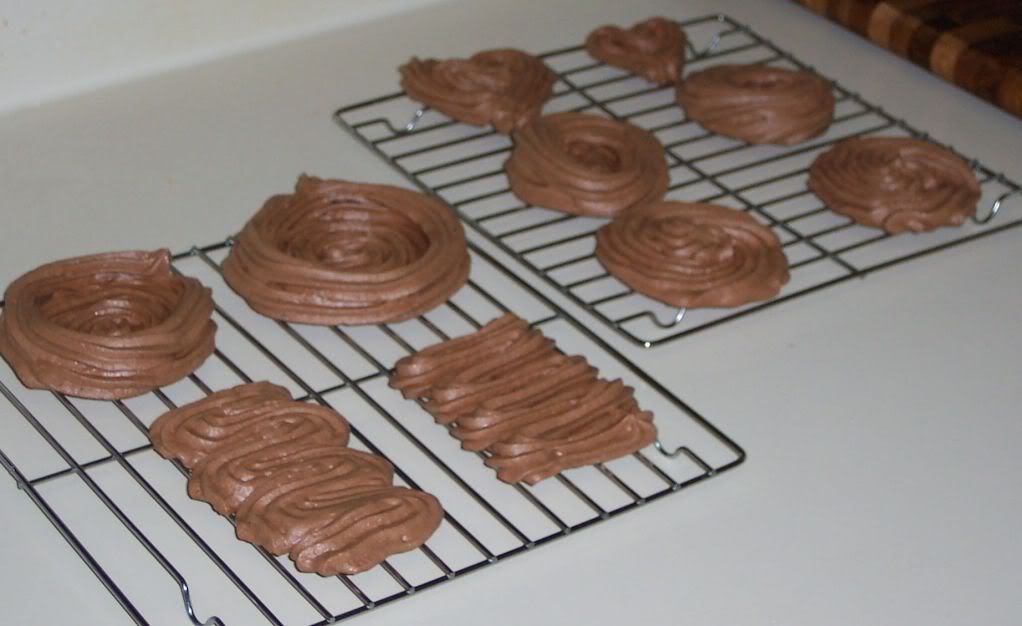
The only beef I have with this challenge is the actual look of the desert.  I made many different size and shape Meringues and tried to present them in different ways to make them look attractive.  Don't get me wrong this dessert is really well put together and the flavor is great it's just not pretty.  The chocolate Meringue topped with the chocolate mousse seemed to much of the same color.  Next time I think I will switch this up and use different things to flavor the Meringue or the Mousse.  Any way here is the recipe and some pictures. 

Chocolate Meringue:
  • 3 large egg whites
  • ½ cup plus 1 tbsp sugar
  • ¼ cup confection sugar
  • ½ cocoa powder
Method:

Preheat oven to 200 degrees.  Line two baking sheets with parchment paper.

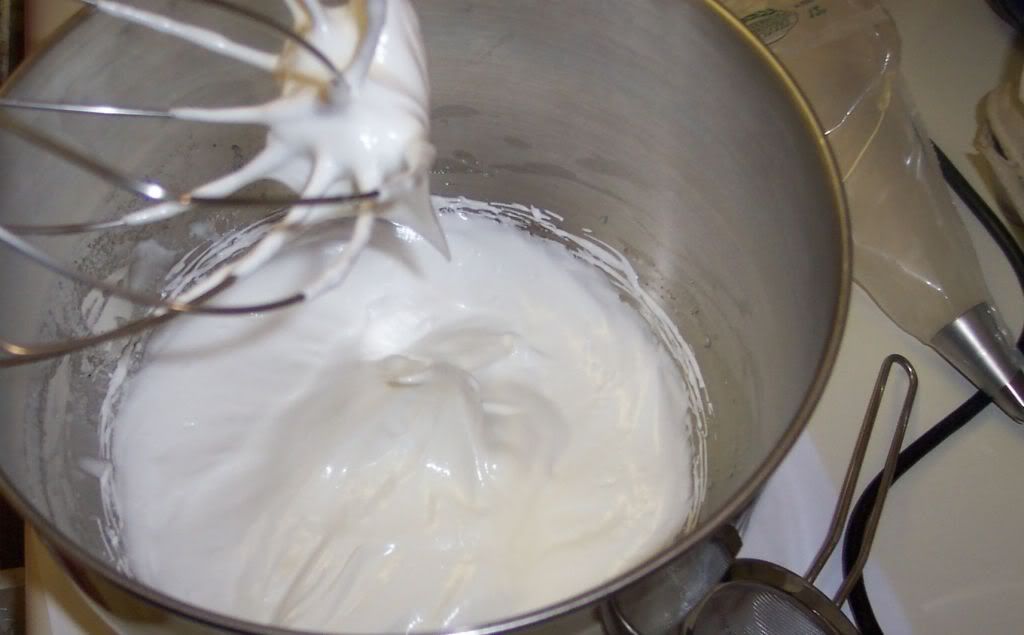
Put the egg whites in a bowl and beat them until they form soft peaks.  Gradually add the sugar, 1 tbsp at a time until stiff peaks form.


Sift the confection sugar into the eggs along with the cocoa powder.  Fold it in slowly till the mixture comes together.


Put the Meringue in a pastry bag with a large tip.  Pipe out the meringue into the size and shape you would like your dessert to be.  This can be one great big meringue for a family style service or small individual serving sizes.  I made individual size meringues.

Bake for 2-3 hours until the meringues become dry and crisp.


Chocolate Mascarpone Mousse:
  • 1 ½ cups heavy cream
  • zest of one lemon
  • 9 ounces of 72% chocolate, chopped
  • 1 2/3 cups homemade mascarpone cheese
  • pinch of nutmeg *** ps say no to NutMeg***
Method:

Place ½ cup of the heavy cream and lemon zest in a sauce pan over medium heat.  As it heats up add the chocolate.  Once the chocolate starts to melt and become smooth remove the mixture from the heat and set aside till it is room temperature.

Place the mascarpone and remaining cup of cream in a mixing bowl along with the nutmeg.  Whip it till it is blended together, do not over do this part as the mascarpone  can break.

Take about 1/3 of the mascarpone mixture and add it to the chocolate.  Fold in the remaining mascarpone until well incorporated.  Fill a pastry bag with the mousse and add it to the top of your meringues. 

Serve with some fresh fruit, enjoy!

5/27/10

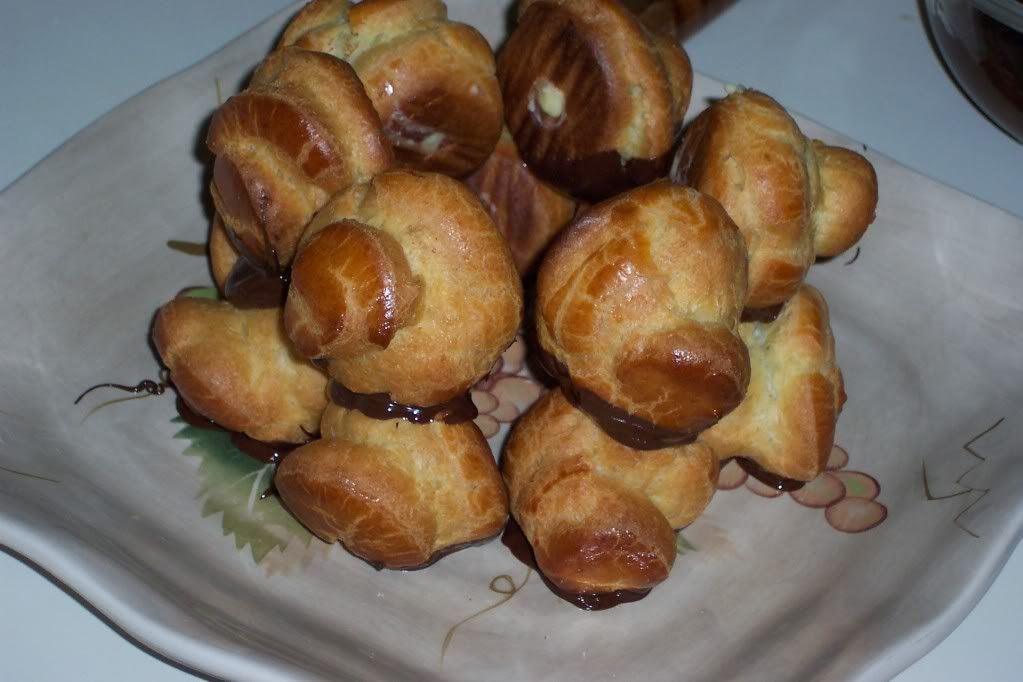
May 2010 - Daring Bakers' Challenge : Piece Montée (Croquembouche)


The May 2010 Daring Bakers’ challenge was hosted by Cat of Little Miss Cupcake. Cat challenged everyone to make a piece montée, or croquembouche, based on recipes from Peter Kump’s Baking School in Manhattan and Nick Malgieri.

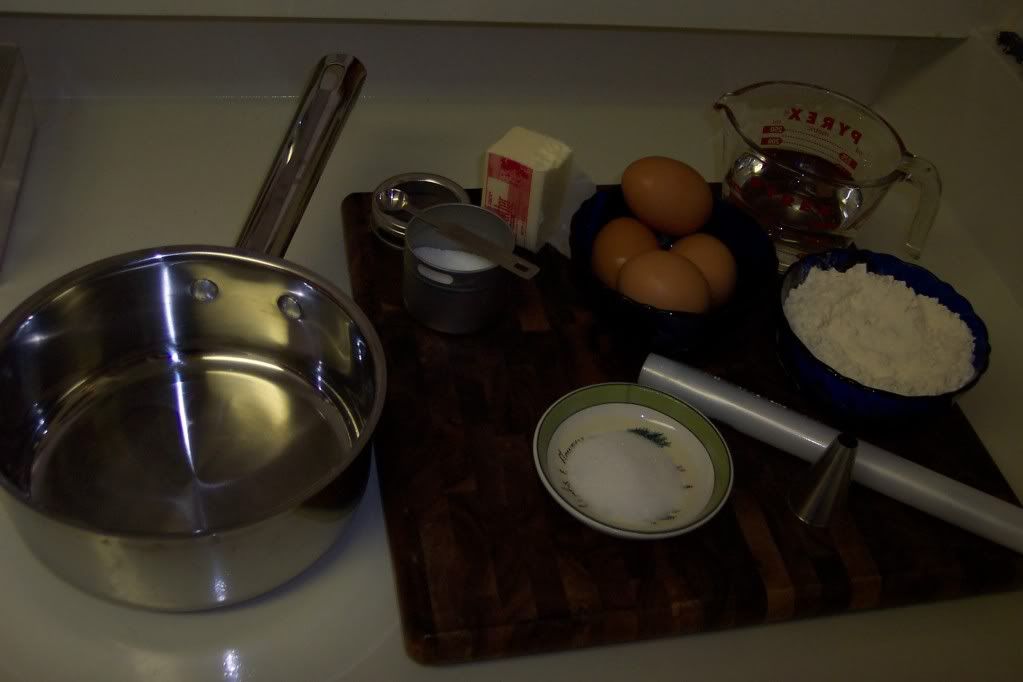
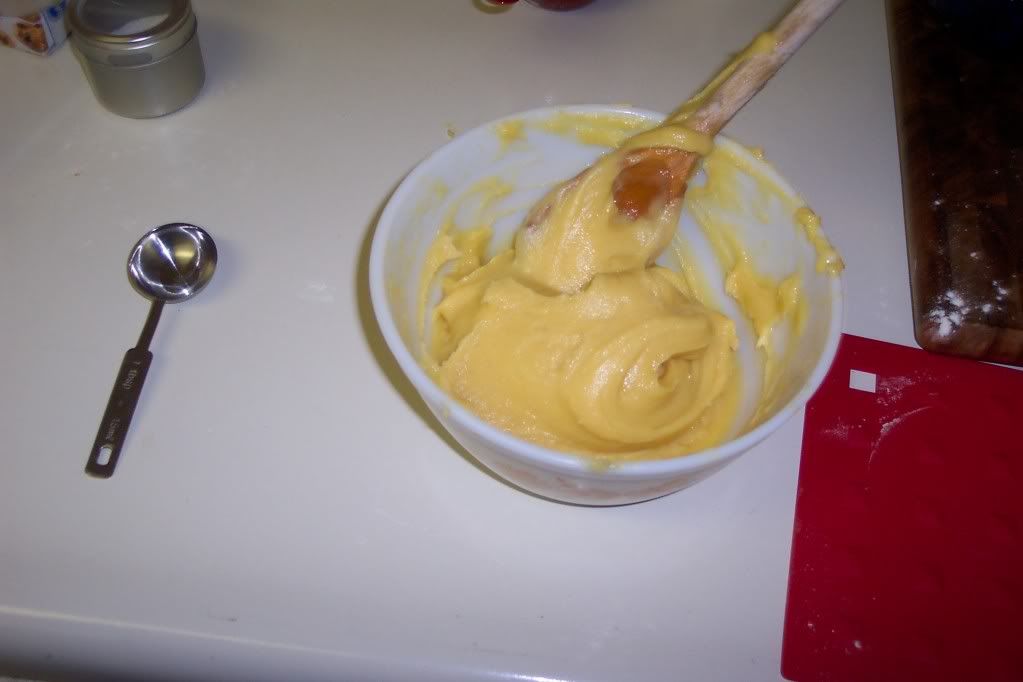
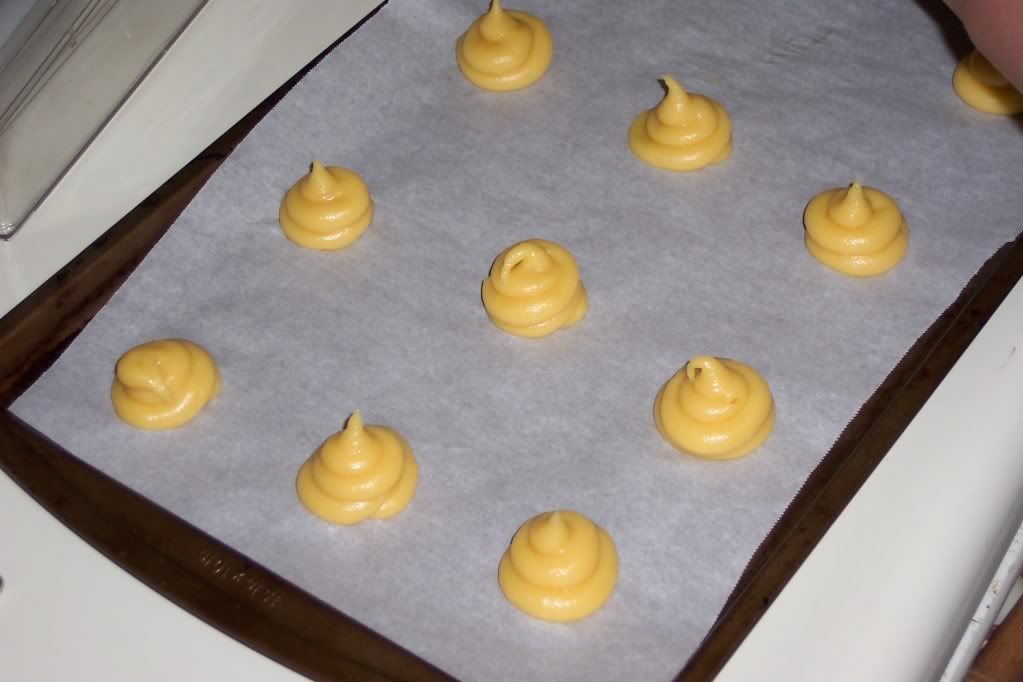
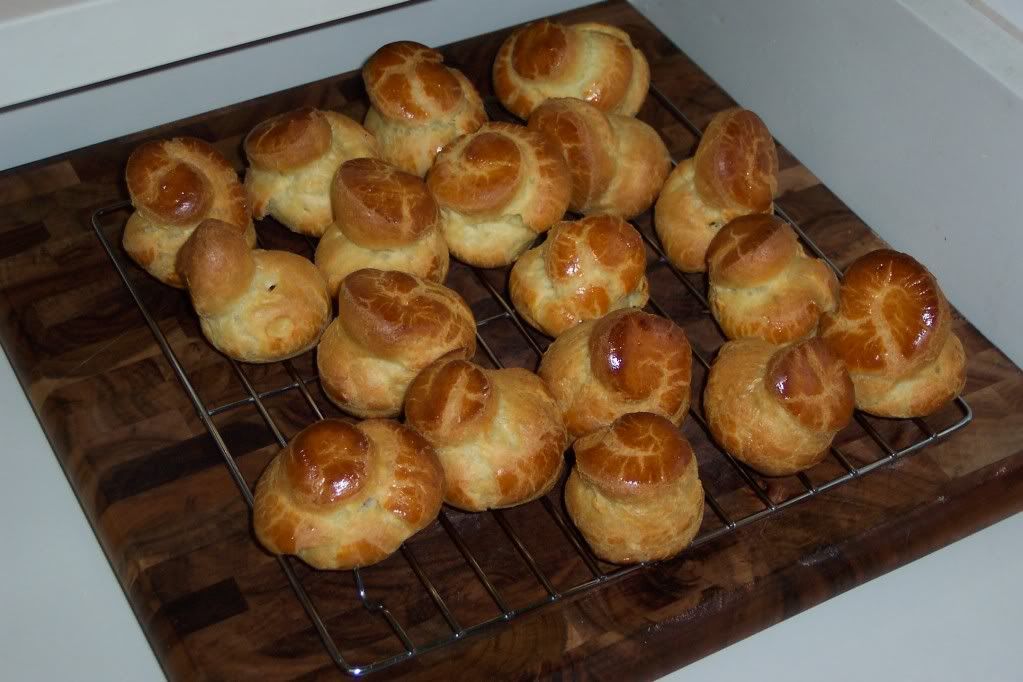
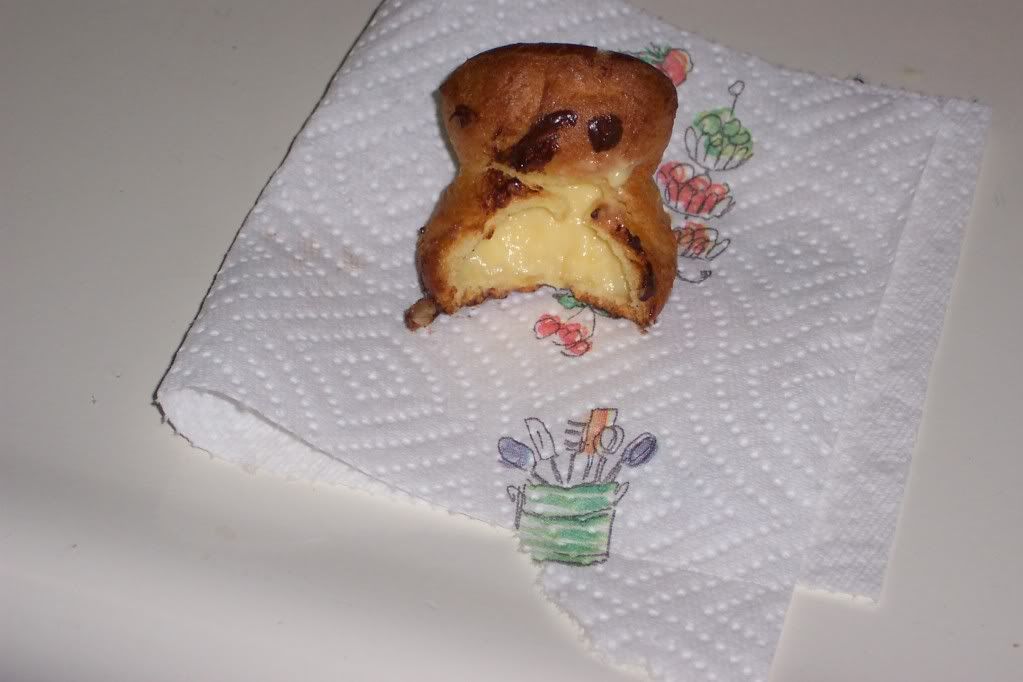
After making Pâte à choux for the first time I feel pretty impressed with myself.  Learning how to work with the dough and cook the flour prior to adding the eggs is truely the hard part of making Pâte à choux.  If you don't cook the dough long enough in the sauce pan you will end up with round jelly dounut looking Pâte à choux rather then big puffy clouds that are begging to be filled with tasty delights.

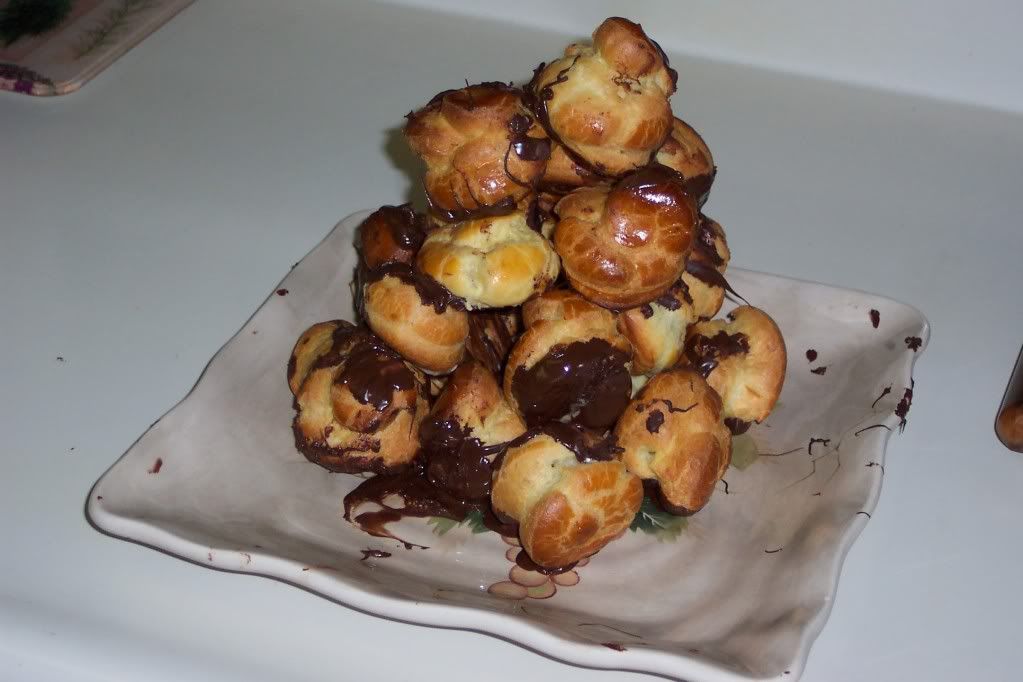
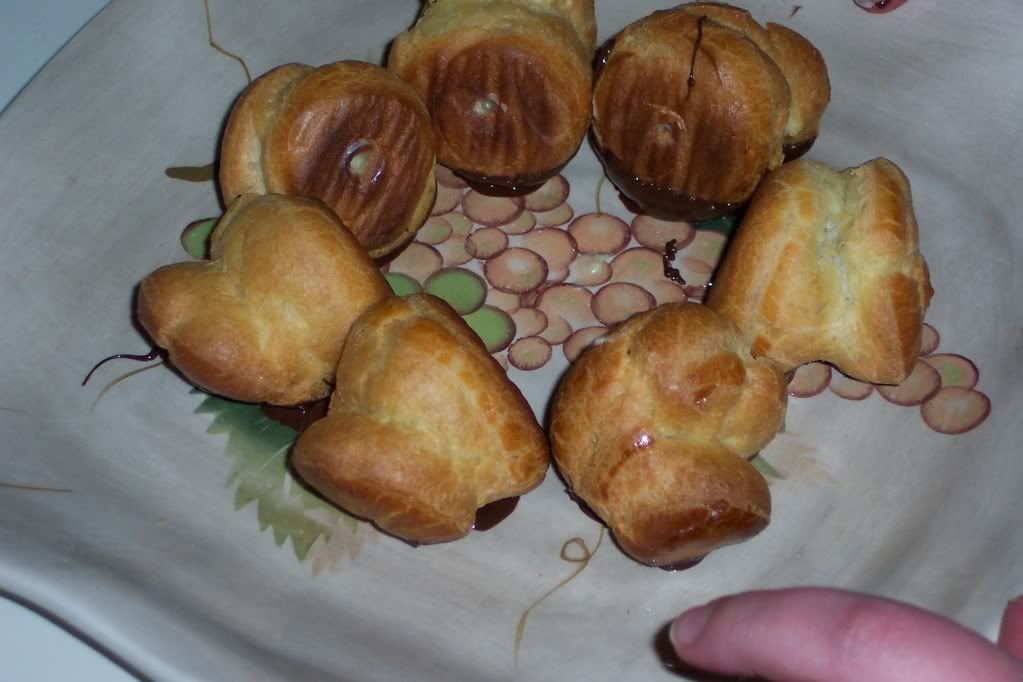
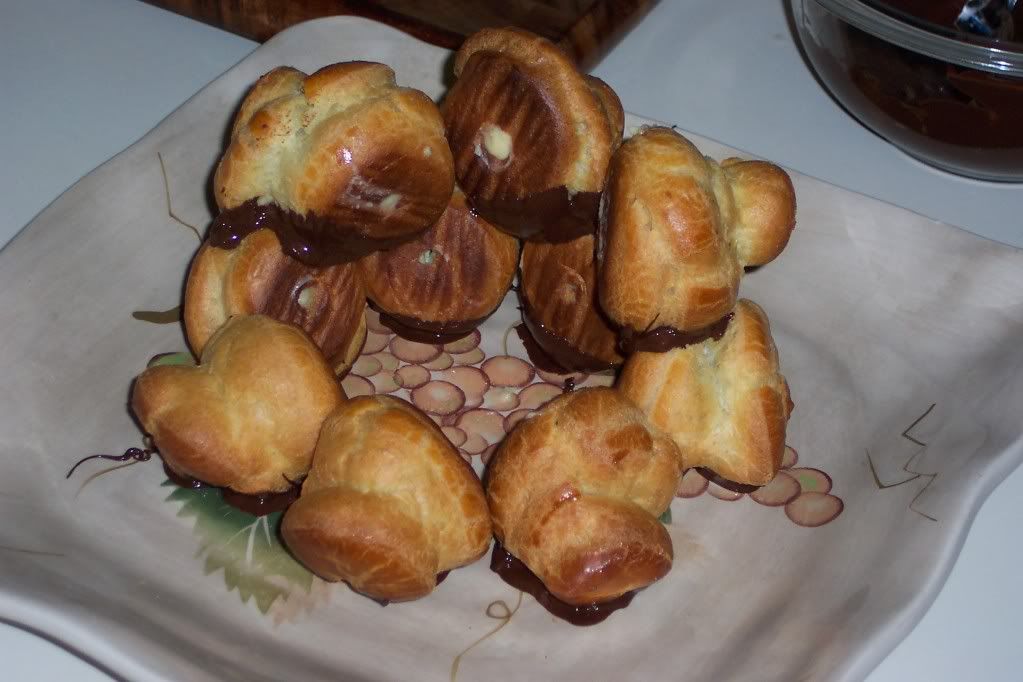
For this challenge I made the Pâte à choux, the pastry filling, and the Chocolate dipping sauce from scratch.  The hardest part I had with this challenge was making my mounted piece look pretty.  The second hardest part was really have no one to share this yummy desert with.  Aaron and I ate it, don't get me wrong.. I just would of liked to serve it to family and friends.  Here are my photos, if you would like to see the recipe please go to this link.  I did not have time to include my method of making the recipe, I started back to work this week and things have been busy.


on nom nom nom

3/27/10

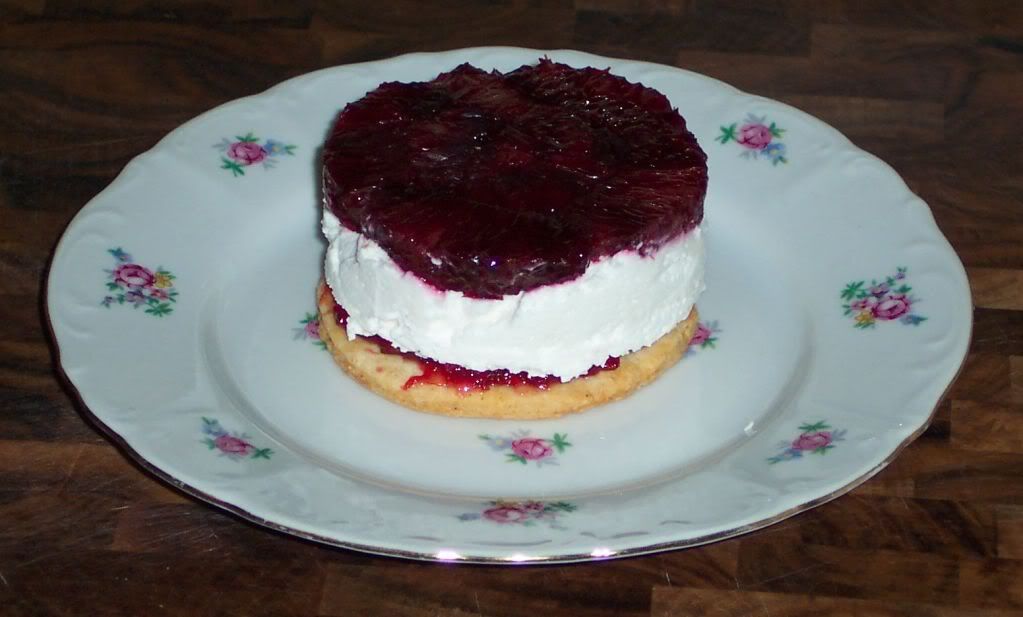
March 2010 Daring Bakers' Challenge: Orange Tian


The 2010 March Daring Baker’s challenge was hosted by Jennifer of Chocolate Shavings. She chose Orange Tian as the challenge for this month, a dessert based on a recipe from Alain Ducasse’s Cooking School in Paris.

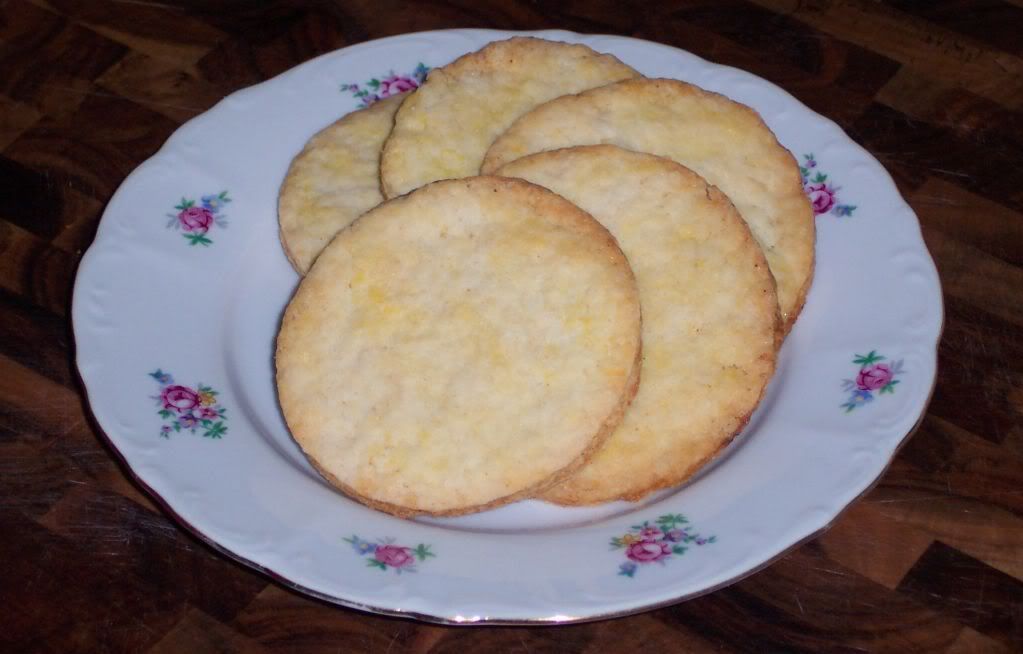
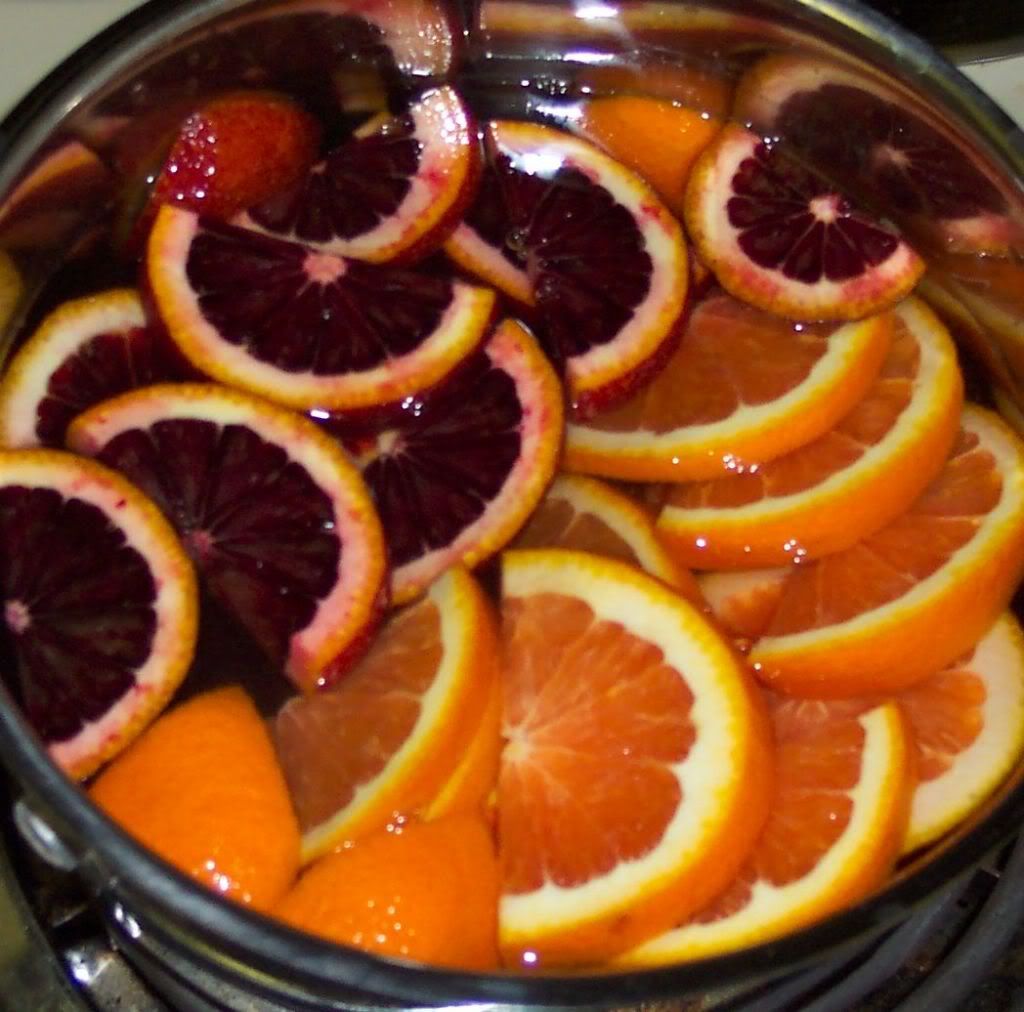
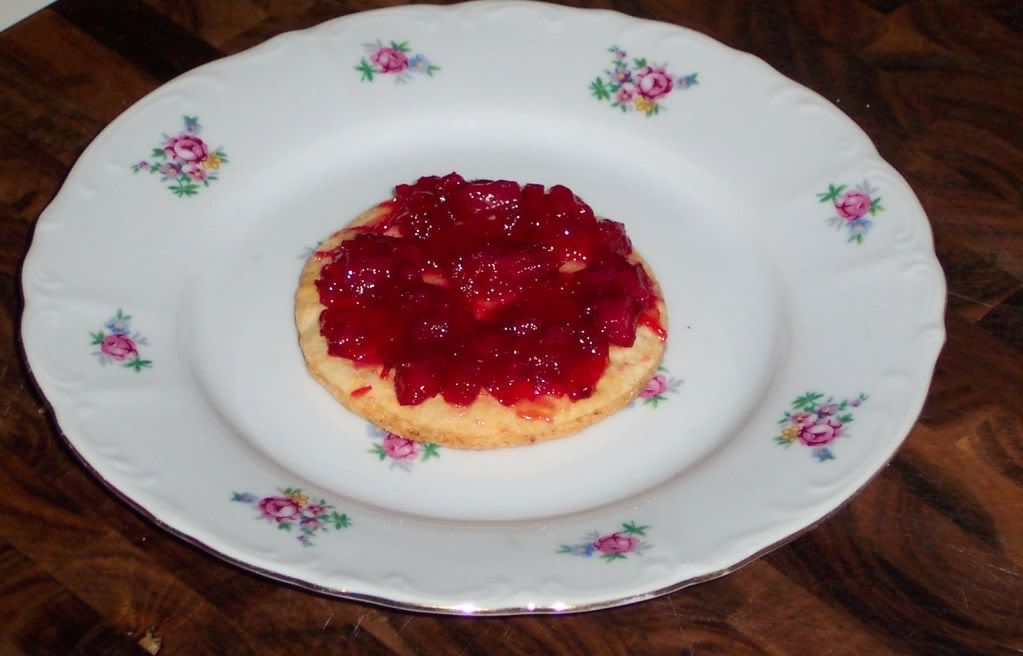
I made a Blood Orange and Pink Navel Tian.  I included the recipe for the caramel; however my caramel did not come out.  I made two batches and I was not satisfied with it's flavor or texture so I omitted it from this dessert.  In the end the winner was the homemade blood orange pink navel marmalade.  I am already planning other savory uses for this tasty treat.  Overall this was a good challenge. However, I was  disappointed in my caramel.

Pate Sablee:
  • 2 medium-sized egg yolks at room temperature
  • 6 Tbsp + 1 tsp granulated sugar
  • ½ tsp vanilla extract
  • ¼ cup + 3 tablespoons unsalted butter, ice cold
  • 1/3 tsp salt
  • 1 1/2 cup + 2 tablespoons flour
  • 1 tsp baking powder
Method:
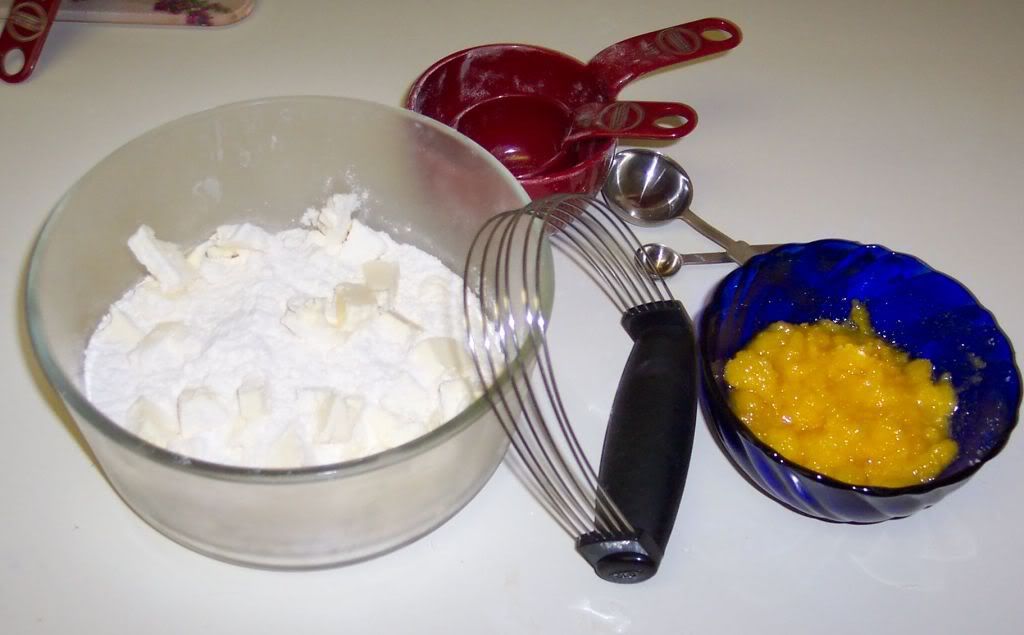
Put the flour, baking powder, ice cold cubed butter and salt in a flat bottom bowl and blend together with a pastry blender.


After it is well blended take bowl and stick it in the freezer for 5 minutes.  In a separate bowl, add the eggs yolks, vanilla extract and sugar and beat with a whisk until the mixture is pale.  Add to flour mixture and blend together with the pastry blender.  If the dough does not come together add some water to it.  Get the dough to form a loose ball and cover in plastic wrap and store in the refrigerator for an hour.

Preheat oven to 350 degrees.

Roll out the dough onto a lightly floured surface until you obtain a ¼ inch thick circle.  Using your cookie cutter, cut out circles of dough and place on a parchment (or silicone) lined baking sheet.


Bake for 20 minutes or until the circles of dough are just golden.


Marmalade:
  • ¼ freshly pressed blood orange
  • 1 small blood orange, sliced thinly
  • 1 small pink navel orange, sliced thinly
  • 5 grams pectin
  • ½ cup sugar
Method:

Place the sliced oranges in a sauce pot and cover them with water.  Bring water to a simmer and simmer for 10 minutes.


Drain the oranges and fill the pot back up with water. Simmer for another 10 minutes, and repeat this process one more time.

Drain and cool the orange slices.  Once they are cool chop them up and put them in a pot with the blood orange juice, pectin, and sugar.  Bring to a simmer and cook for 15 minutes then transfer to a storage container.  Cool and then refrigerate.

Orange Segments:
For this step you will need 8 oranges.  Cut the oranges into segments over a shallow bowl and make sure to keep the juice. Add the segments to the bowl with the juice.

Caramel:
  • 1 Cup sugar
  • 1 1/2 Cups + 2 Tbsp orange juice
Method:

Put sugar in a medium size sauce pan over a medium flame.  Heat the sugar till it starts to bubble.  Slowly add the orange juice and remove from the heat once the mixture boils.  Poor half of the caramel mixture over the orange segments and reserve the other half for service. (please note I had trouble following this caramel recipe, and I did not use the caramel in my dessert


Whipped Cream:
  • 1 Cup heavy whipping cream
  • 3 tablespoons of hot water
  • 1 tsp Gelatine
  • 1 Tbsp confectioner's sugar
  • orange marmalade (see recipe above) 1 Tbsp
Method:

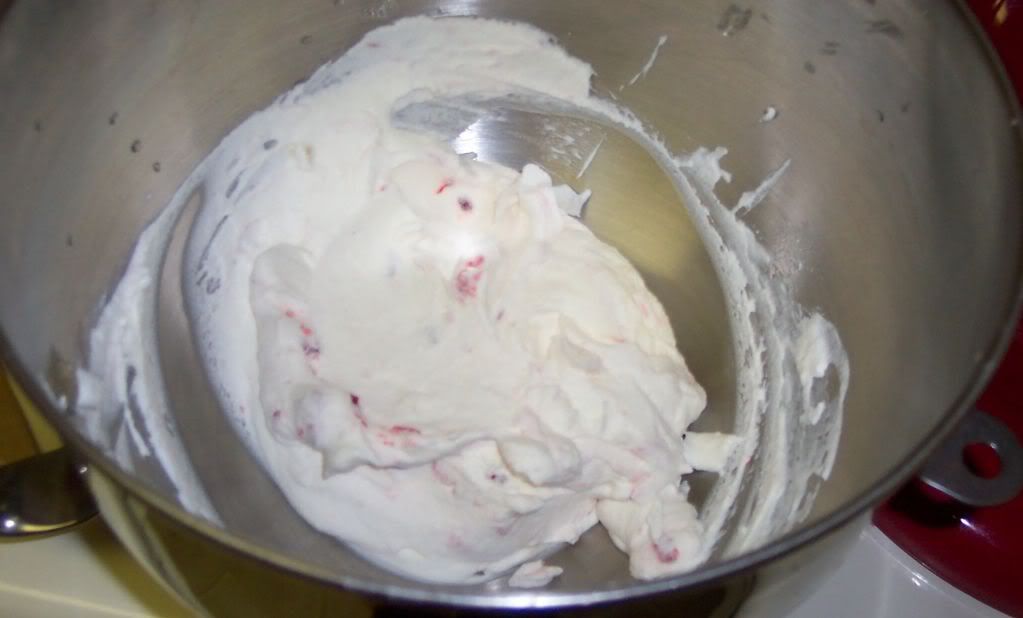
In a small bowl, add the gelatine and hot water, stirring well until the gelatine dissolves. Let the gelatine cool to room temperature while you make the whipped cream. Combine the cream in a chilled mixing bowl. Whip the cream using a hand mixer on low speed until the cream starts to thicken for about one minute. Add the confectioner sugar. Increase the speed to medium-high. Whip the cream until the beaters leave visible (but not lasting) trails in the cream, then add the cooled gelatine slowly while beating continuously. Continue whipping until the cream is light and fluffy and forms soft peaks. Transfer the whipped cream to a bowl and fold in the orange marmalade.


Assembling the Dessert:
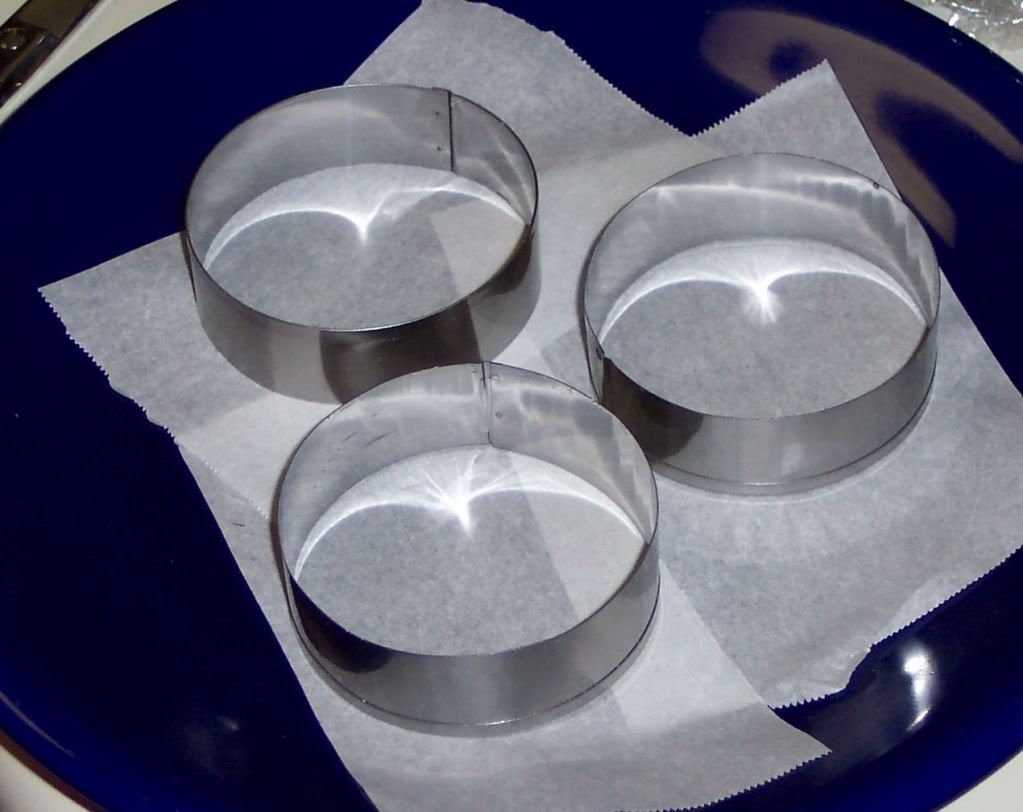
Make sure you have some room in your freezer. Ideally, you should be able to fit a small baking sheet or tray of desserts to set in the freezer.  Line a small tray or baking sheet with parchment paper or a silicone sheet. Lay out 6 cookie cutters onto the parchment paper/silicone.


Drain the orange segments on a kitchen towel.  Have the marmalade, whipped cream and baked circles of dough ready to use.


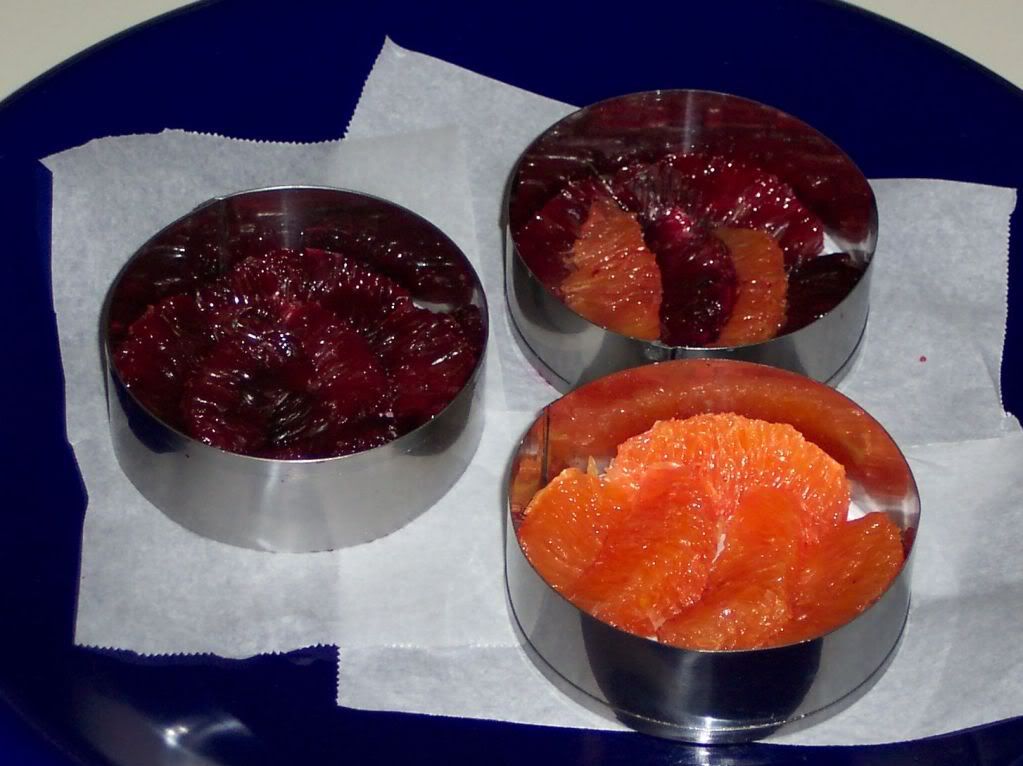
Arrange the orange segments at the bottom of each cookie cutter. Make sure the segments all touch either and that there are no gaps. Make sure they fit snuggly and look pretty as they will end up being the top of the dessert. Arrange them as you would sliced apples when making an apple tart.


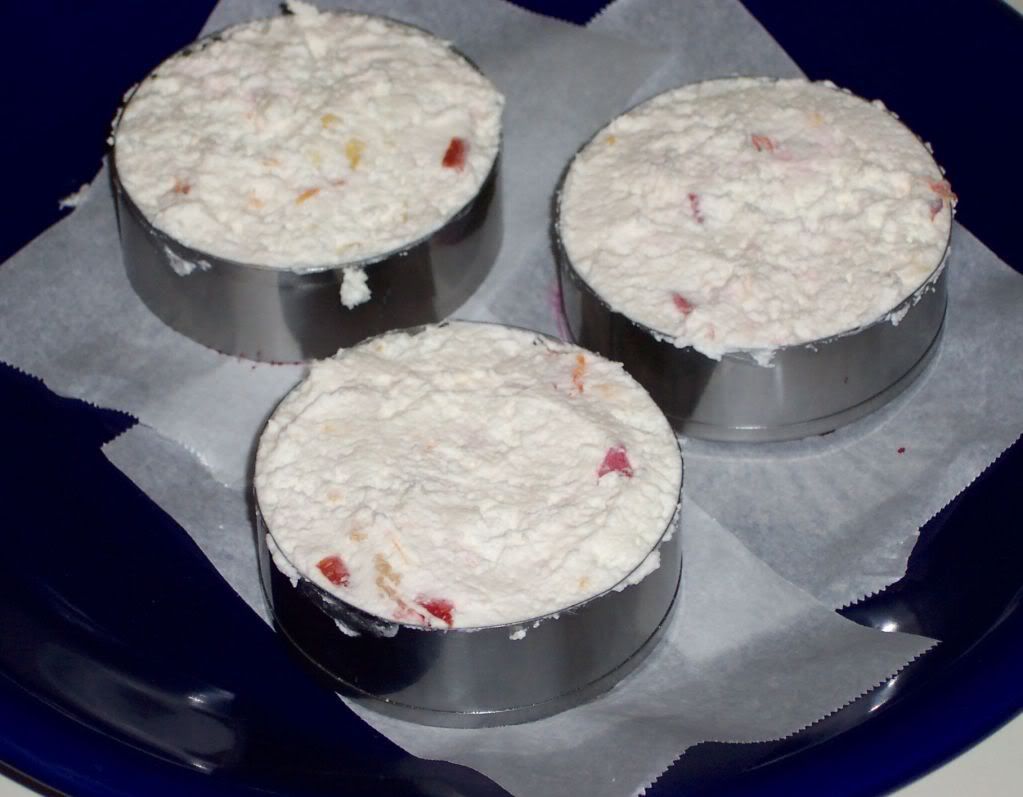
Once you have neatly arranged one layer of orange segments at the bottom of each cookie cutter, add a couple spoonfuls of whipped cream and gently spread it so that it fills the cookie cutter in an even layer.


Using a butter knife or small spoon, spread a small even layer of orange marmalade on each circle of dough.  Carefully place a circle of dough over each ring (the side of dough covered in marmalade should be the side touching the whipping cream). Gently press on the circle of dough to make sure the dessert is compact.   Place the desserts to set in the freezer to set for 10 minutes.

Using a small knife, gently go around the edges of the cookie cutter to make sure the dessert will be easy to unmold. Gently place your serving plate on top of a dessert (on top of the circle of dough) and turn the plate over. Gently remove the cookie cutter, add a spoonful of caramel sauce and serve immediately. (please note I did not use the caramel in my Orange Tian.

2/27/10

The February 2010 Daring Bakers’ challenge: Tiramisu


The February 2010 Daring Bakers’ challenge was hosted by Aparna of My Diverse Kitchen and Deeba of Passionate About Baking. They chose Tiramisu as the challenge for the month. Their challenge recipe is based on recipes from The Washington Post, Cordon Bleu at Home and Baking Obsession.

So, for the February Darling Bakers' challenge was to make Tiramisu.  Let me clear this up from the start, I just did not make Tiramisu, I made everything from scratch.  The challenge was to make Mascarpone cheese, Salvoiardi biscuits (ladyfingers), and Zabagline.  At first the part that scared me the most about this challenge was making the cheese.  I had never made cheese before, and the unknown is scary I suppose.  So this blog post is going to take you though my journey.  My ups and downs of my first Tiramisu.  First I will explain the Mascarpone, then biscuits, then Zabaglione and finally how to assemble the darn thing.  Please keep in mind that this is a three to four day process.  I would recommend making the cheese and the biscuits on the first day.  The next day make the pastry cream and the Zabaglione.  Assemble it the following day, and eat on the fourth day.

In the end my Tiramisu did not set up like I would of liked it too.  I let it sit in the refrigerator for over 24 hours, but I was not able to get it to cut clean.  I'm not sure if this is an error in my pastry cream or the Zabaglione.  Either way I served this dish at my parents house and everyone loved it.  My mom said it was the best she had, but she is my mom.. she has to say that.  *wink

Ingredients:


Mascarpone:
  • 474ml (approx. 500ml)/ 2 cups whipping (36 %) pasteurized (not ultra-pasteurized), preferably organic cream (between 25% to 36% cream will do)
  • 1 Tbs fresh lemon juice
Salvoiardi biscuits (ladyfingers)
  • 3 eggs, separated
  • 6 Tbsp sugar
  • 3/4 cupcake flour, sifted
  • 6 Tbsp confectioner's sugar
Zabaglione:
  • 2 large egg yolks
  • 3 Tbsp sugar
  • 1/4 cup Sweet Marsala wine
  • 1/4 tsp vanilla extract
  • 1/2 tsp finely grated lemon zest
Vanilla pastry cream:
  • 1/4 cup sugar
  • 1 Tbsp all purpose flour
  • 1/2 tsp finely grated lemon zest
  • 1/2 tsp vanilla extract
  • 1 large egg yolk
  • 3/4 cup whole milk
Whipped cream:
  • 1 cup chilled heavy cream
  • 1/4 cup sugar
  • 1/2 tsp vanilla extract
To assemble the Tiramisu:
  • 2 cups brewed espresso, warmed
  • 1 tsp rum extract (optional)
  • 1/2 cup sugar
  • 1/3 cup Mascarpone cheese
  • 36 Savoiardi/ladyfinger biscuits (you may use less)
  • 2 Tbsp unsweetened cocoa powder
Recipe Sources:
Mascarpone Cheese – Vera’s Recipe (Baking Obsession) for Homemade Mascarpone Cheese.
Savoiardi/ Ladyfinger Biscuits – Recipe from Cordon Bleu At Home
Tiramisu – Carminantonio's Tiramisu from The Washington Post, July 11 2007

Mascarpone Method:

To make mascarpone cheese you must have a double broiler.  If you normally use a glass bowl as part of your double broiler that will not work for this recipe.  Many of the Daring Bakers' found out that the glass works as an insulator and it will not allow the cream to reach the all important 190 degrees.  So basically you need to use a stainless steel bowl, or double broiler... right?  Wrong. 

I own a double broiler, it's a Calphalon stainless steel.  I could not get my cream past 185 degrees.  It sat at 185 for close to 45 minutes before I decided to bravely poor the cream into another sauce pan and put it directly over the heat.  In less than two minutes my cream hit 190 degrees, and I was very pleased.  Mixed in my lemon and I watched it thicken.  It does not curdle like cottage cheese it just gets think.

Okay so this is what you do.  Bring one inch of water to boil in your double broiler, reduce heat to medium and pour cream into the top of your double broiler.  Heat the cream till it reaches the magical 190 degree mark, you will see small bubbles pushing to the surface.  The bubbles are like little cheerleaders, cheering you on, letting you know that you did it right.  After looking for these bubbles for close to 45 minutes I started hallucinating.   It “should” take about 15 minutes to reach 190 degrees.  Just be patient with it, keep stirring it and wait it out.  If it comes to the point where you have to put it on the heat directly, do so with caution.  Don't burn it <3.

After your cream is 190 degrees and you see your cheerleaders mix in the fresh lime juice and wait for it to thicken.


After it thickens remove from the heat and cool it.  I put mine in an ice bath.  Not sure why I did that, but I did.


After the the cheese has cooled to room temperature line a sieve with some fine damp cheesecloth or even a clean dish rag will do.  Poor cheese into the cheesecloth, do not press on it.  After it is completely cooled cover with some plastic wrap and put in the refrigerator for 24 hours.

Don't fuss with it, it will turn into Mascarpone cheese over night if you got it up to 190.  It was like Christmas morning the next day.  I ran to the refrigerator and found my sieve packed full of the most beautiful Mascarpone cheese I had ever seen, or tasted for that matter.  This recipe is such a keeper.  Thank you!


Salvoiardi biscuits, ladyfingers (hobbit toes) Method:


Preheat oven to 350 degrees, then lightly brush 2 baking sheets with oil or softened butter and line with parchment paper.

Beat the egg whites using a hand held electric mixer or a standing mixer until stiff peaks form. Gradually add granulate sugar and continue beating until the egg whites become stiff again, glossy and smooth.

In a small bowl, beat the egg yolks lightly with a fork and fold them into the meringue, using a wooden spoon. Sift the flour over this mixture and fold gently until just mixed. It is important to fold very gently and not overdo the folding. Otherwise the batter would deflate and lose volume resulting in ladyfingers which are flat and not spongy.

Fit a pastry bag with a plain tip (or just snip the end off; you could also use a Ziploc bag) and fill with the batter. Pipe the batter into 5" long and 3/4" wide strips leaving about 1" space in between the strips.
Sprinkle half the confectioner's sugar over the ladyfingers and wait for 5 minutes. The sugar will pearl or look wet and glisten. Now sprinkle the remaining sugar. This helps to give the ladyfingers their characteristic crispness.

Hold the parchment paper in place with your thumb and lift one side of the baking sheet and gently tap it on the work surface to remove excess sprinkled sugar.

Bake the ladyfingers for 10 minutes, then rotate the sheets and bake for another 5 minutes or so until the puff up, turn lightly golden brown and are still soft.

Allow them to cool slightly on the sheets for about 5 minutes and then remove the ladyfingers from the baking sheet with a metal spatula while still hot, and cool on a rack.

Store them in an airtight container till required. They should keep for 2 to 3 weeks.

Zabaglione Method:


Heat water in a double broiler.  In the top of the double broiler mix egg yolks, sugar, Marsala wine, vanilla extract and lemon zest.  Mix together till the mixture looks smooth.  Transfer mixture to the top of the double broiler, cook mixture over low heat for 8 minutes.


It will bubble a bit as it reaches the right consistency.  It should look like a think custard when it is done.  Run custard through a fine mesh strainer to catch any clumps that may have formed up.  Let custard cool completely and then cover with plastic wrap and store in the refrigerator until you are ready to assemble Tiramisu.

Pastry Cream Method:

In a medium sauce pan mix together sugar, flour, lemon zest, and vanilla extract.  Add the egg yolk and half of the milk.  Heat the sauce pan over low heat and mix constantly.  Add the rest of the milk, a little bit at a time.


Cook for about 12 minutes, the mixture should be thick.  Take the cream off the heat and push through a fine mesh strainer and transfer to a bowl.  Let the pastry cream get to room temperature and then cover it with plastic wrap and store it in refrigerator until you are ready to assemble the Tiramisu.

Whipped Cream Method:

Using a hand held mixer or a standing mixer, beat cream, sugar, and vanilla extract.  Beat it till it forms soft peaks.  Don't make this whipping cream until you are ready to assemble the Tiramisu.

Assemble the Tiramisu:

Have ready a rectangular serving dish (about 8" by 8" should do) or one of your choice.
Mix together the warm espresso, rum extract and sugar in a shallow dish, whisking to mix well. Set aside to cool.

In a large bowl, beat the Mascarpone cheese with a spoon to break down the lumps and make it smooth. This will make it easier to fold.


Add the prepared and chilled Zabaglione and pastry cream, blending until just combined. Gently fold in the whipped cream. Set this cream mixture aside.
Now to start assembling the Tiramisu.

Workings quickly, dip 12 of the ladyfingers in the sweetened espresso, about 1 second per side. They should be moist but not soggy. Immediately transfer each ladyfinger to the platter, placing them side by side in a single row. You may break a lady finger into two, if necessary, to ensure the base of your dish is completely covered.


Spoon one-third of the cream mixture on top of the ladyfingers, then use a rubber spatula or spreading knife to cover the top evenly, all the way to the edges.  I spooned about half of the mixture, not one third.  My Tiramisu only had two layers of hobbit toes, not three.

Repeat to create 1-2 more layers, using 12 ladyfingers and the cream mixture for each layer.


Clean any spilled cream mixture; cover carefully with plastic wrap and refrigerate the Tiramisu overnight.

To serve, carefully remove the plastic wrap and sprinkle the Tiramisu with cocoa powder using a fine-mesh strainer or decorate as you please. Cut into individual portions and serve.
2/4/10

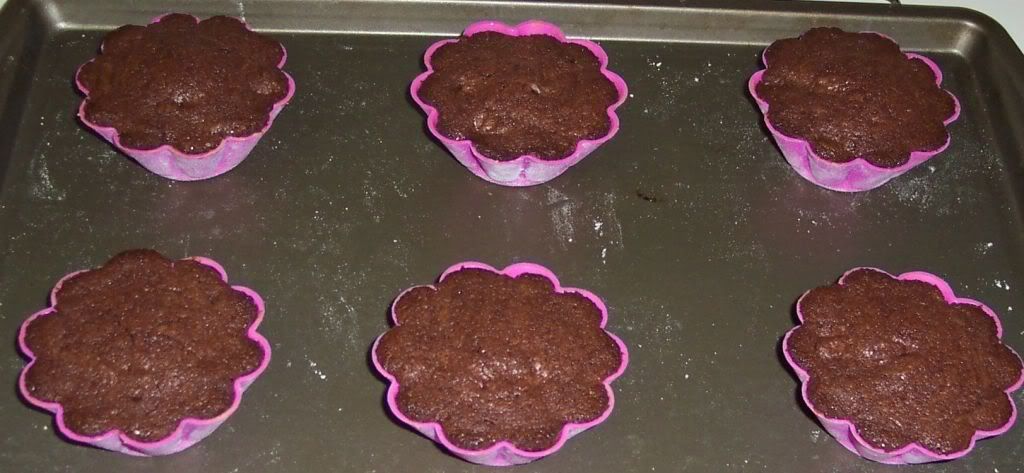
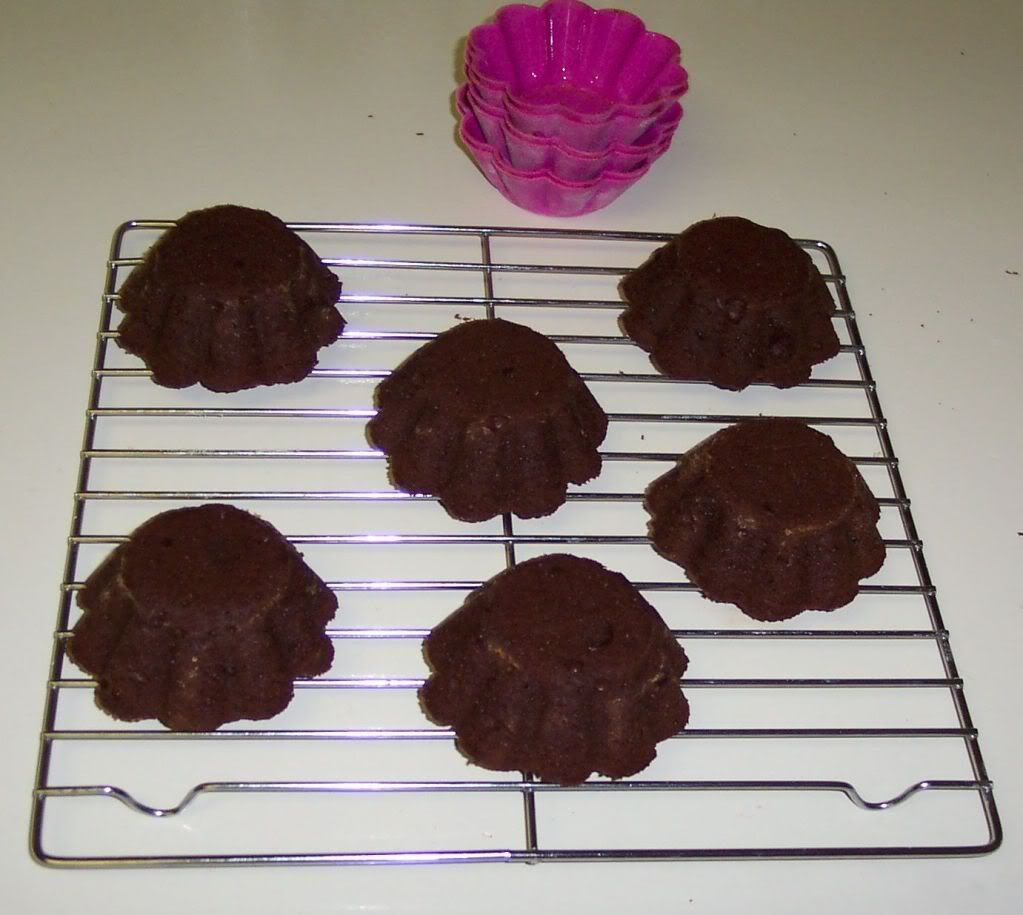
Chocolate Bouchons


For Christmas Aaron got me a few cooking books.  Thomas Keller's Bouchon finally showed up last week.  So far I am just loving it.  I made some beef broth last week from prime rib bones, his method worked wonders.  I will have to post my Minestrone soup later.

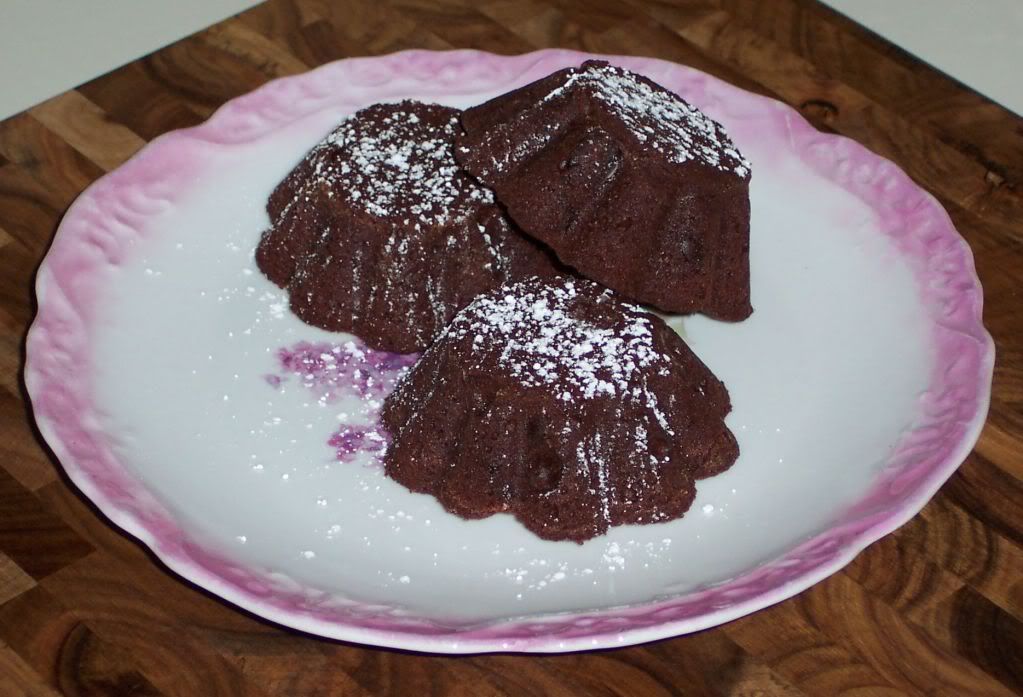
Any way back to the Chocolate!  This recipe has been adapted from Thomas Keller's book.  The main changes I made were the baking time, and baking them in brioche molds instead of timbale molds.  The average cook has a cupcake pan that will work fine with this recipe.  The brioche molds I used are the same size as a medium cupcake pan.

Ingredients:

  • butter and flour for the cup cake pan, or molds
  • ¾ cup flour
  • 1 cup unsweetened coco powder
  • 1 tsp kosher salt
  • 3 large eggs, room temperature
  • 1 ½ cups plus 3 Tbsp granulated sugar
  • ½ tsp pure vanilla extract
  • 6 ounces semisweet chocolate, chopped
  • 12 ounces of unsalted butter, soft and slightly warm
  • confectioners sugar for serving

Method:

Preheat oven to 350; butter and flour 20 molds, or cupcake pans.

Sift the flour, salt, and unsweetened coco powder together; set aside.  Please do not skip this step; it is the small simple things you do that make your dishes go from good to fabulous.

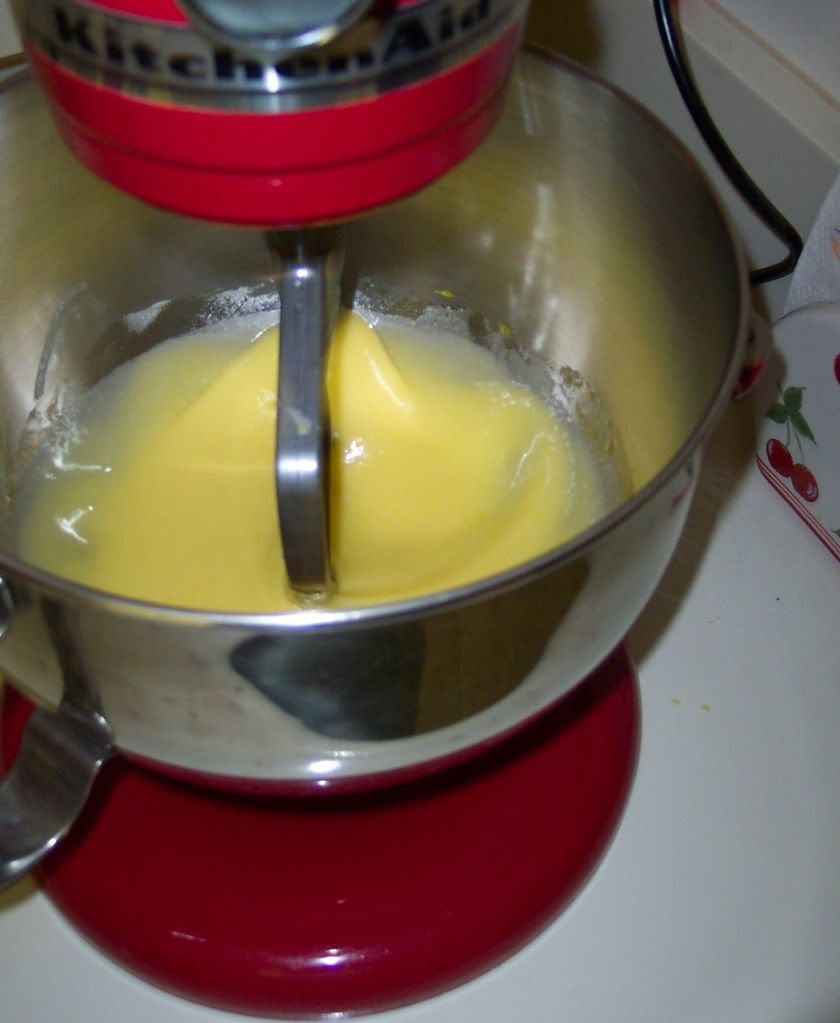
Fit mixer with paddle attachment and mix together eggs and sugar for 5 minutes on medium speed; when the color of the mixture turns pale yellow it is ready.


Mix in the vanilla.  On low speed start to add the butter and flour mixture; add 1/3 of each to the mixer, and combine well, repeat 2 more times till all the flour and butter has been combined.  Remove paddle and mix in chopped chocolate by hand.  Put batter into a large zip lock back and cut the tip of it off; pipe batter into each mold about two-thirds full.


Bake at 350 for 15 minutes.


Place molds/cupcake pan on a cooling rack for two minutes.  Take another cooling rack and set it on top of the molds/cupcake pan and flip the molds/cupcake pan over.  The cakes will fall out of the molds on there own.  Once they fall out remove the molds/pan and let them cool.


Serve with powder sugar and ice cream, enjoy!

Serves 20 small appetites, or 10 large.

1/27/10

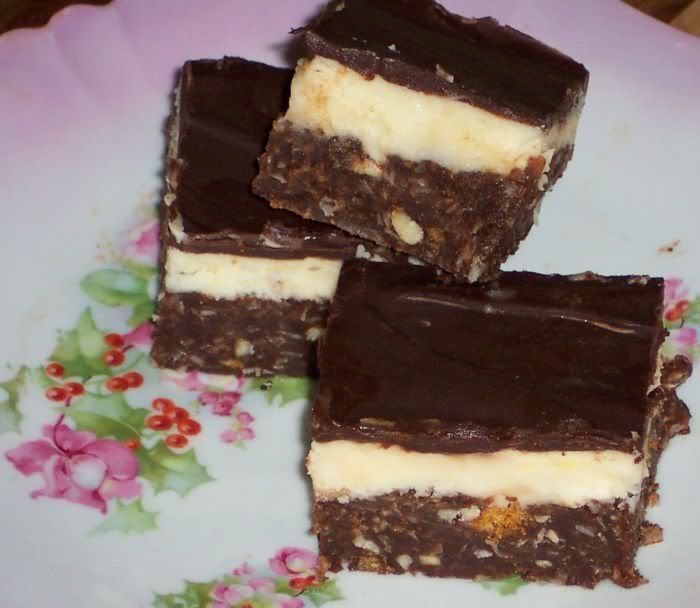
Daring Bakers’ Challenge: Gluten-free Graham Wafers and Nanaimo Bars


The January 2010 Daring Bakers’ challenge was hosted by Lauren of Celiac Teen. Lauren chose Gluten-Free Graham Wafers and Nanaimo Bars as the challenge for the month. The sources she based her recipe on are 101 Cookbooks and www.nanaimo.ca. 

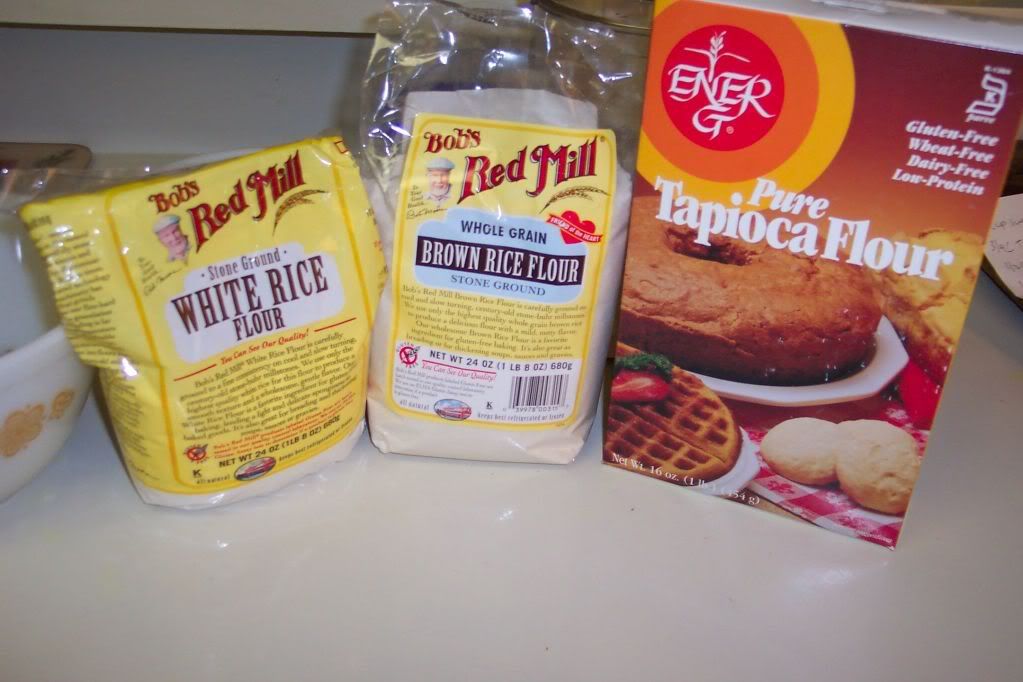
This was a very interesting challenge.  I had to try a few stores to get the gluten free flours, but it was worth it.  In the end I made a beautiful treat that pays tribute to the start of the winter Olympics, Canada, and brings awareness to Celiac Disease.

I have never had Nanaimo Bars before.  I followed the recipe provided pretty much all the way; however, I did add cherry extract to the top layer of the bar.  If you can't find non gluten flour, regular all purpose flour can be used. 

Gluten-Free Graham Wafers


Ingredients
  • 1 cup sweet rice flour (also known as glutinous rice flour)
  • 3/4 cup tapioca flour
  • 1/2 cup sorghum flour (also known as brown rice flour)
  • 1 cup dark brown sugar
  • 1 tsp baking soda
  • 3/4 tsp kosher salt
  • 7 Tbsp unsalted butter, cut into 1-inch cubes and frozen
  • 1/3 cup honey, mild-flavored such as clover.
  • 5 Tbsp whole milk
  • 2 Tbsp pure vanilla extract


Method:

Combine flours, brown sugar, baking soda, and salt in food processor; pulse on the till it is mixed up.  Add the butter and pulse on low till it is the consistency of coarse meal.

In a medium size bowl whisk together honey, milk, and vanilla; add the flour mixture till the dough starts to come together.  Turn the dough out onto a floured surface (use the sweet rice flour).  Kneed dough a few times, and then form the dough into a rectangle and cover in plastic wrap.  Refrigerate the dough for at-least two hours, over night is preferred.

After you chill the dough; cut the dough in half and return one half to the refrigerator.  I have a small kitchen so I cut it into quarters.  Work on a floured surface, again using the sweet rice flour.  Roll the dough out to about 1/8th of an inch.  Cut the dough into squares or use a cutter if you are feeling fancy.  Place grams on a lined cookie sheet.  Poke holes in each gram with a tooth pick, about 6 wholes per gram.  Make sure you do not poke all the way through.  Store grams in refrigerator for a half hour before baking.


Preheat oven to 350 degrees, put one rack at the most bottom position in your oven, and the other rack at the most top position.  Put one cooking sheet on the top rack and one on the bottom, cook for 8 minutes and then rotate sheets racks from bottom to top, and cook for another 8 minutes (if you are using all purpose flour; please note they will cook faster).

Cool grams on a rack.  After they are cooled put enough grams into food processor to make 1 ¼ cup crumbs. 


Nanaimo Bars

Ingredients:

Bottom Layer
  • 1/2 cup unsalted butter
  • 1/4 cup granulated sugar
  • 5 Tbsp unsweetened cocoa
  • 1 egg, beaten
  • 1 1/4 cups gluten free graham wafer crumbs
  • 1/2 cup raw almonds, finely chopped
  • 1 cup shredded coconut, sweetened or unsweetened
Middle Layer
  • 1/2 cup unsalted butter, soften
  • 2 Tbsp and 2 tsp Heavy Cream
  • 2 Tbsp vanilla custard powder, instant vanilla pudding can be substituted
  • 2 cups confectioners sugar
Top Layer
  • 4 ounces semi-sweet chocolate
  • 2 Tbsp unsalted butter
  • 1 tsp cherry extract 
Method:

Bottom layer:
Heat up double broiler; add butter, sugar, and cocoa powder.  Melt mixture, after its melted mix in egg; combine till mixture is smooth.  Add gram crumbs, almonds, and coconut; mix well and press mixture into a 6 by 8 inch baking dish.

Middle layer:
Beat together butter, cream, custard powder, and confectioners sugar.  Once it is combines make a nice neat layer on top of the gram cracker layer.

Top layer:
Heat double broiler; melt butter with chocolate and cherry extract.  Cool chocolate mixture before poring it on top of the custard layer.  Chill for a few hours, cut and serve.  Enjoy

12/31/09

Red Velvet Cake


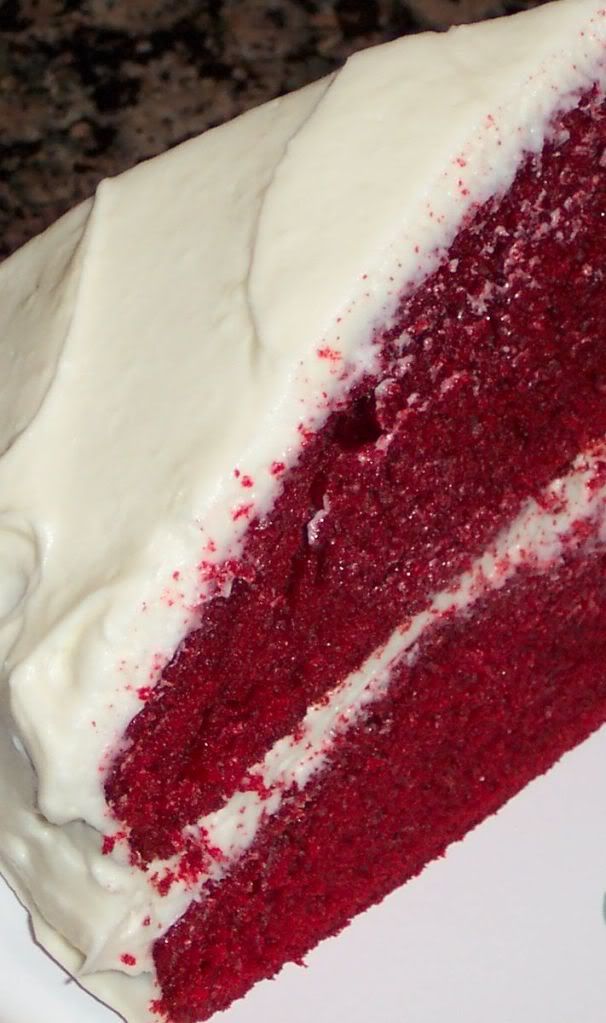
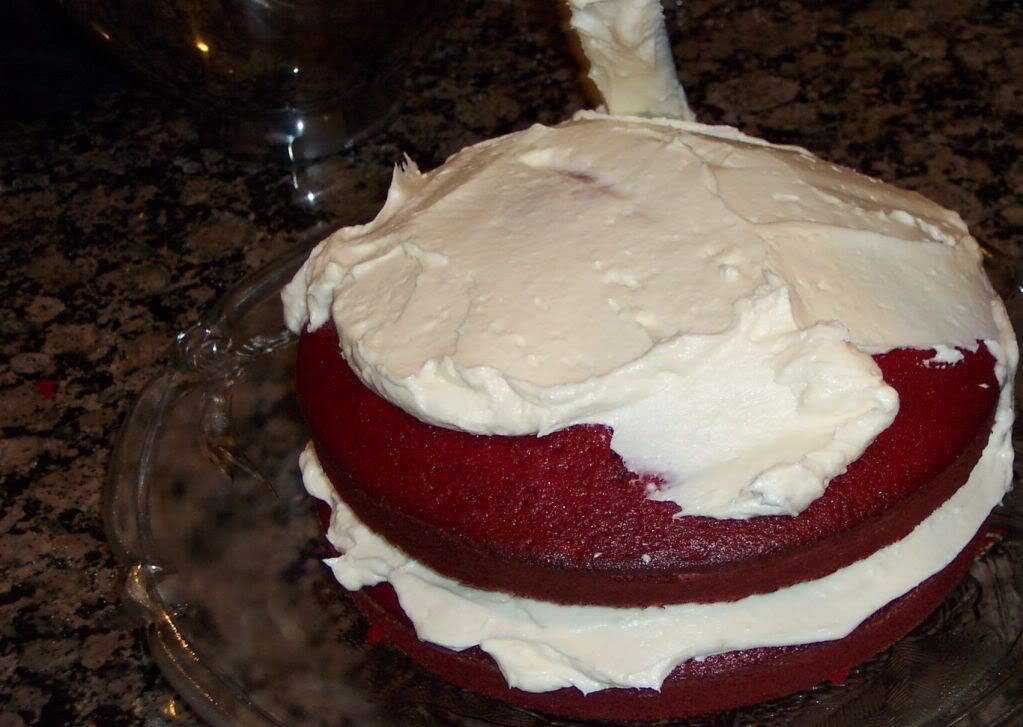
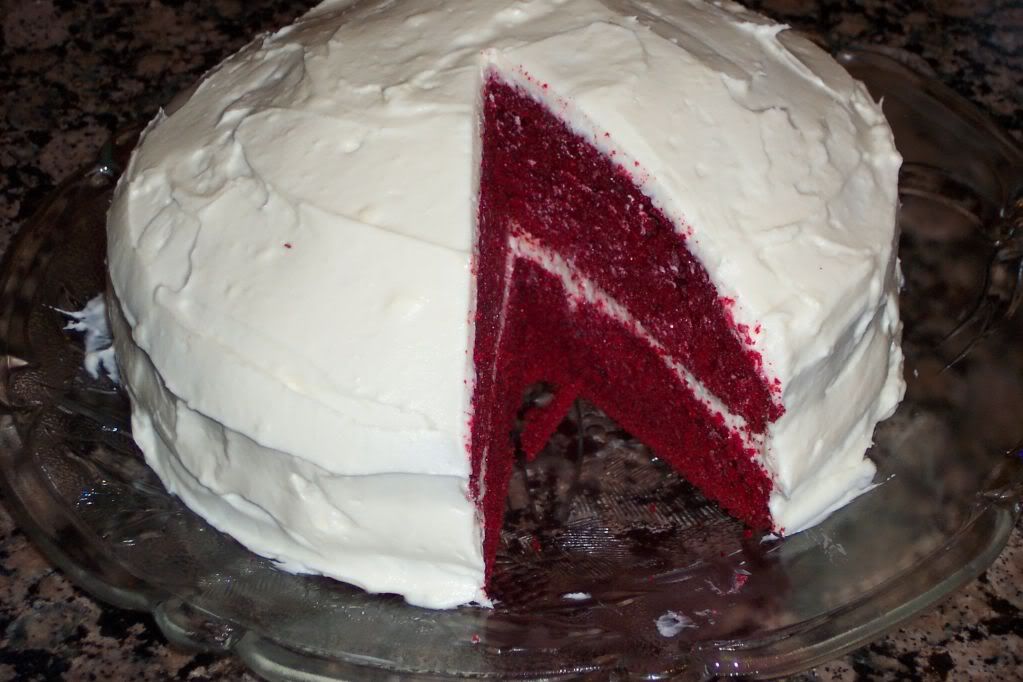
I have to admit that I am not much of a cake girl, but knowing that I would be baking in my mothers fancy convection oven sealed the deal.  Cake was for desert.  The next step was what kind of cake should I make.  I was thinking chocolate and then carrot, and in the end I wanted something that would go well with cream cheese frosting.  I borrowed the cake recipe from Martha Stewart, and added a little less coco powder than she did.  I wanted this cake to scream red, and it did.  Everyone thoroughly enjoyed the cake and its sinfully good frosting.
Method:

  • Unsalted butter, for cake pans
  • 2 1/2 cups cake flour, not self-rising
  • 1 tsp salt
  • 1/8-1/4 cup cocoa powder- add 1/8 for a brighter red cake, ¼ for a deeper red cake.
  • 1 1/2 cups sugar
  • 1 1/2 cups canola oil
  • 2 large eggs
  • 1/4 cup red food coloring
  • 1 tsp pure vanilla extract
  • 1 cup buttermilk
  • 1 1/2 tsp baking soda
  • 2 tsp white vinegar

Preheat oven to 350 degrees.  Grease cake pans with unsalted butter and dust with flour.  Combine dry ingredients in a medium bowl; cake flour, salt coco powder; set aside.
Fit your electric mixer with the paddle attachment and combine the eggs and sugar, beat for a few minutes; add eggs one at a time.  Add food coloring and vanilla; please not that red food color can stain your kitchen, so be careful!

Add flour and buttermilk to mixture; alternating and scraping down sides as you go.  In a small bowl mix baking soda and vinegar; add to batter.  Beat for 10 seconds and then divide evenly into cake pans.
Bake for 30-35 minutes till toothpick comes out clean.  Cool cakes on racks before frosting.

Cream Cheese Frosting

Cream Cheese Frosting


I used this cream cheese frosting recipe on my red velvet cake.  You can add fresh orange, lemon, or lime zest to this recipe to change it up.   

Method:

  • 16 ounces cream cheese, room temperature
  • 16 ounces unsalted butter, room temperature
  • 2 cups of confectioner's sugar, sifted
  • 1 tsp vanilla extract
  • 1 tsp fresh lemon juice

Place cream cheese and butter in mixer fitted with the wire whip attachment; whip on medium speed till combined and smooth.  Gradually add sugar; beat till smooth.  Add vanilla and lemon juice and blend.