My blog has moved!

You should be automatically redirected in 6 seconds. If not, visit
http://www.racerhino.com
and update your bookmarks.

Showing posts with label Bread. Show all posts

6/15/10

June 2010 - Daring Cooks Challenge : Pâté


Our hostesses this month, Evelyne of Cheap Ethnic Eatz, and Valerie of a The Chocolate Bunny, chose delicious pate with freshly baked bread as their June Daring Cook’s challenge! They’ve provided us with 4 different pate recipes to choose from and are allowing us to go wild with our homemade bread choice.

This was my first Pate and I was really impressed how easy it was to make.  The hardest part for me was working with a mini prep instead of a proper food processor.  I had to grind up my pate in several separate batches.  It was messy and I was very glad that my Sous –Chef Aaron was there to help me mop up the madness that took over my small counter top.

This was very special challenge for me.  My Grandmother and Aunt Karen were visiting from Chicago, and this was the first time they got to taste some of my food.  I have cooked for them in the past but it was so long ago and I have learned so much since the last time they had anything I cooked or baked.  My mother hosted a nice sized party at her house and I decided to bring the pate and the homemade sourdough bread along.

When I unveiled the foil from the small loaf tins everyone gasped at the beautiful strips of bacon that seemed to invite everyone to want to try a little.  Leave it to bacon to get even the pickiest eaters to try something new.  I peeled one piece of bacon away and asked my Grandmother to smell it; she said “that smells Bohemian”.  We all laughed, and I smiled; it truly was a very special day.

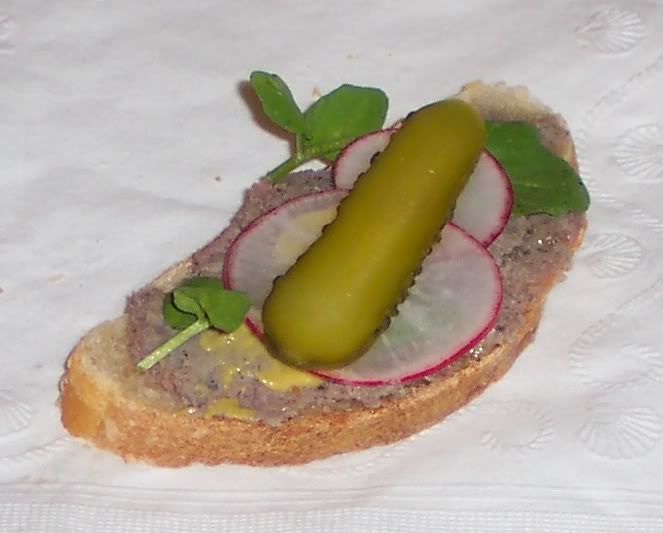
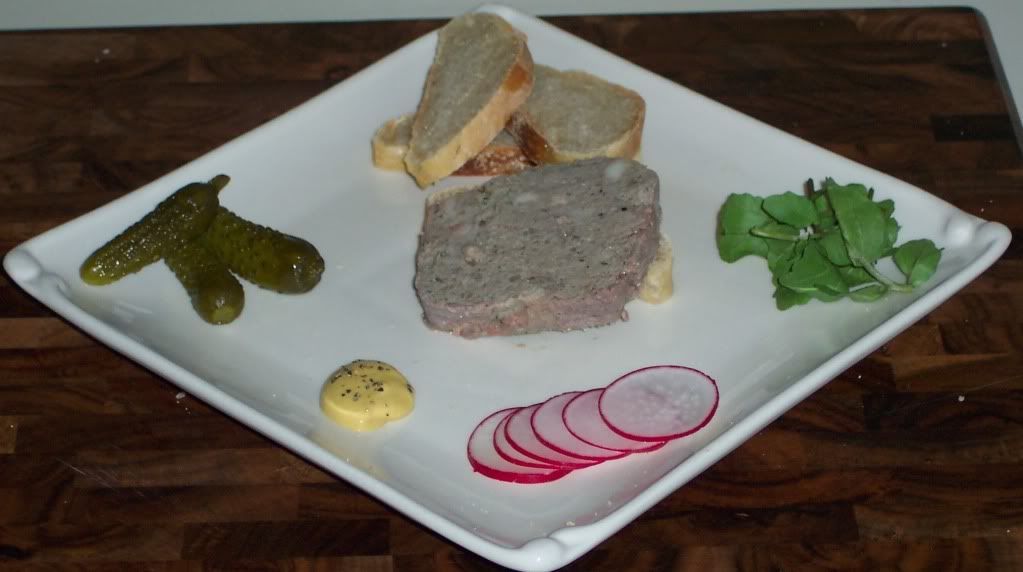
You can find my sourdough bread recipe here; it comes in so handy to have a sourdough starter living on your kitchen counter.  I served my Pate with Dijon Mustard, Watercress, Radishes, and Cornichons.  I served my Grandmother and my Aunt some Pate first and they just loved it.  I made one round with all the toppings and then told everyone they were on their own.  My Dad loved the Cornichons, but he added that he would love to add some onions.


I plan on learning how to make other versions of Pate and upgrading my food processor so making an appetizer mid week for a weekend party should be a snap.  Not only will it be easy but it will be a cheap way to entertain.  I think I spent 6 dollars total on everything for this challenge.  I love this challenge because it can be made in advance, and it is actually better if you make it days in advance.  It is cheap, easy, and delectable!

Lastly I would like to clear a few things up about The Daring Kitchen.  I had some questions from some family and friends regarding the challenges, and one person even said do you challenger yourself??  Any way I was put off because these people must not read my blog.  If you would like to learn more about The Daring Kitchen please visit this link.  Daring Bakers’ and Cooks are a very large group of cooks and bakers that blog and every month we receive a challenge that usually is out of most of our cooking comfort zones.  It’s a great group and I was introduced to it by Sarah Belaire.  Thank you Sarah, you and your hubby rock.
   
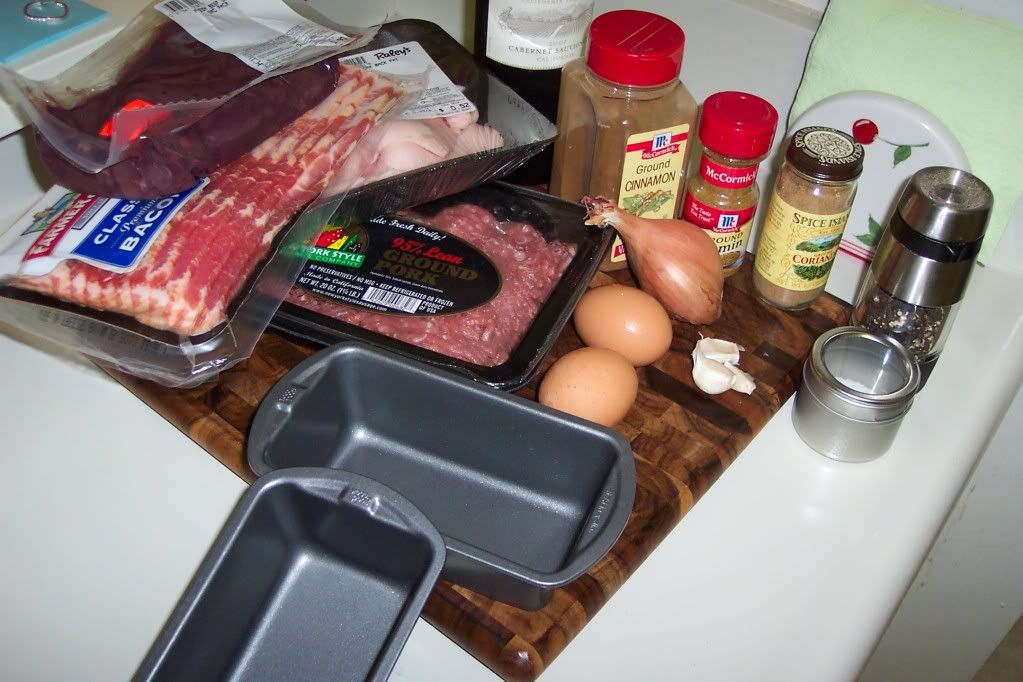
Ingredients:
  • 1 lb pork liver (or beef or combination) – I used only beef
  • 1/2 lb ground pork
  • 1/2 lb pork belly, or pork fat back
  • 2 cloves garlic, finely chopped
  • 2 shallots, finely chopped
  • 1 whole egg and 1 egg yolk
  • 1/2 tsp cinnamon
  • 1/2 tsp coriander (ground or crushed)
  • 1/2 tsp cumin
  • 3/4 tsp Kosher salt
  • 1 Tbps coarse freshly cracked peppercorns
  • 2 Tbps cabernet sauvignon
  • 4 bay leaves
  • 1 pound of bacon


Method:

Preheat oven to 350 degrees.  Chop up the pork fat, liver, shallots and garlic.  If you are lucky enough to have a real food processor add the ground pork, pork fat, liver shallots, garlic, cinnamon, coriander, cumin, salt, and pepper blend till it is smooth.

Transfer liver mixture to a bowl and combine with the eggs and wine.  Line a loaf pan with bacon; I used two small loaf pans for a more petite presentation.
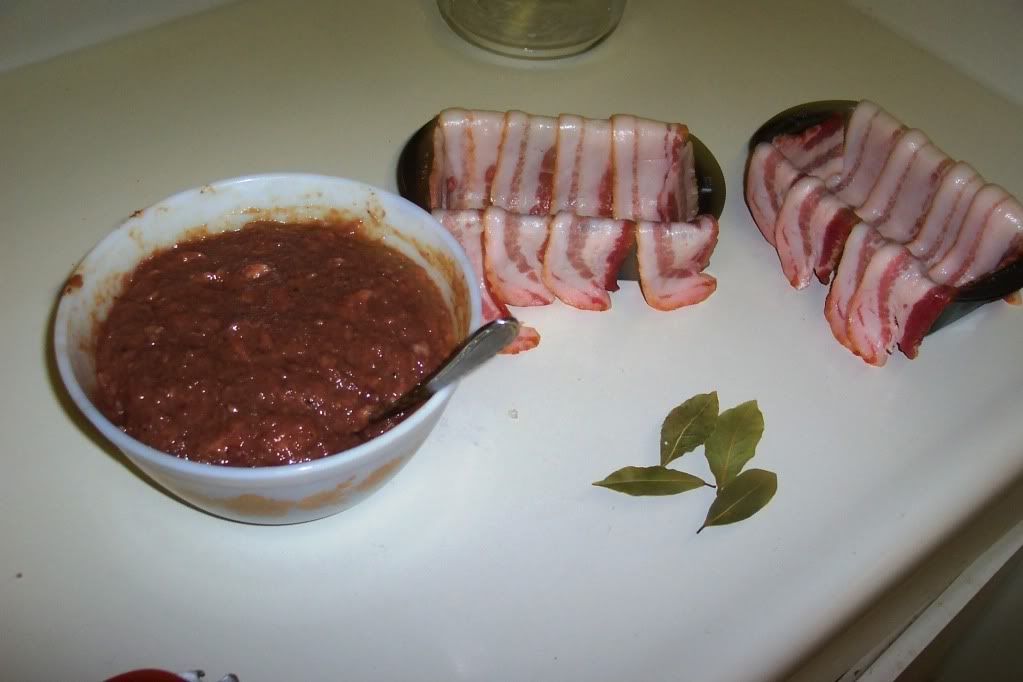


Place one bay leaf at the bottom of each loaf pan and then distribute the liver mixture evenly into pans.
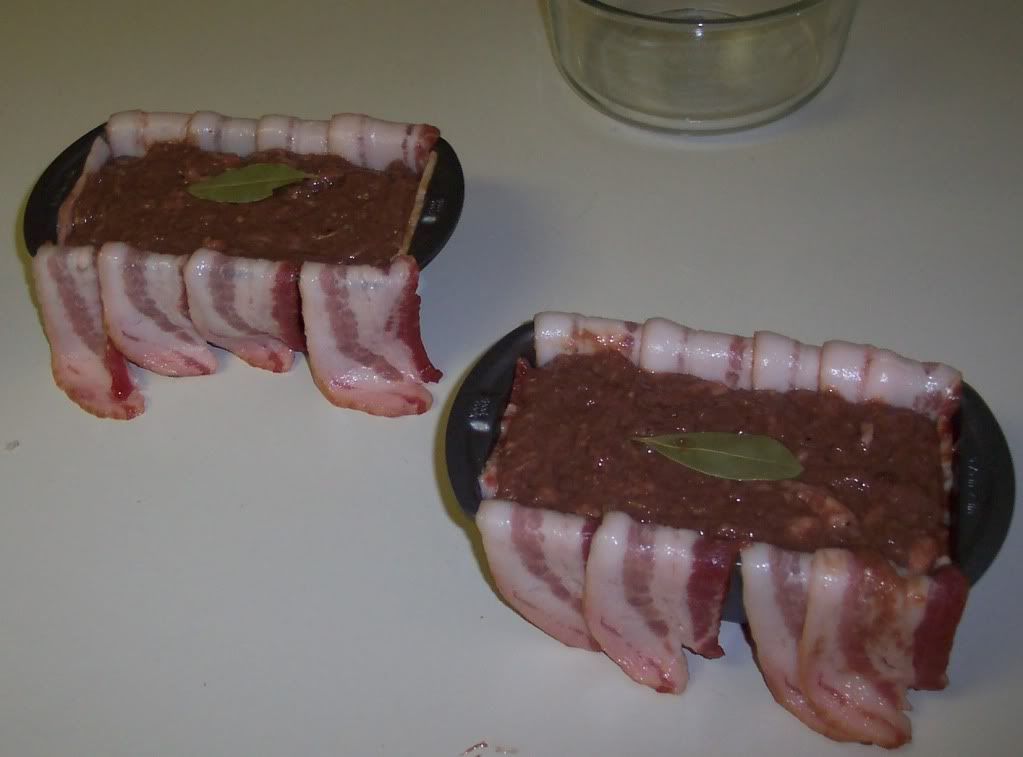


Top each loaf with a bay leave and seal it with the over lapping bacon.
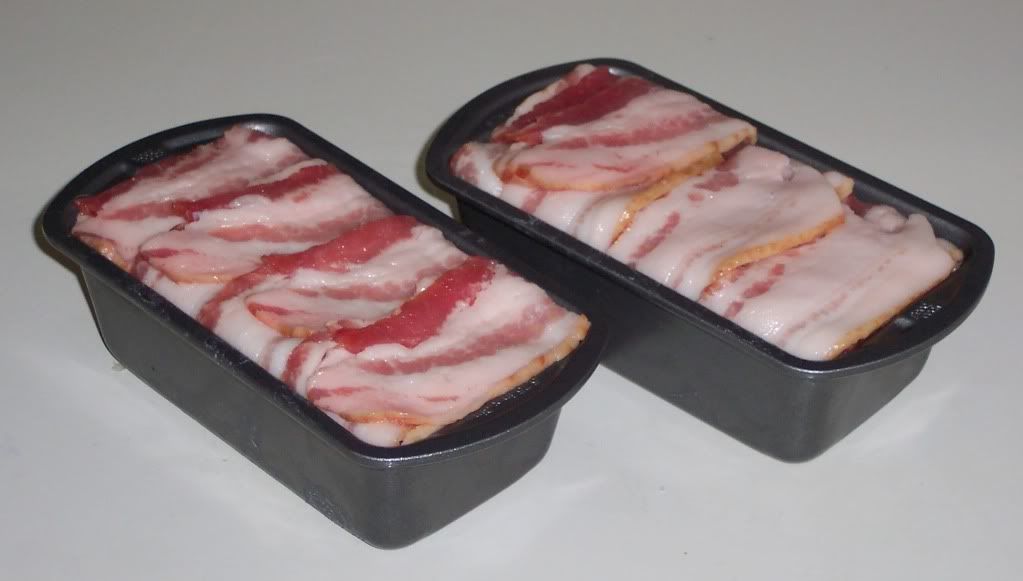


Place loaf pans in a large baking dish, fill the dish with water till the water covers two thirds of the pan.  Bake for an hour and half.  After they are done baking let them rest on a cooling rack for about 15 minutes.
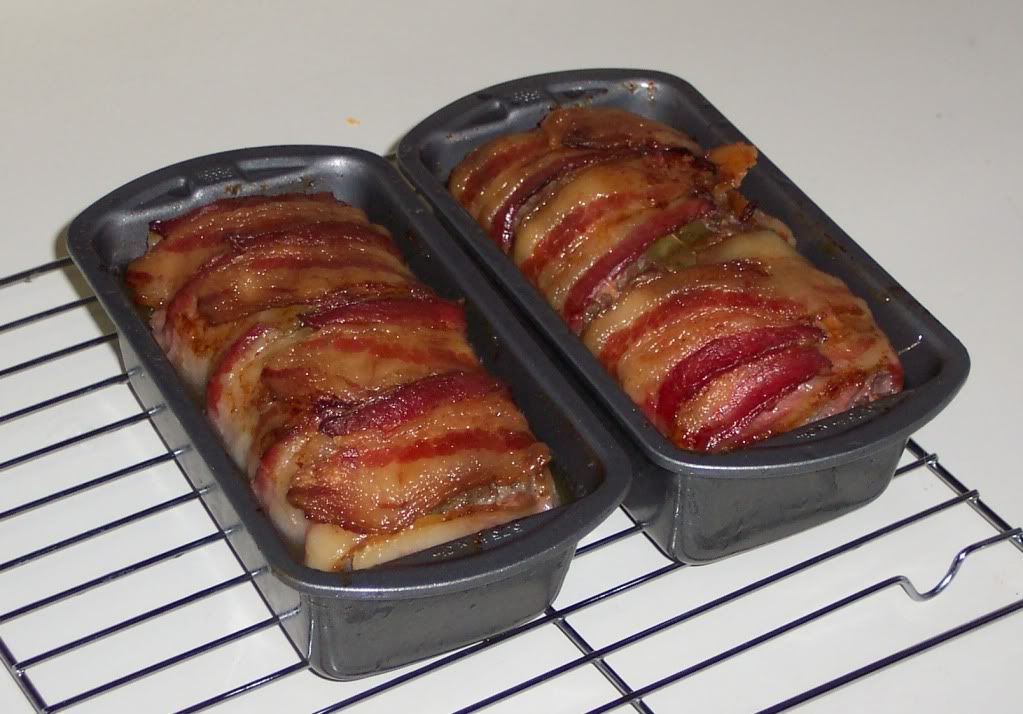


After they have rested for 15 minutes cover them in foil. You are going to see a lot of grease and fat around the pate loafs, they will actually be floating in it.  The goal is to get the loafs submerged in the fat so the pate can soak it back up.  I stacked one loaf pan on top of the other and then placed a weight on top.  This seemed to work well.  I left them like that in my refrigerator for 2 days before serving.

To server remove the pate from the loaf pan.  I removed the bacon; however, you can leave the bacon on if you prefer.  Plate on a nice dish and serve with some nice sourdough bread and your favorite pate condiments.  Enjoy!
6/9/10

Easy Mode Cheesy Scallion Drop Biscuits


Yeah so I used self rising flour, mhm I did.  Don’t you be judging me!

It was in my pantry going to waste.  I really don’t have any recipes in my repertoire that call for self rising flour.  In fact I think this is the second time I have ever used it.  First time was for a daring bakers’ challenge of British style pudding.   

Basically if you have self rising flour this recipe is pretty darn tasty and easy to make to boot.  You could substitute milk for the cream or buttermilk or do a mixture like I did.

This recipe was inspired by Miss Andy Pants.  I mocked her one day for trying to make biscuits out of self rising flour; I told her it was a bad idea.  I am wrong, I was really wrong, and little Miss Andy was right.

These biscuits are a great way to start out a Sunday morning, or a fabulous way to rescue some leftovers.  Give them a try you won’t be disappointed.

PS Grandma that is one of your plates, oh and also if you would like to make rolled biscuits follow the recipe and add about 1/4 less liquid. 

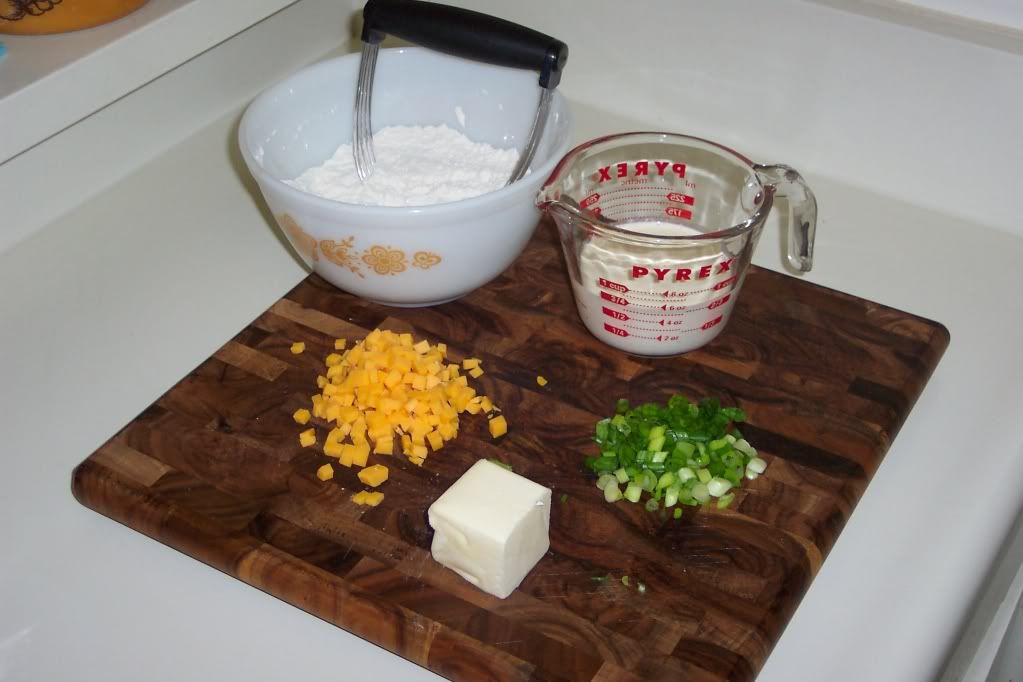
Ingredients:
  • 1/3 cup milk
  • ¼ cup cream
  • 1 tsp kosher salt
  • 1 tsp freshly grated black pepper
  • 1 ½ cups self rising flour
  • 4 Tbsp unsalted butter, cold and cubed
  • 2 scallions chopped
  • 1/3 cup cheddar cheese, cubed


Method:

Preheat oven to 450 degrees.  In mixing bowl combine the salt, pepper, and flour.  Using a pastry blender, blend in the butter till the butter is smaller than a pea size in shape.  Slowly add the milk and cream and stir till it is just combined.  Add in the cheese and scallions and give it one more stir.

Drop the biscuits on a parchment lined sheet pan; try to make them uniform in size.  This is something I really don’t ever get right, but I always aim to get the same size cookie or biscuit.   Bake the biscuits for about 15 minutes till they are golden brown.  Slide them off the sheet pan onto a cooling rack.  Cool for as long as you can resist them and enjoy!  Makes about 12-16

4/14/10

Daring Cooks Challenge April 2010: Brunswick Stew


The 2010 April Daring Cooks challenge was hosted by Wolf of Wolf’s Den. She chose to challenge Daring Cooks to make Brunswick Stew. Wolf chose recipes for her challenge from The Lee Bros. Southern Cookbook by Matt Lee and Ted Lee, and from the Callaway, Virginia Ruritan Club.

This months Daring Cooks Challenge was super fun for me.  Mostly because I got to break in my newly acquired WagnerWare Dutch Oven.  We purchased this Dutch Oven off E-Bay and it works like a dream.  It heats evenly and retains temperature like no other pot I have.

I created my stew using a Game Hen and Chicken Carcass Vegetable base stock.  I pulled the game hen out of the stock pot after the stock had been simmering for about an hour.  I let it cook off then I skinned it and removed all the meat and set it aside to add to my stew later.  The other meat I chose for my stew was the economical choice of country style pork ribs.

Basically, I had one random game hen in my freezer along with a chicken carcass and 3-4lbs of country style pork ribs.  They spoke to me and my Brunswick Stew was born.  Also, please note I cut the recipe provided by half.  The other adjustments I made were to brown the onions first in the pot and add flour to them.  I then took them out and reserved them for later.  I used Cannellini beans instead of butterbeans, mostly because I had Cannellini beans on hand.  I try to cook with what I have to save money, and doing this usually prompts me to be more creative with my recipes.

I served my Brunswick Stew with some tasty homemade Sourdough Buns.  I was particularly pleased as this was the first time I used my Sourdough Starter without adding any yeast to help the rising process.  I was told that the added yeast would take away the Sourdough flavor of the bread, and this is pretty much true.  My starter is now a few months old, and this was really the first time the end result tasted like Sourdough bread.  When I bit into my first roll I was like OMG it tastes like Sourdough, I win!


Ingredients:
  • 4 slices of bacon, chopped
  • 2 Serrano chilies, seeded, and chopped
  • The meat of one Game Hen, shredded
  • 3-4 pounds country style pork ribs
  • 2 Tbsp flour
  • 1 ½ tsp kosher salt
  • 4-8 quarts of chicken stock
  • 1 bay leaf
  • 1 large celery stalk, chopped
  • 1 lb Yukon Gold potatoes, peeled and chopped
  • ¾ cup chopped carrots
  • 1/ ¾ cup chopped yellow onion
  • 1 cup corn
  • 1 ½ cups Cannellini beans
  • 2 cups canned peeled tomatoes, drained and mashed 
  • 1 Tbsp red wine vinegar
  • 1 lemon, juiced
  • hot sauce to taste


Method:

Heat a large stock pot over medium heat, and saute the onions till they are almost translucent.  Add the flour to the onions mix it around and then dump the onions in a small bowl, reserve them for later.

Add the chopped bacon to the stock pot, saute it over medium heat till it starts to crispin.  Transfer the bacon to a large bowl.  Toast the chilies in the stock pot for about a minute, and then remove them and place them in the same bowl as the bacon.

Season both sides of the pork with kosher salt and pepper.  Place them in the pot and sear them for about 4 minutes a side (work in batches, try not to over crowd the pot). 


This is just a sear, this will not cook the pork all the way through.  Remove the pork from the pot and place it in bowl with bacon in it.

Add 1 cup of the chicken stock to the sauce pan.  De-glaze the pan and get all the bits up off the bottom, simmer the stock till it reduces by half.


Add the remaining stock (start with adding 5 cups) the bay leaf, celery, potatoes, pork, bacon, and chilies.  Bring the pot to a boil, and then lower the heat so it simmers.  Cover it and let it cook for about 2-3 hours till the meat is falling off the bone.

Remove the pork with a pair of tongs, and place in a colander to cool.  Remove the bay leaf and discard.  After the meat has cooled, shred it off the bones using a pair of forks.  Discard the bones.


Return the the shredded pork and game hen to the stock pot.  Add the carrots to the stock pot and simmer for about 25 minutes or until the carrots are soft.

Add the cooked onion, Cannellini beans, corn, and tomatoes.


Simmer for another 30 minutes uncovered.  Remove from the heat, add the vinegar, hot sauce, and the lemon juice.  Serve immediately with a bread. 

4/6/10

Amy's Mini Burgers


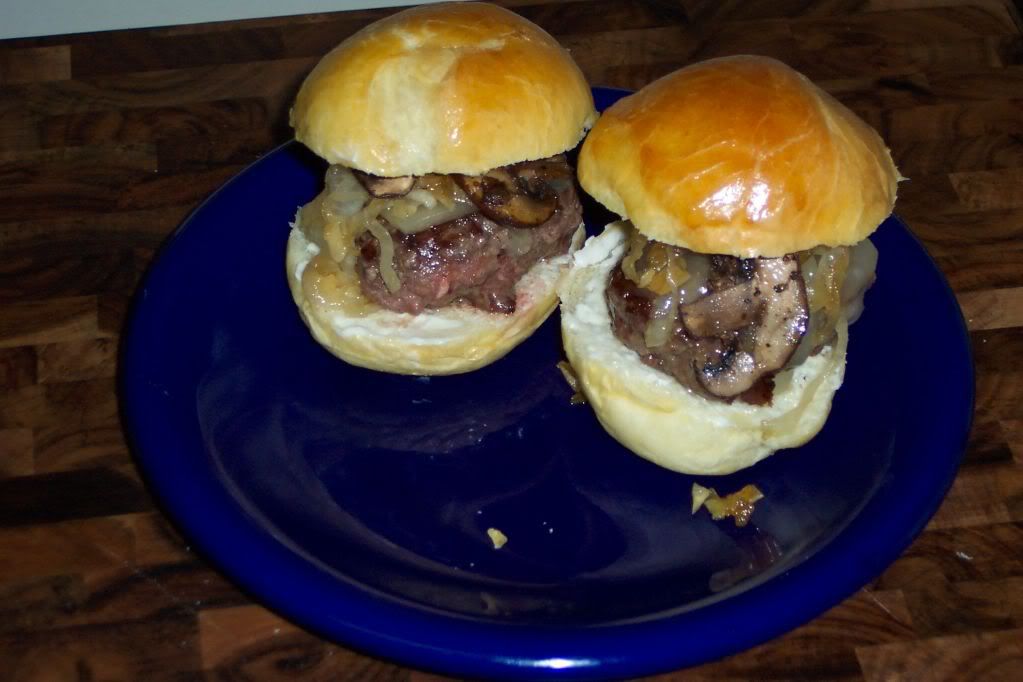
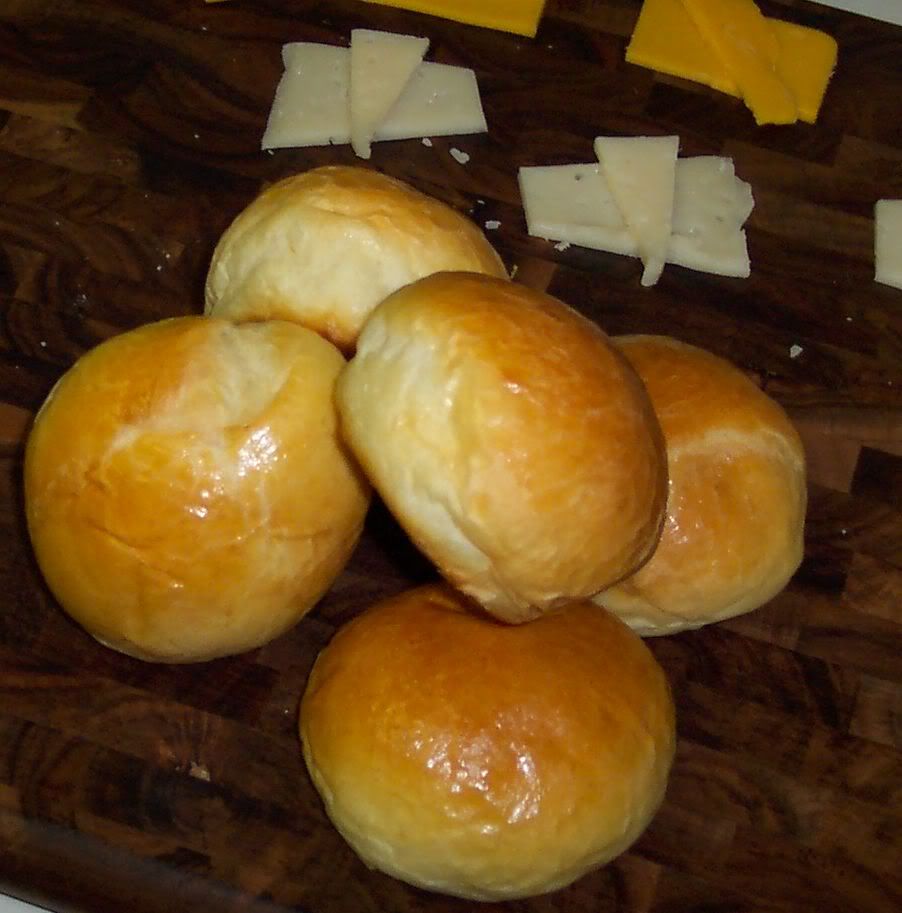
For my Birthday Aaron took me on a surprise weekend trip to Napa, Ca.  I will blog about the trip later.   One of the stops was Thomas Keller's Bouchon Bakery.  On Sunday morning before we left, we made one more stop back at this truly magical dreamland bakery.  I picked up a 12 pack of Brioche Rolls and a few more Macaroons for the trip home.  We also hit up a local market in Napa on our way out, and picked up some Salami, Black Forest Ham, Aged Smoked Gouda, and Cheddar.    So, after are long drive home our Easter dinner was yummy.  Brioche Roll Sandwiches with Meats and Cheese.

I had more than a few rolls left over so I decided to store them in the refrigerator and make Mini Burgers with them for Monday nights dinner.  I really like using Brioche for Burgers and for French toast.  Trader Joe's sells a larger Brioche Roll that can also work for larger size Burgers.

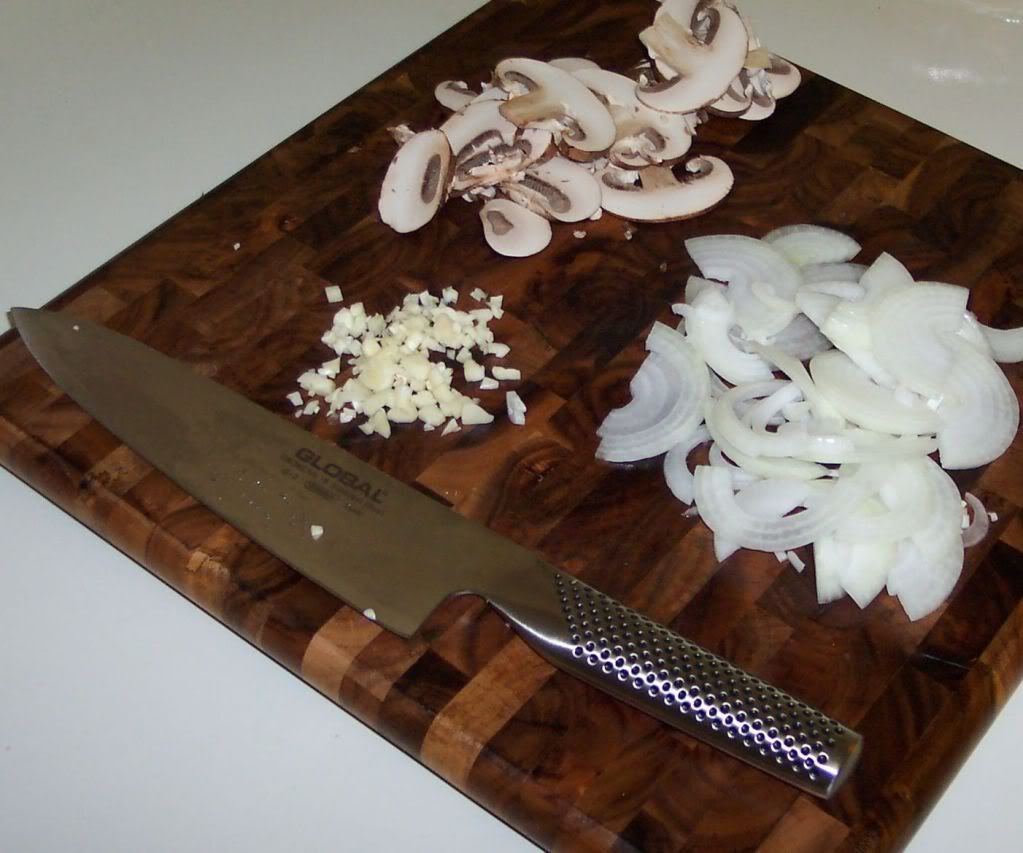
PS.. you can see my new fancy Global Knife in one of the photos... Love it!  TY Aaron!

Ingredients:
  • 1 small sweet white onion, sliced
  • 2-3 crimini mushrooms, sliced
  • 2 gloves of garlic, chopped
  • 2 tsp olive oil
  • 1 tsp brown sugar
  • Kosher Salt
  • freshly grated black pepper
  • 1 pound of ground chuck, divided into six pieces (80-20 or 85-15 fat content is best for burgers)
  • 6 slices of cheese ( I used Smoked Gouda for three, and Cheddar for the other three)
  • 6 small Brioche Rolls
  • 1-2 Tbsp Dijon Mustard
  • 1 tsp Mayonnaise, optional for the bread


Method:

In a small sauce pan over low heat add 1 tsp of the olive oil, onions, garlic and brown sugar.  Sprinkle them with Kosher salt and let them caramelize.  Keep them on low to maybe medium heat for about 25 minutes.  When they are done remove them from the pan and add the remaining olive oil and the mushrooms.  Sprinkle the mushrooms with kosher salt and pepper and cook over low heat for about 15 minutes.  When they are done scoot them to one side of the pan and return the onions to the other side.  Keep over very low heat till you are ready to serve the burgers.


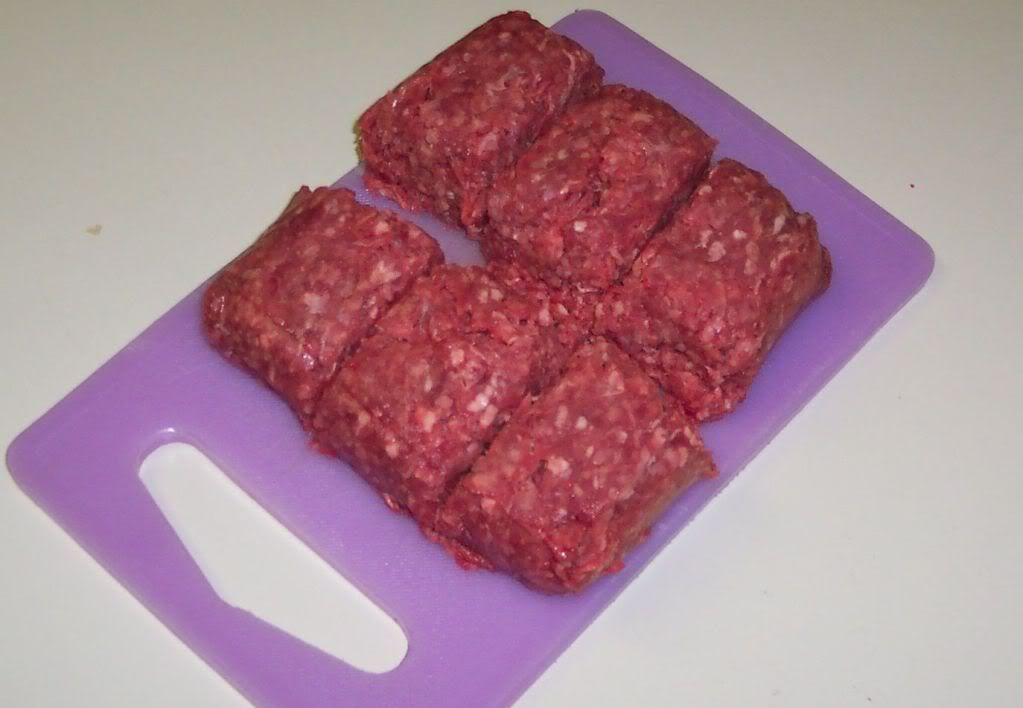
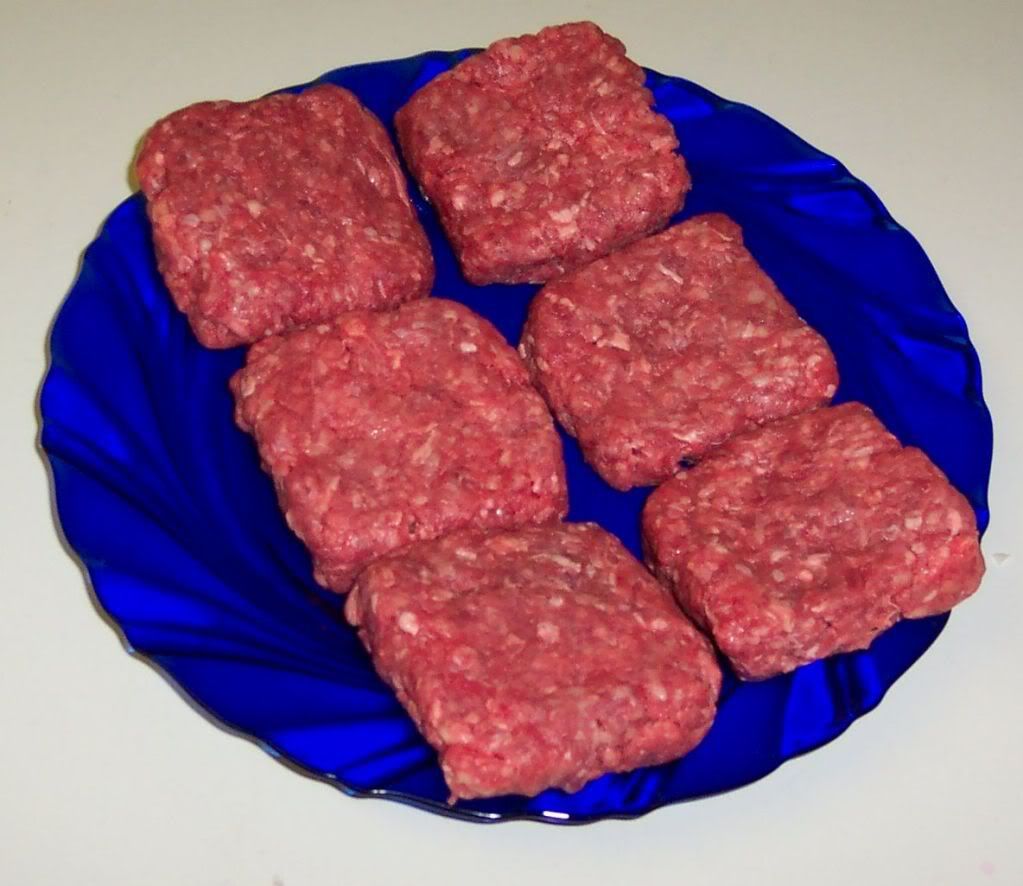
While the onions and mushrooms are cooking prepare the patties.  Take one piece of the beef and lightly form it into a patty shape.  The less you work with this the better the burgers will be.


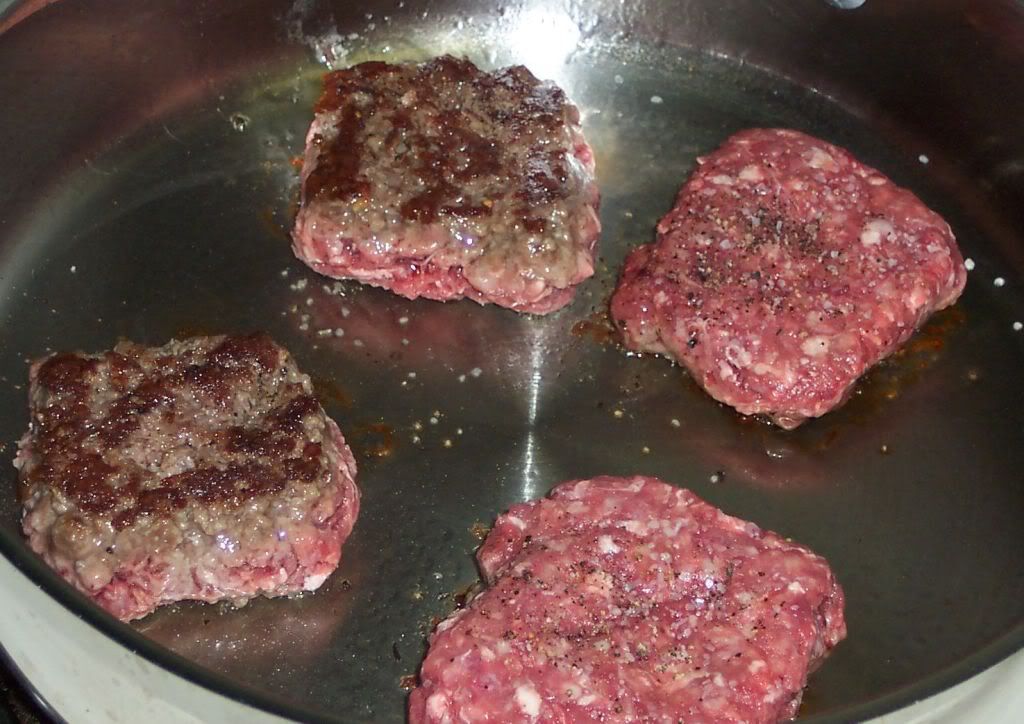
Heat a large pan over medium heat.  Once the pan is hot sprinkle the burgers with Kosher salt and black pepper.  Place them in the hot pan and sprinkle the other side of the burgers with Kosher salt and pepper.  I did not put all my burgers in the pan at once because I did not want to over crowd the pan.  After flipping the first 4 I added the last two because I was confidant that they would not get crowded.


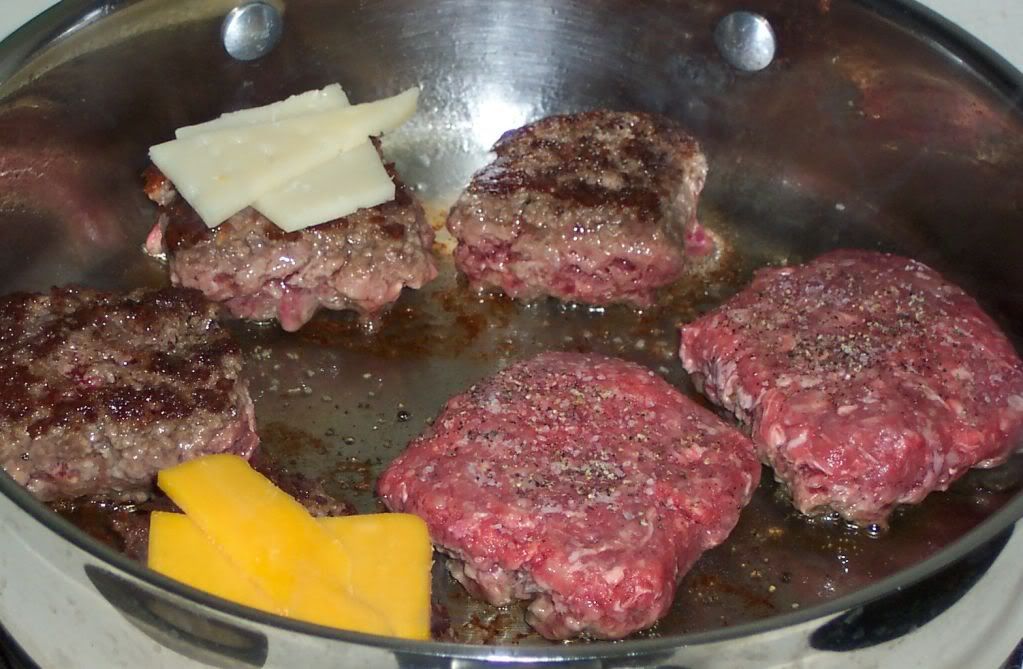
I cooked mine for about 4 minutes a side for medium to medium rare.  After you flip them add the cheese to the tops and wait out the last 4 minutes and serve.


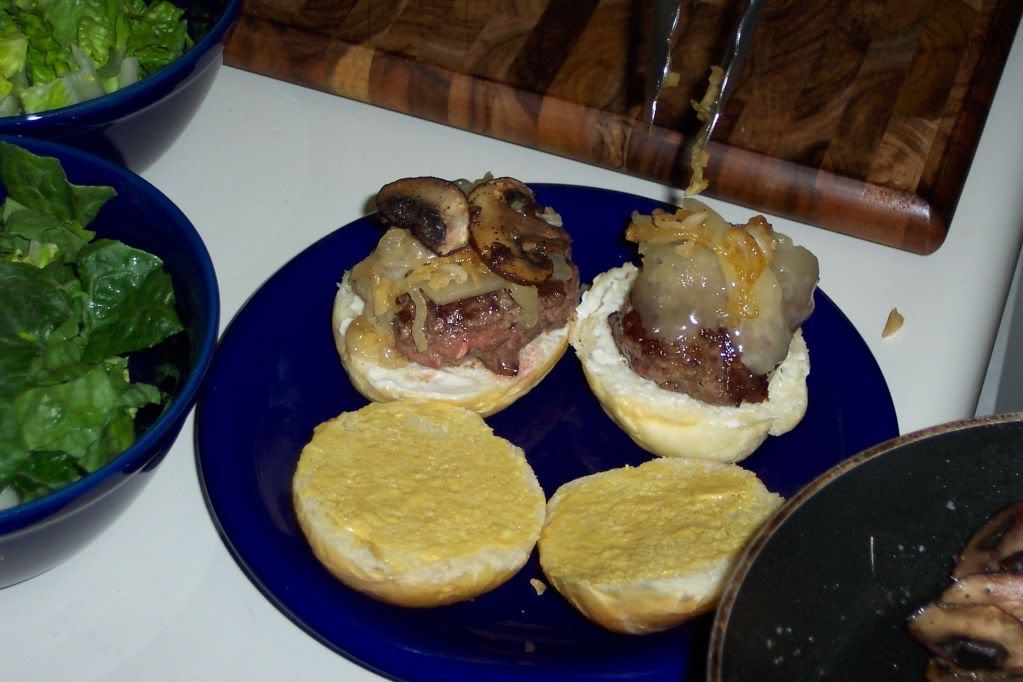
To plate, cut the Brioche Rolls in half and spreed them with Dijon Mustard.


Add the patty to the bun and top the burger with the caramelized onions and mushrooms.


Serve with a nice green salad and some Cornichons (french pickles).  Serves 3 for dinner, 6 for appetizer.

3/9/10

Tuna Melts


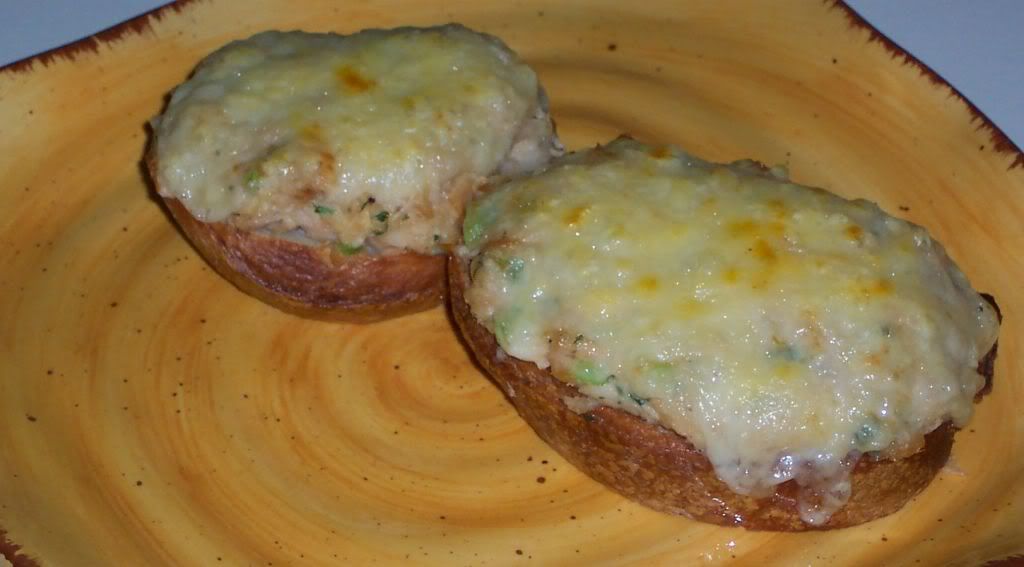
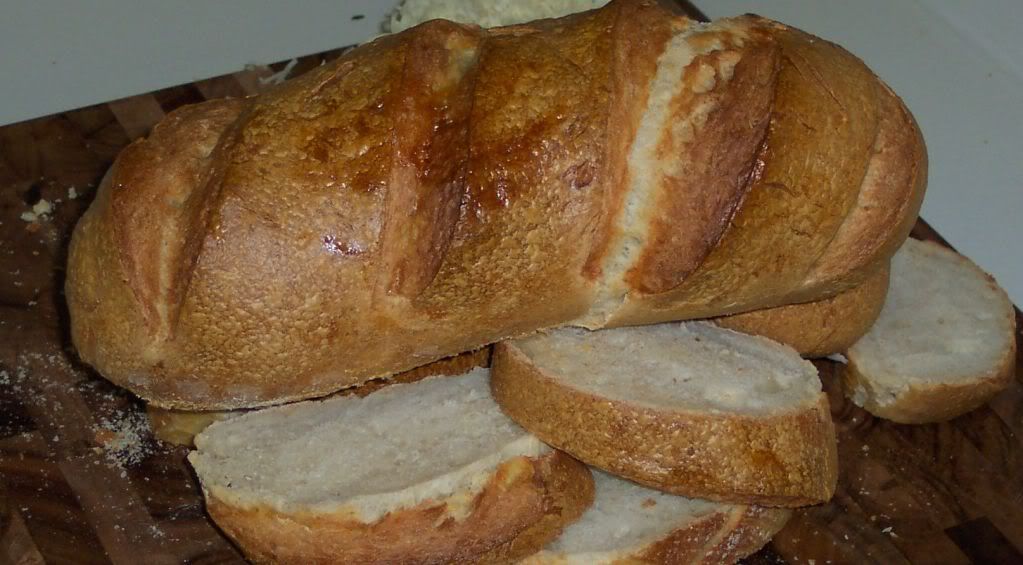
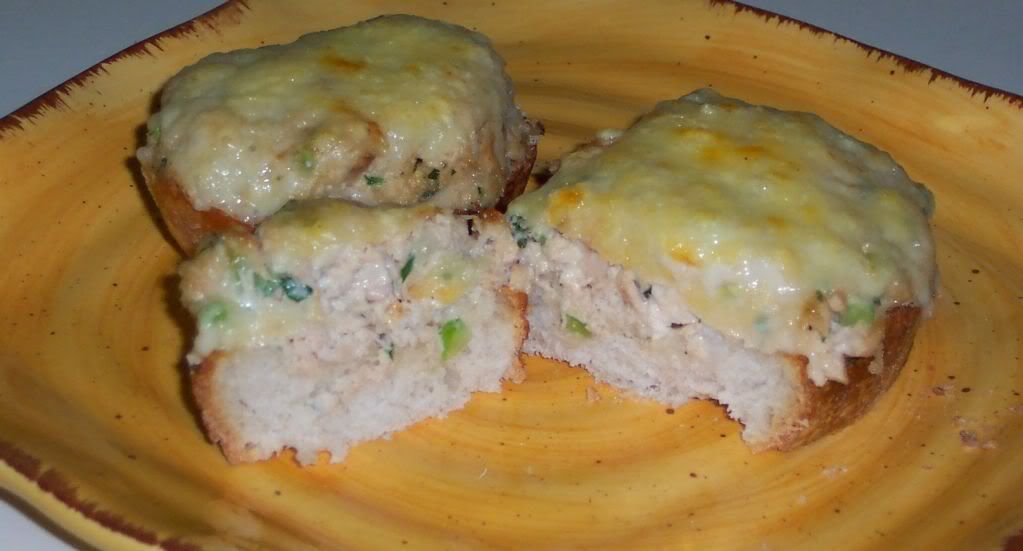
I have this sourdough starter living in my refrigerator, and I try to make fresh sourdough bread with it about twice a month.  Trying to master sourdough bread is time consuming, but I hope eventually it pays off.  So, this morning I really wanted to make some bread, and work on my sourdough recipe.  The only problem I had was I needed something to do with the bread.  Normally I bake little baguettes and make appetizers with smoked salmon, Mascarpone cheese, and lemon peel.  I don't see any parties in the immediate future so I had to come up with something else.  Tuna melts just popped into my head.  So, here we are tuna melts with fresh sourdough bread for dinner.  Sounds pretty good eh?

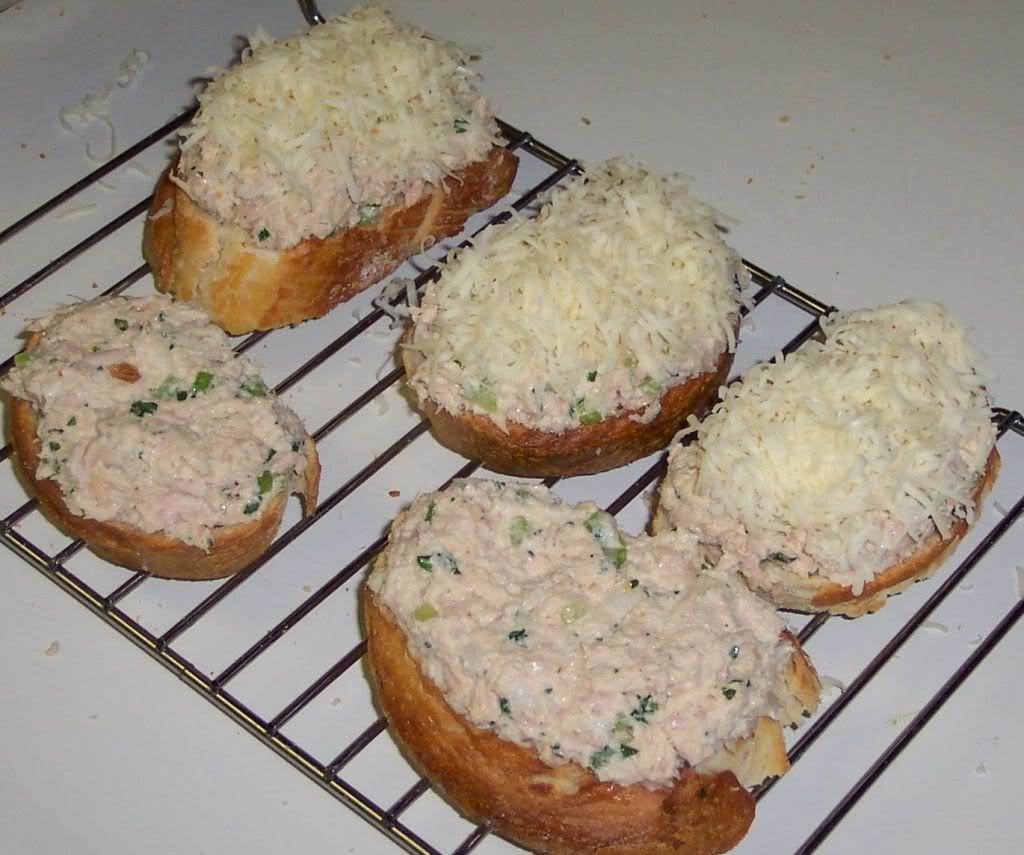
This tuna recipe is a combination of my Grandmother Kalivoda's recipe, and my Mother's.  I really don't have their recipes I just remember how small my Grandmother chopped her celery and onions, and mostly I remember how my Mom's tuna was never chock full of mayo like so many tunas can be.  I make my tuna melts as an open face sandwich.  First I broil the bread, then pile it high with tuna salad and top it with cheese, then I plop it back under the broiler till it is golden brown.  Sometimes I will move the tray in the lower part of the oven after the cheese has browned to ensure the entire sandwich is heated.  When it comes to the cheese I usually try to use the cheese I currently have in my pantry.  Today I will be using Fontina cheese, you can easily use many different types of cheese.


Ingredients:
  • ¼ cup yellow onion, diced
  • ¼ cup celery, diced
  • 1 Tbsp fresh flat leaf parsley, chopped
  • 1 tsp fresh lemon juice
  • 2 tsp Dijon mustard
  • 1/8 tsp black pepper
  • 3 5-ounce cans solid white tuna, drained and flaked
  • 1/4-1/3 cup mayonnaise
  • 1 cup Grated Fontina cheese
  • 8 slices of sourdough bread, 1/2-3/4 inch thick
Method:

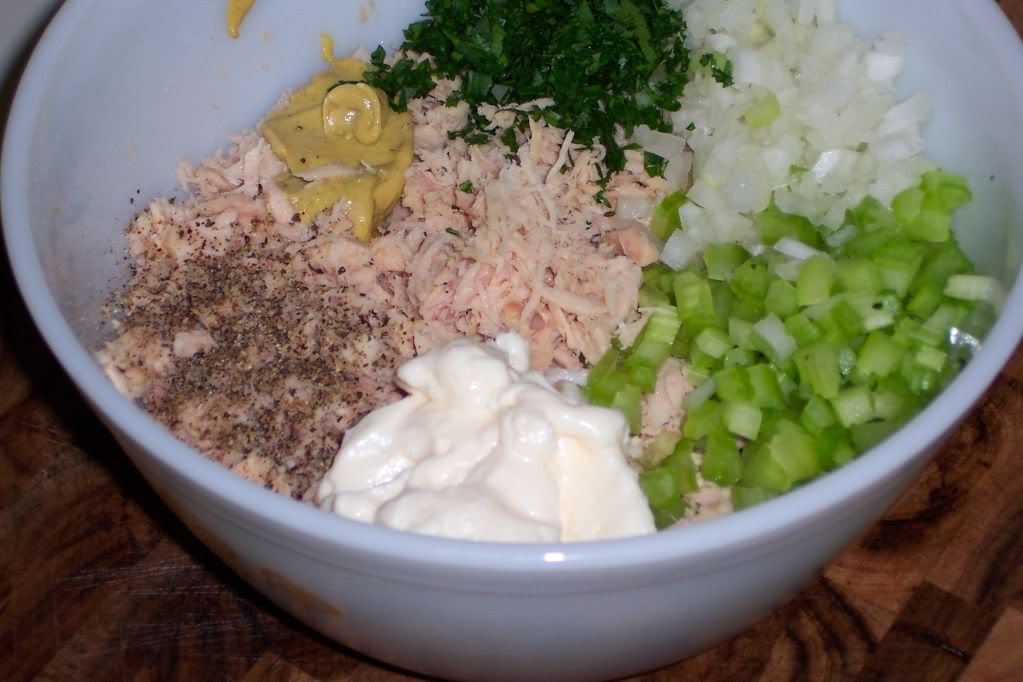
Position one oven rack underneath broiler, and the other in the middle of oven.  Turn broiler on.  In a bowl mix together onion, celery, parsley, lemon juice, mustard, pepper, tuna and mayonnaise.


Toast bread slices underneath the broiler for about 2-3 minutes.  Remove them and let them cool for a minute.  Divide the tuna salad up into 8 portions and spread evenly over each slice of bread.  Top each slice of bread with cheese, 1/8 cup per toast.


Put tuna melts under the broiler for 2 minutes, then move them to the middle of rack for 2 minutes, then put them back under the broiler till they are toasted and browned.  Serves 4 people.

2/6/10

Sourdough Bread


For sometime now I have been very disappointed with the sourdough bread that I can purchase locally.  I live in the Bay Area and for crying out loud sourdough bread should be easy to get.  There are a few places I know that are not very close to my apartment so I decided to make my own sourdough starter and give this a try.

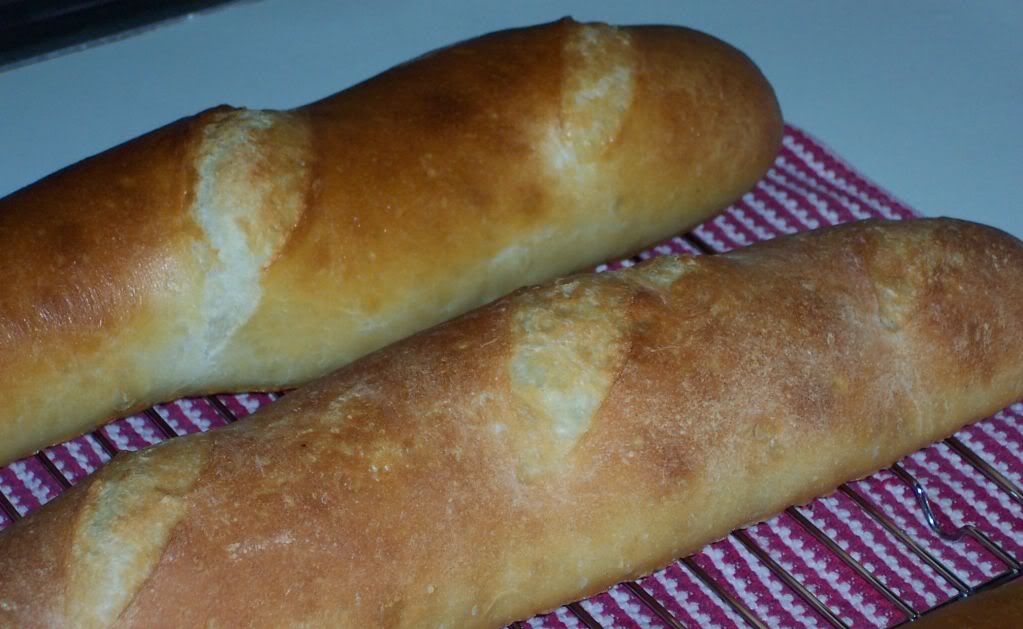
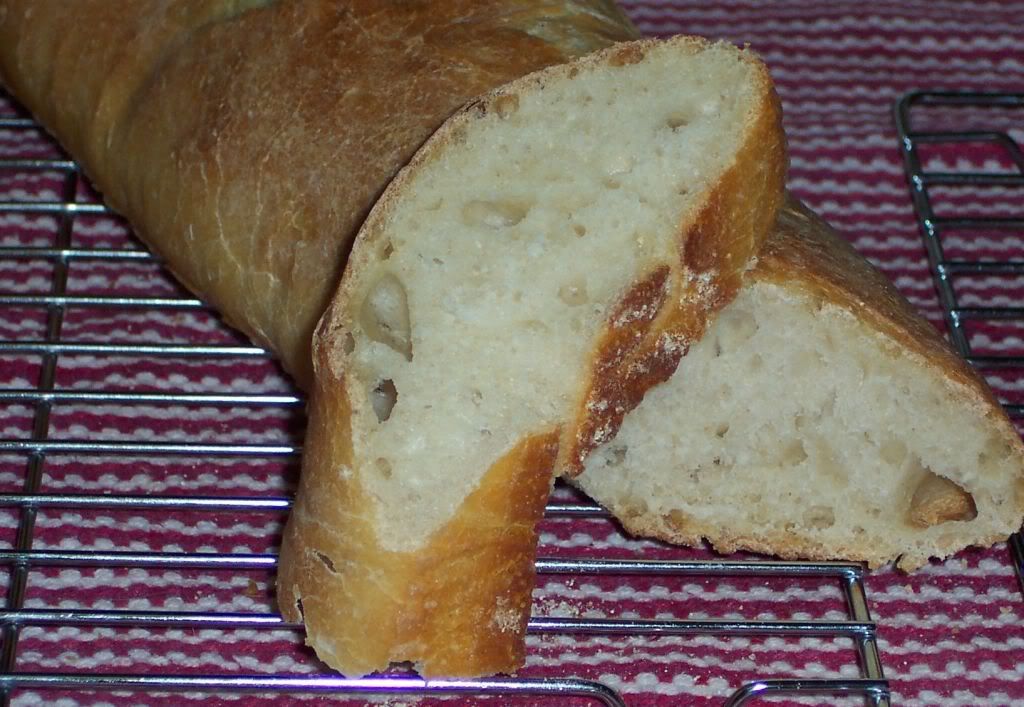
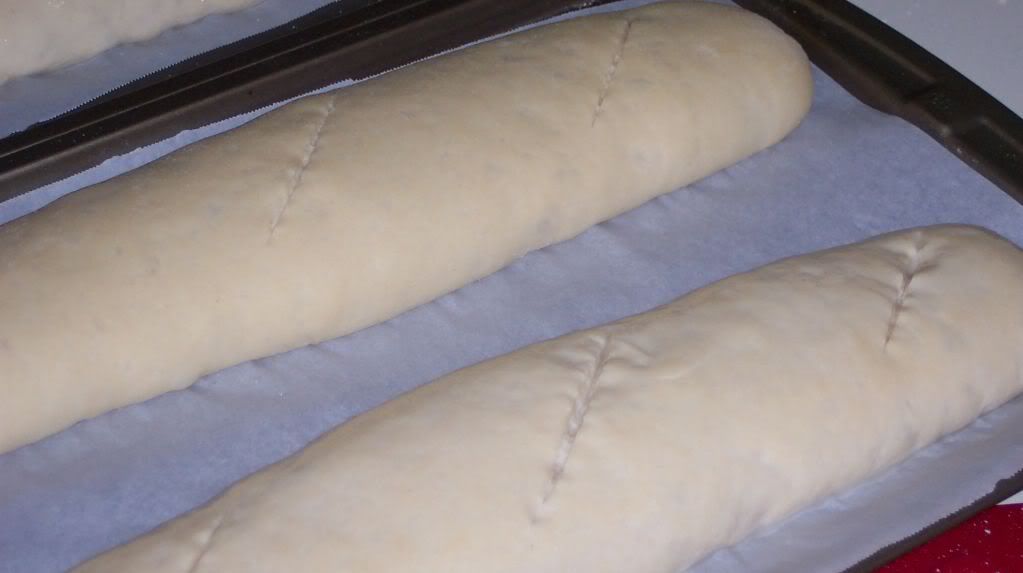
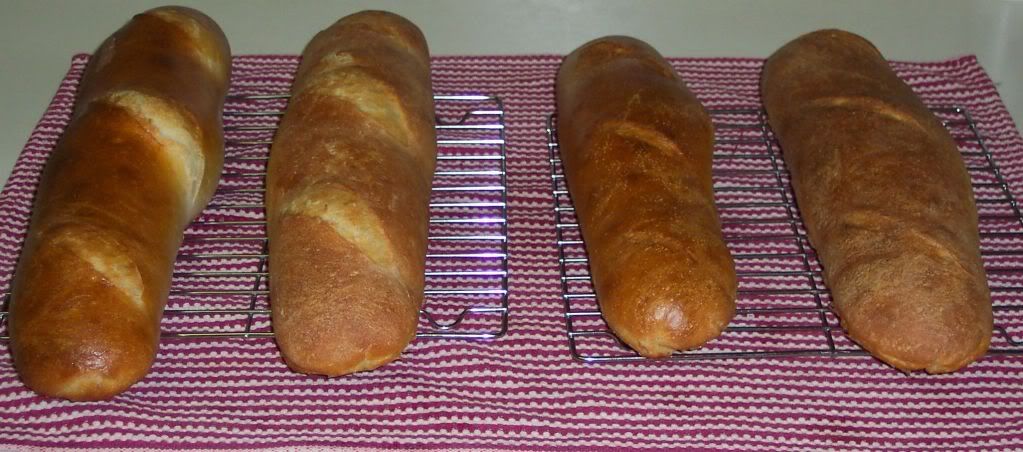
My idea was to make sourdough baguettes to serve at Brenda and Tom's Superbowl party.  The only problem I ran into was the size of my baking pans.  The sheets were a little to small to fit a nice long baguette.  In the end they came out like cute little chubby baguettes. The taste will make up for the larger size bruschetta I plan on serving.

This recipe has been adapted from Alaska Cookbook: Inside Passage.  Years ago my Parents went on a trip to Alaska and brought back this cute little cookbook/pamphlet.  I remember the trip fondly as I house sat for them.  Ah that was a fun summer.  Sorry about your car Mom, love you.


Ingredients:

  • 1 cup sourdough starter
  • ¼ ounce dry active yeast- after your sourdough starter has been around for a few weeks, you will not need to add the extra yeast to the recipe.
  • 2 cups warm water
  • 7 cups white bread flour
  • 1 Tbsp kosher salt
  • 1 egg
  • 2 Tbsp water
  • 4 tsp cornmeal

Method:

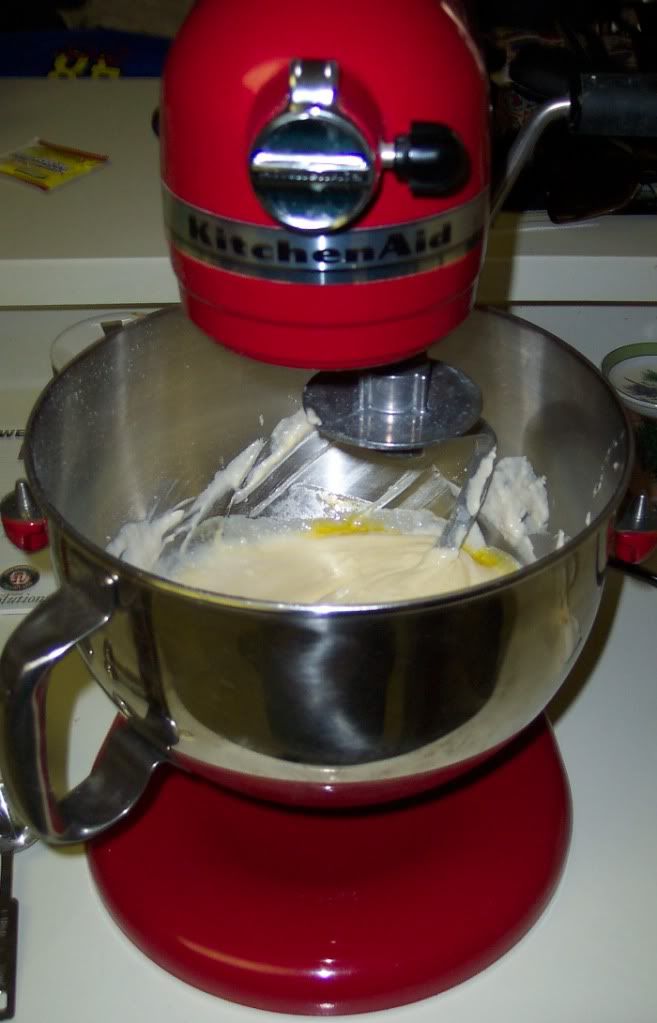
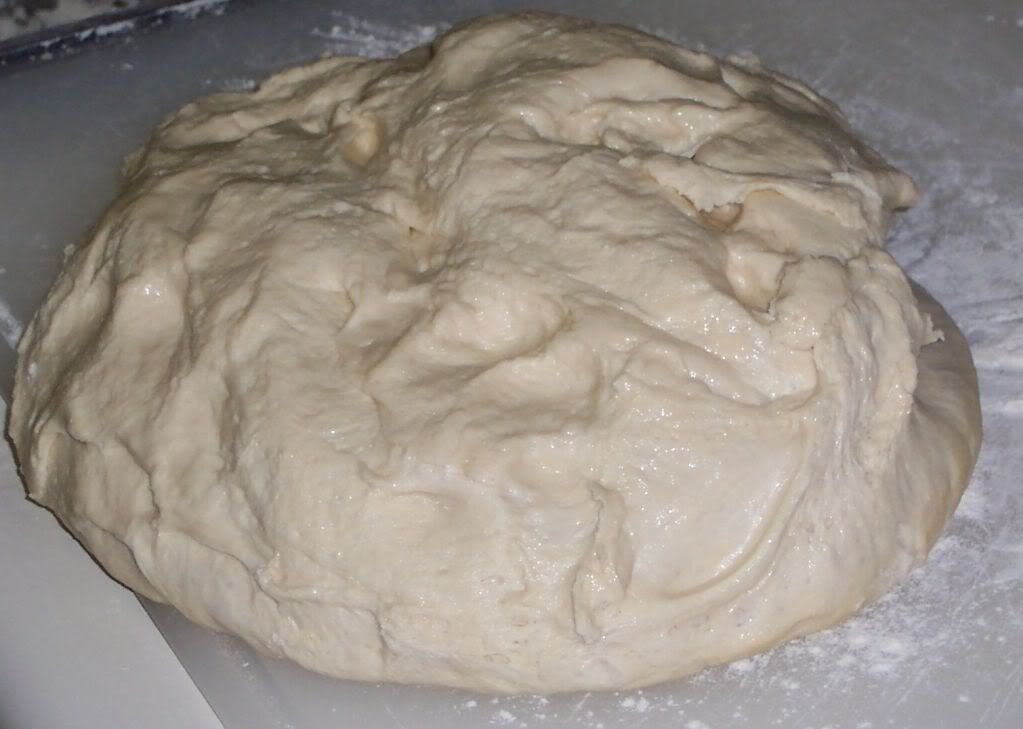
Combine the warm water and yeast in mixer.  Wait for yeast to become active; stir in salt, sourdough starter and mix in 1 cup of flour.  Using a low speed on your mixer combine one cup of flour at a time; do not dump all the four in at once.  If the dough seems to wet after you mix in all the flour, add some more flour.  If the dough seems to dry, add some more water.

After dough comes together take it out of the mixer and kneed it on a floured board.


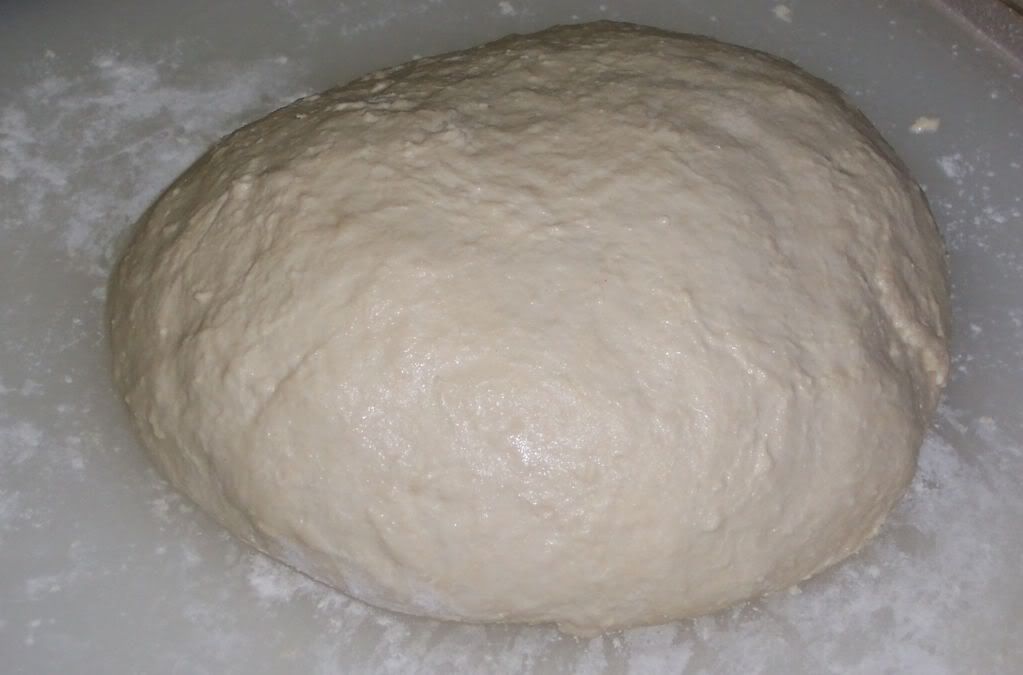
Grease a large glass or metal bowl and place dough into it.  Make sure you flip the dough around so all of the dough is covered in the oil.  Cover dough with a towel and let sit till it is doubled in size.  This should take about an hour.

After the dough has risen take it out of the bowl and punch it down on a floured surface.


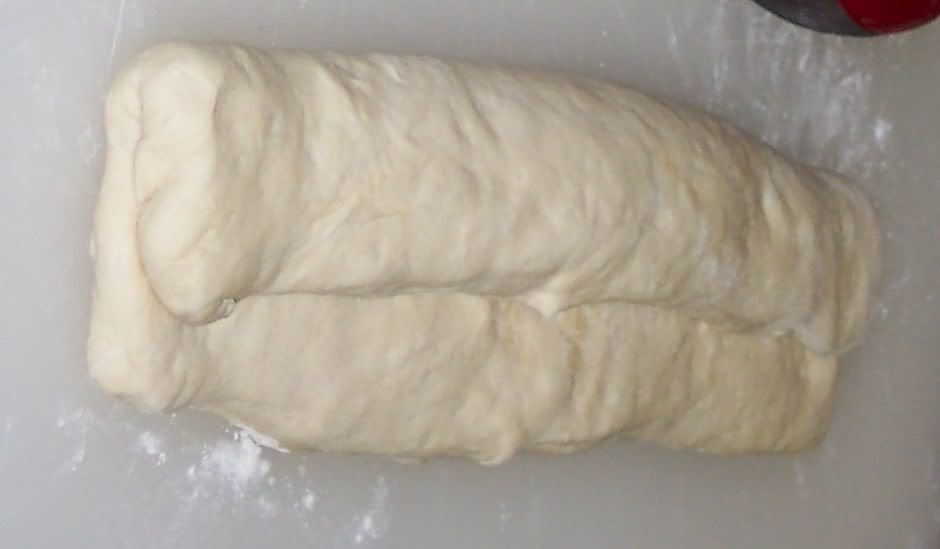
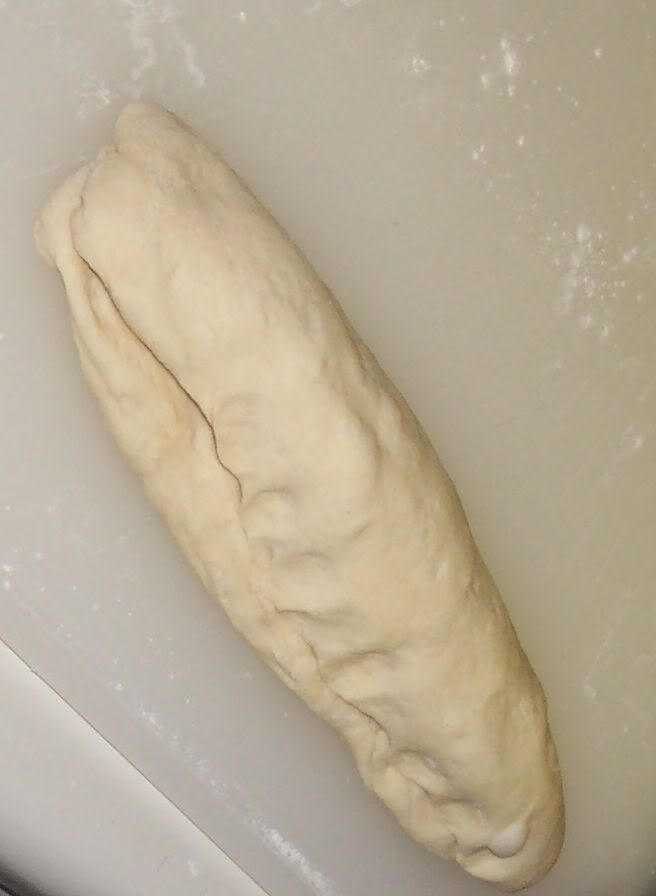
Section the dough into four pieces.  Take one of the pieces and form it into a rectangle shape.  Roll the rectangle up forming a loaf of bread.  When you get to the end pinch it together with your fingers to seal, and place.


Work the shape of the loaf with your hands, seal should always be the bottom side of the loaf.  Line a baking sheet with parchment paper, and sprinkle area with some cornmeal.  Place complete loaf on the sprinkled corn meal. 

Make four loafs, cover them with a large towel and let the rise for about 40 minutes till they are double in size.


I made two smaller loafs and two larger loafs, tried to get two them to come out more baguette shape.  Preheat oven to 450 degrees.

After the loafs have risen take a razor blade and score each loaf three times over.


This was a test for me so I decided two use egg wash with water on two of my loafs and just plain water on the other two.  When I make this again, I will use the water only method.  If you would like to use egg wash; mix one egg with 2 Tbsp water and brush it over the loafs.  For the water method liberally brush water over the loafs.

Bake in a 450 degree oven for 15 minutes.  After 15 minutes switch the backing sheets location from top to bottom, and bottom to top.  Decrease the temperature of the oven to 400 degrees, and bake for another 25 minutes.  If you are worried it is cooking to fast you can always take its temperature with a probe themometer.  The bread is done when it reaches 200 degrees.   Cool the bread on wire racks before serving.  Enjoy!


The first and the third loaf I used the egg was on, the second and 4th loaf I used water only.

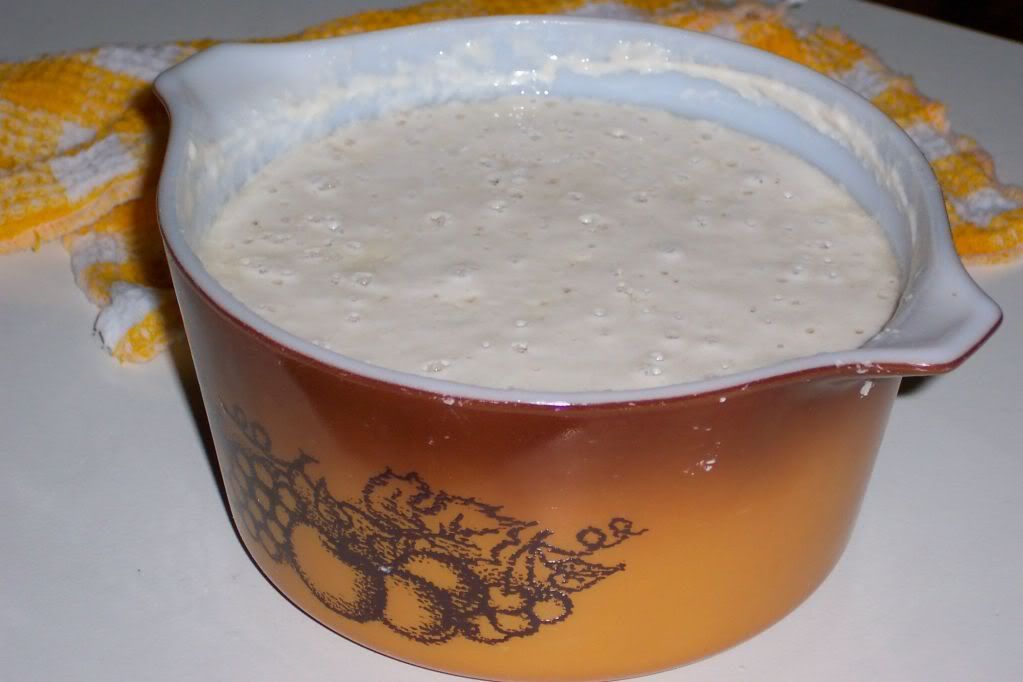
Sourdough Starter


This starter is a combination of my Alaska Cookbook: Inside Passage, and my gaming buddy Thomas Bonetati.  A good starter can last for years if you feed it properly.  Yes you feed it!!
Ingredients:


  • 2 ½ cups warm water
  • 2 cups all purpose flour
  • 1 clean wash cloth
  • 1 glass dish, with glass lid

Method:

Stir together water and flour in a glass dish, or a crockery style bowl.  Run wash cloth under water till it is damp, cover starter dish with damp cloth.  The cloth is what helps the the natural yeast in the environment pass through into starter, and that is how the fermentation process starts.  Leave the mixture on your counter for 1-2 days.  Make sure the wash cloth stays moist, run it back under water if it starts to dry out.  Mix the starter daily.  Once you see small bubbles coming to the surface of the starter remove the wash cloth, and cover glass dish with a glass lid that does not seal perfectly.  You want to allow the starter to breath.  Place the starter in the refrigerator and feed it flour twice a week, about a ½ cup.  You can leave the starter on your counter; however you will have to feed it more often.

I made my starter 5 days before I needed to use it.  On day 3 it developed a clear liquid over the top.  I read up on this, and found that it is Hooch!  Most sites said that it wont hurt your starter just to stir it back into the mixture and feed it some more flour. 

Bottom line sourdough starter is pretty easy to make and keep alive in your refrigerator by feeding it.  Thanks so much for your help Thomas!

12/10/09

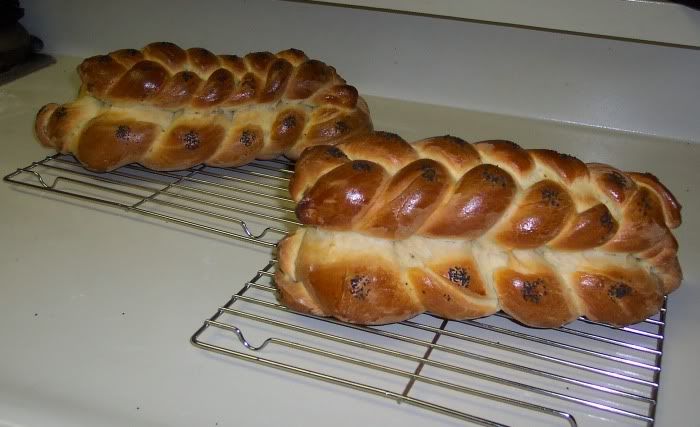
Challah


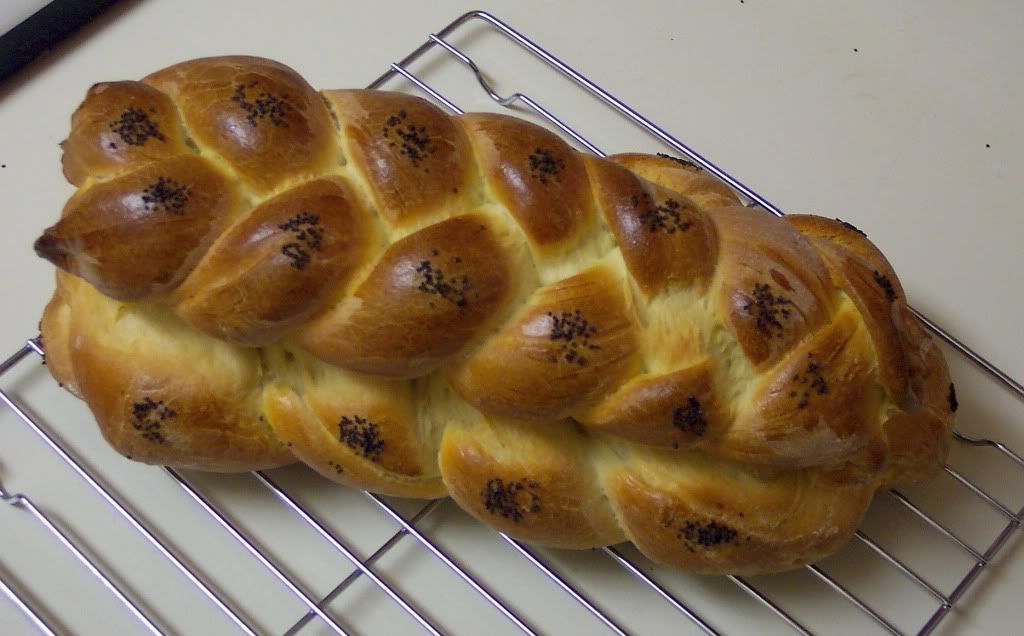
This recipe comes from my dear friend Noah Wright.  All I can tell you is I feel like a leaf in the wind when I bake.  If you have never made your own bread I suggest you give a try.  Enjoy

  • 1 Cup warm water
  • 2 packages of Yeast
  • 2 tablespoons Sugar
  • 1/3 cup unsalted butter, softened
  • 1 1/2 teaspoons salt
  • 5 1/4 – 5 3/4 cups of flour
  • 4 eggs
  • 1 teaspoon water
  • Poppy seeds (optional)

Method

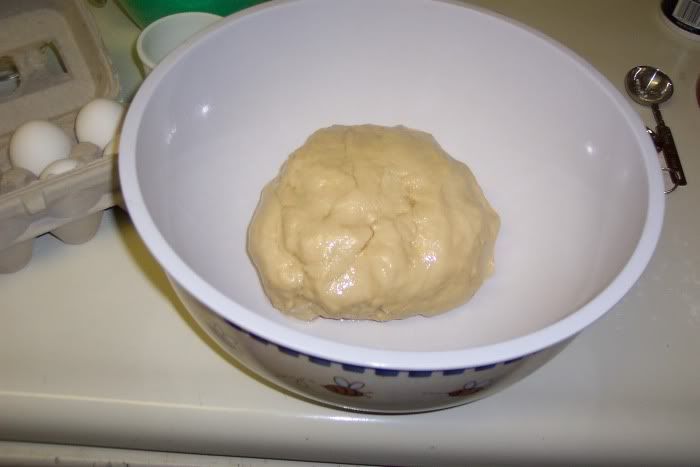
Place 1/2 cup warm water in large warm bowl. Sprinkle in yeast; stir until dissolved, and active.  Add remaining water, sugar, butter, salt and 1 1/2 cups flour; blend well. Stir in 3 eggs, 1 egg white (reserve 1 yolk), and enough remaining flour to make soft dough.


Knead on lightly floured surface until smooth and elastic, about 6 - 8 minutes. place in greased bowl, turning to grease top.


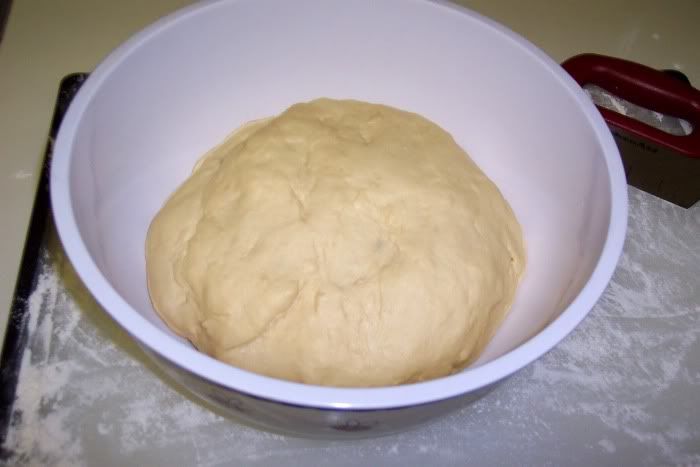
Cover, let rise in warm, draft-free place until doubled in size, about 30-45 minutes.  It took me a good hour to get my dough to rise.  My apartment is so cold, and I think that is what did me in.  After a half hour I decided to heat two cups of water in the microwave.  I then removed the water and put my dough in the microwave to sit in the nice warm air... do not heat your dough.  I did this as a way to keep the air around it warm.


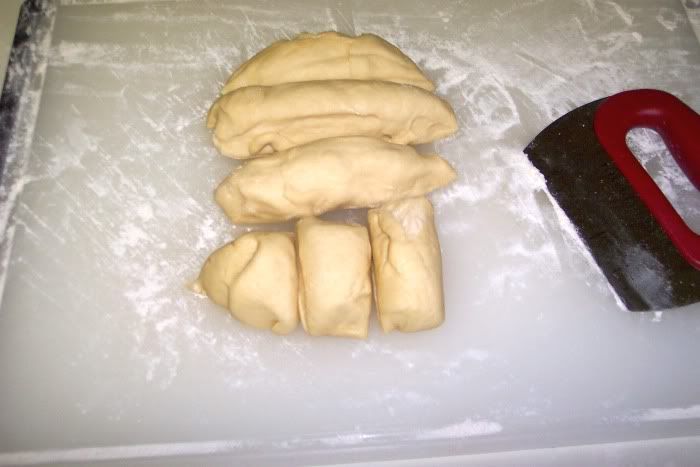
Punch dough down. Remove dough to lightly floured surface; divide in half. Set aside 1 half. Divide remaining half into 2 pieces, one about 2/3 of the dough and the other about 1/3 of the dough. Divide larger piece into 3 equal pieces; roll to 12 inch ropes. Place ropes on greased baking sheet; braid. Pinch ends to seal. Divide remaining piece into 3 equal pieces.


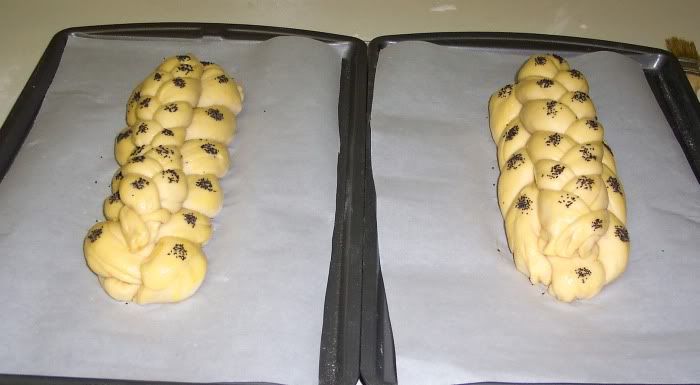
Roll to 10 inch ropes; braid. Place small braid on large braid. Pinch ends firmly to seal and secure to large braid. Repeat with remaining dough to make second loaf. Cover; let rise in warm draft-free place until doubled in size; about 30-45 minutes.

Beat reserved egg yolk with 1 teaspoon water; brush over loaves. Sprinkle with poppy seed, if desired.


Bake at 400 for 20-25 minutes or until done, switching positions of sheets in oven halfway through baking time. Remove from sheets; let cool on wire rack.


Makes 2 loaves